| (12 intermediate revisions by the same user not shown) | |||
| Line 119: | Line 119: | ||
! style="width: 50%" | Algorithm | ! style="width: 50%" | Algorithm | ||
|- | |- | ||
| | |||
[[File:hütte02.jpg|400px]]<br><br> | [[File:hütte02.jpg|400px]]<br><br> | ||
[[File:hütte03.jpg|400px]]<br><br> | [[File:hütte03.jpg|400px]]<br><br> | ||
| Line 124: | Line 125: | ||
| | | | ||
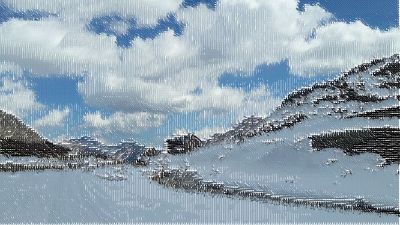
we started to | we started to work with images. | ||
each pixel is referring to a line. the length of the lines and their number and distance is depending on the x coordinate of the mouse. | each pixel is referring to a line. the length of the lines and their number and distance is depending on the x coordinate of the mouse. | ||
[[Media:h_tte.pde|Link to Algorithm]] | [[Media:h_tte.pde|Link to Algorithm]] | ||
|- | |- | ||
| | |||
[[File:bäume-grün.jpg|400px]] | |||
| | |||
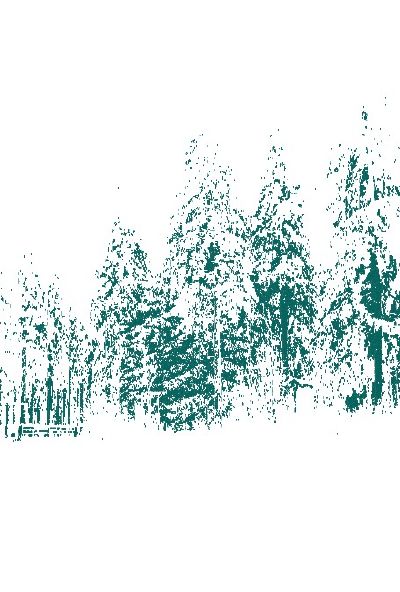
I used a similar technique to create christmas postcards. | |||
The first one is a photo of trees in winter and only the darkest parts of the picture are shown. I printed the result with a pen plotter. | |||
[[Media:b_ume.pde|Link to Algorithm]] | |||
|- | |||
| | |||
[[File:kerze.jpg|400px]] | |||
| | |||
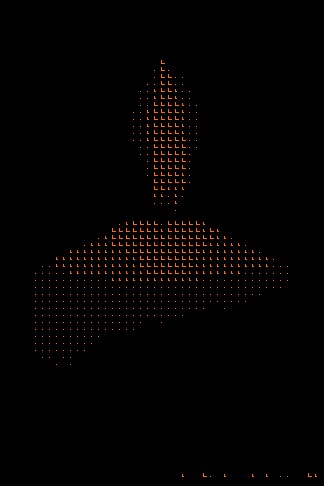
The second one is a candle and only the brighter pixels are displayed. The pixels are simplified into two orthogonal lines. Their length is depending on their brightness. | |||
I don't know why, but this one could not be printed with the plotter. | |||
[[Media:kerze.pde|Link to Algorithm]] | |||
|- | |||
|} | |||
==14.12.2018 - Week 7== | |||
{| border="1" | |||
|- | |||
! style="width: 50%" | Result | |||
! style="width: 50%" | Algorithm | |||
|- | |||
| | |||
[[File:pixelSorting_02.jpg|400px]] | |||
|This is a result from the so called Pixel Sorting technique we did in class. | |||
Original Picture is a portrait of Richard Avedon by Jacques-Henri Lartique, 1966. | |||
[[Media:pixelSorting.pde|Link to Algorithm]] | |||
|- | |||
| | |||
[[File:pictureTo3dLines2.jpg|400px]] <br> <br> | |||
[[File:pictureTo3dLines1.jpg|400px]] | |||
|We also started to work within a 3d environment. we loaded images and made the height of their pixels depending on their brightness. <br> | |||
As images, I took some results of earlier algorithms, <br> | |||
the first is the one from the grid lesson <br> | |||
the other one from the balloon lesson. I like that one because in 2d it looks to me like a growing earth ball and in 3d like beautiful snowy mountains. | |||
[[Media:peasyCam_dreiDmitBild_berge.pde|Link to Algorithm]] | |||
|- | |||
|} | |||
==HGP-Algorithms== | |||
{| border="1" | |||
|- | |||
! style="width: 50%" | Result | |||
! style="width: 50%" | Algorithm | |||
|- | |||
|[[File:1-curves.jpg| 400px]]<br><br> | |||
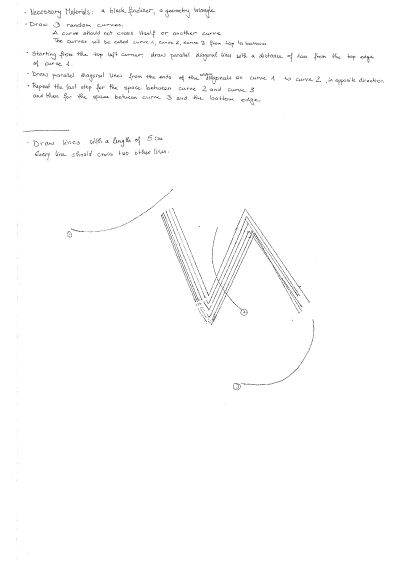
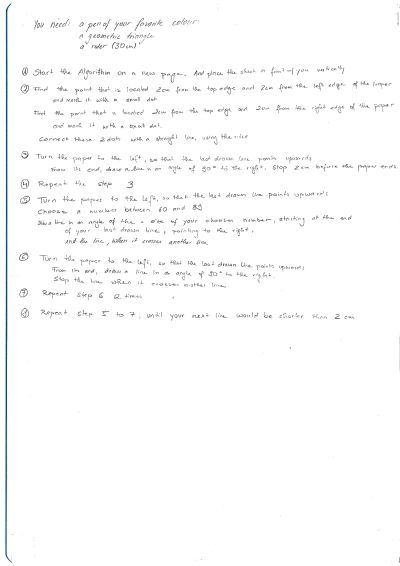
| My first algortithm was only about creating an intersting pattern, but it didn't really came out like I expected it. I forgot to write, that the lines should go from the left to the right edge of the paper. and I wrote a second algorithm underneath, but the HGP assumed them as one algorithm, which made it maybe a bit difficult to understand what to do. But it looks very intersting and abstract and I at least learned how difficult it is to give correct advises and to make another person realize an image that only exists in ones head. | |||
|- | |||
|[[File:2-verschobeneRechtecke1.jpg | 400px]]<br> | |||
[[File:2-verschobeneRechtecke2.jpg | 400px]]<br> | |||
| [[File:2-verschobeneRechtecke.jpg | 400px]]<br> | |||
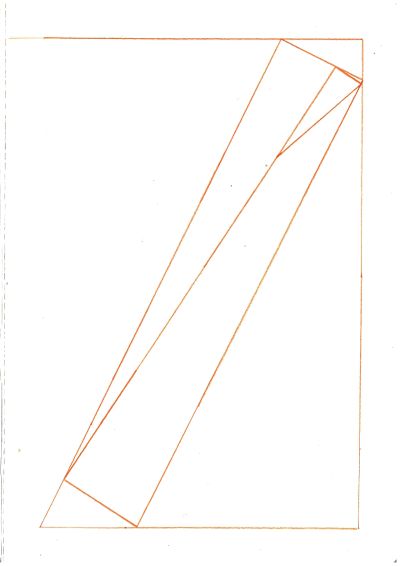
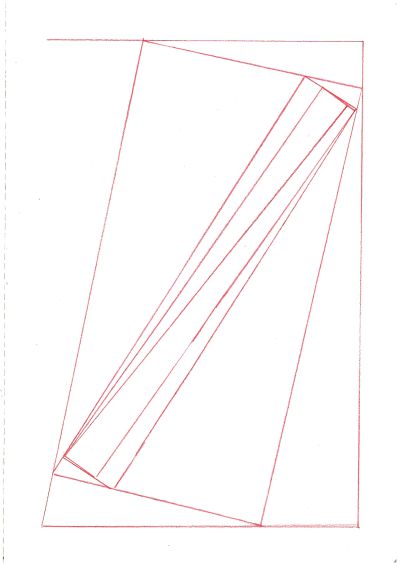
In this algorithm we should include randomness. I wanted to create a rectengular spiral, by drawing 3 lines in a 90 degeree angle and one line in an angle choosen by the HGP. I reduced the area for the angles so that the algorithm would work, but i maybe should have reduced it more, so that there are more lines and a more interesting image. | |||
|- | |||
|[[File:3-noiseNotation.jpg | 400px]]<br> | |||
| Noise Notation | |||
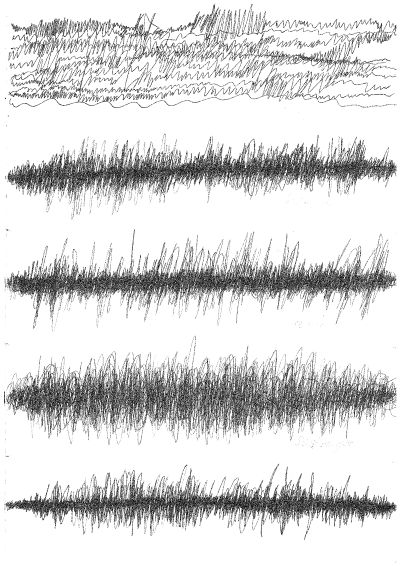
This algorithm was about collecting parameters and numbers out of our surrounding. I choose the topic noise, because I had a class about Urban Soundscapes in the last semester and I wanted to try a simple form of notation. The HGP shouldonly focus on the hearing in crowded places. I did not say whether to draw the waves on top of each other or under each other, thats why there are these 2 different forms in the result. I like it, that you can see the differences between the different places where the noise was notated and I had fun hearing about what some significant wave forms mean (like screaming kids on the ice rink) | |||
|- | |||
|[[File:ble.jpg | 200px]] [[File:ble_cover.jpg | 200px]]<br><br> | |||
[[File:4-bild dreiecke.jpg | 400px]]<br> | |||
| | |||
[[File:4-bild-algorithmus.jpg | 400px]]<br><br> | |||
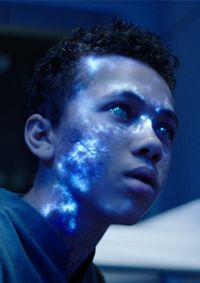
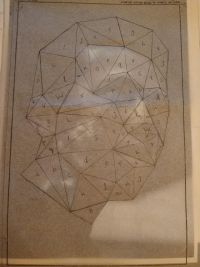
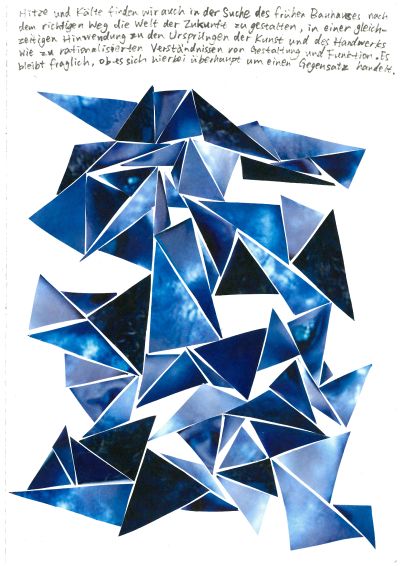
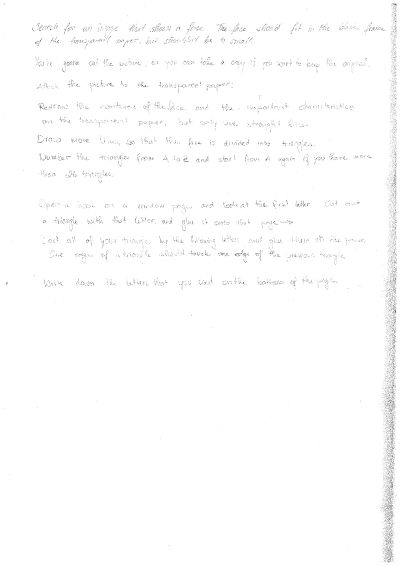
This weeks topic was all about working with images, so the HGP algorithm is, too. I wanted to see, how one can edit images with some simple steps, so that you can not see the original content of the picture any more. <br> | |||
I choose a face as a subject of the picture, because normally one could still recognize some parts like the eyes, even if they are in a different position. But due to the blue colour of the original image, it is even hard to find the eyes. <br> | |||
The triangle segments of the image sholn't be arranged randomly, so I choose to let the HGP arrange them by following the parameters of a text and write this text next to the new generated image. If there is a description to a picture, it changes the content of what we see, so I liked the idea, that through the citation the viewer can search for a new sense in the new picture. | |||
|- | |||
|} | |} | ||
Latest revision as of 13:40, 6 January 2019
19.10.2018 - Week 1
| Result | Algorithm |
|---|---|
|
Homework / Introduction
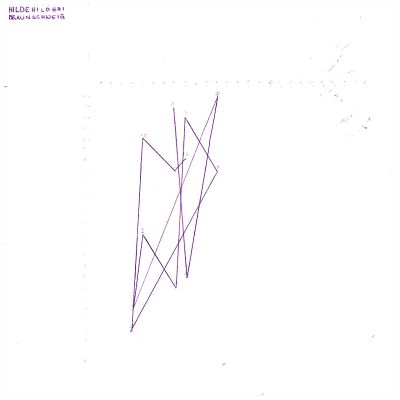
Superimposed results of the Introductory Algorithm. By executing the algorithm, each participant of the class created a unique personal sign, based on their own name. |
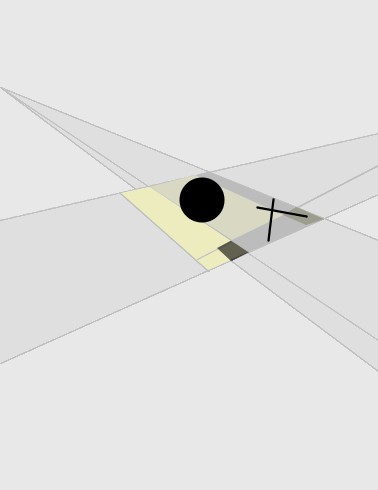
| Recreating Q1 Supermatistic by László Moholy-Nagy. | |
|
Recreating AXL II by László Moholy-Nagy. |
26.10.2018 - Week 2
| Result | Algorithm |
|---|---|
|
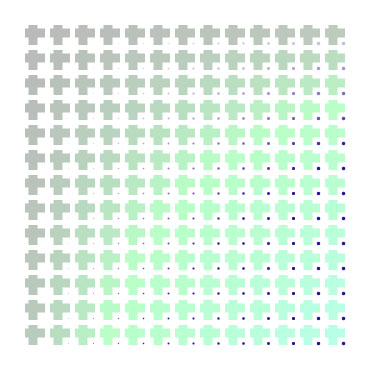
Creating a 2D grid structure, using nested for loops in Processing. |
02.11.2018 - Week 3
| Result | Algorithm |
|---|---|
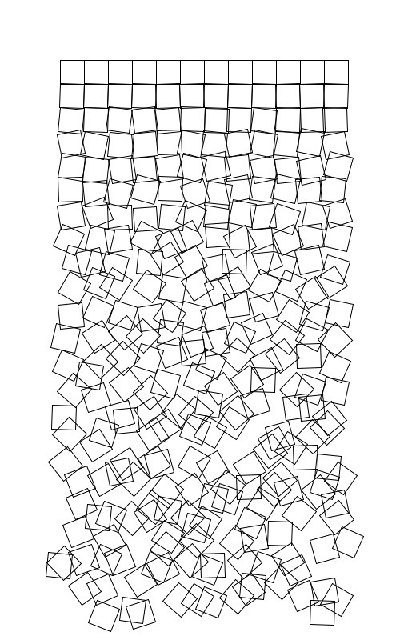 |
Recreating "Schotter" by Georg Nees in class. |
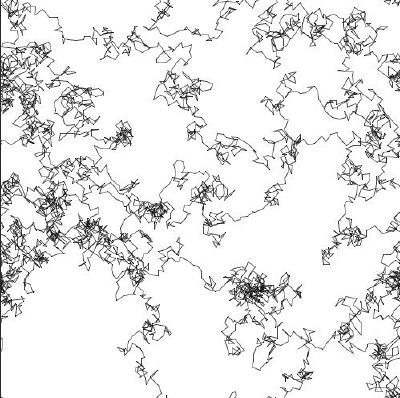 |
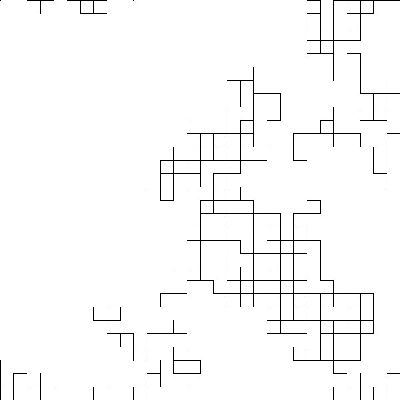
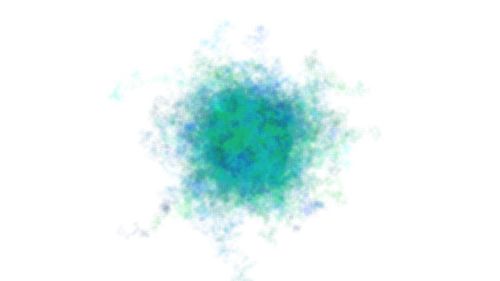
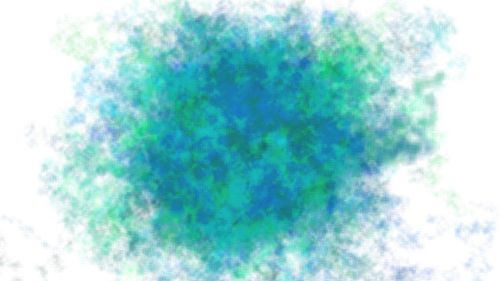
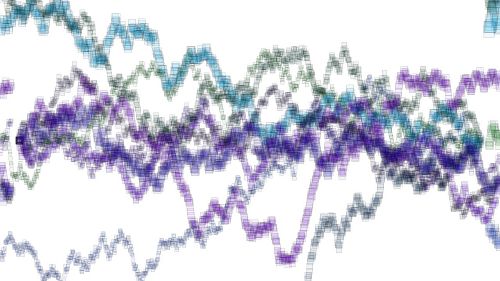
Experimenting with Brownian Motion in class.
|
| Result | Algorithm |
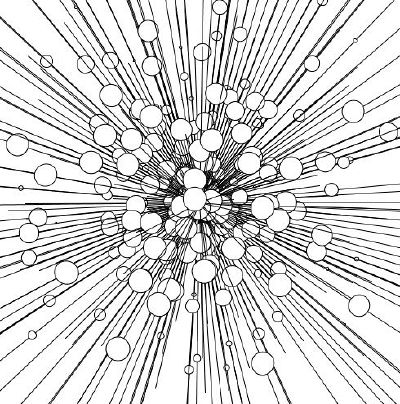 |
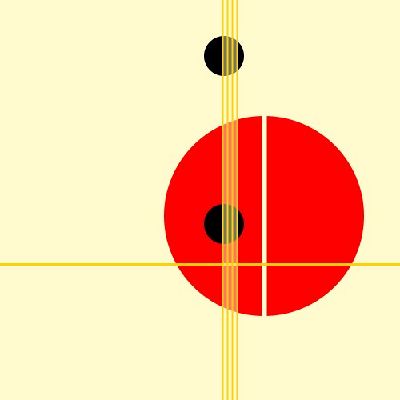
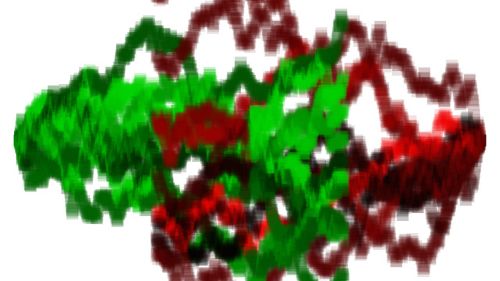
some more experiments on randomness. |
| |
Link to Algorithm |
| |
Link to Algorithm |
09.11.2018 - Week 4
| Result | Algorithm |
|---|---|
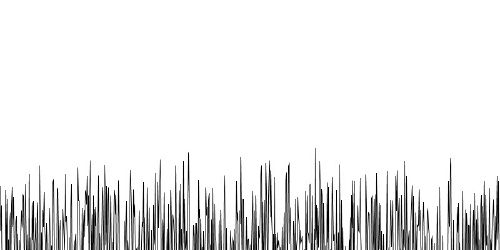 |
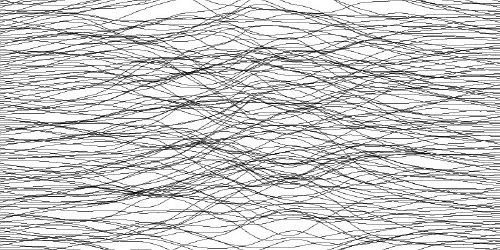
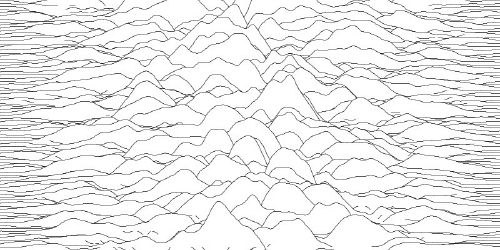
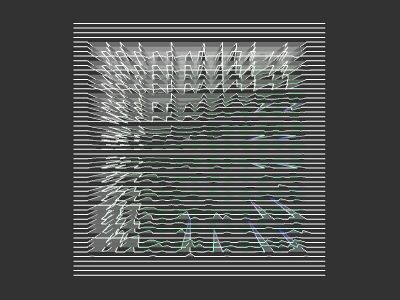
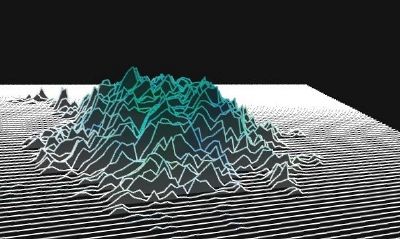
Experiments with the noise function in class. idea from the "Unknown Pleasures" Poster by Joy Division. |
22.11.2018 - Week 5
| Result | Algorithm |
|---|---|
|
Somehow lost some files. but they all are based on the same algorithm, with different settings in color, size, speed and number : Link to Algorithm |
30.11.2018 - Week 6
| Result | Algorithm |
|---|---|
|
we started to work with images. each pixel is referring to a line. the length of the lines and their number and distance is depending on the x coordinate of the mouse. | |
|
I used a similar technique to create christmas postcards. The first one is a photo of trees in winter and only the darkest parts of the picture are shown. I printed the result with a pen plotter. | |
|
The second one is a candle and only the brighter pixels are displayed. The pixels are simplified into two orthogonal lines. Their length is depending on their brightness. I don't know why, but this one could not be printed with the plotter. |
14.12.2018 - Week 7
| Result | Algorithm |
|---|---|
| This is a result from the so called Pixel Sorting technique we did in class.
Original Picture is a portrait of Richard Avedon by Jacques-Henri Lartique, 1966. | |
| We also started to work within a 3d environment. we loaded images and made the height of their pixels depending on their brightness. As images, I took some results of earlier algorithms, |
