No edit summary |
No edit summary |
||
| Line 1: | Line 1: | ||
=GOL-Midi Semesterprojekt= | =GOL-Midi Semesterprojekt= | ||
==Concept== | ==Concept== | ||
| Line 8: | Line 6: | ||
==Schematic== | ==Schematic== | ||
[[File:Schematic.PNG]] | [[File:Schematic.PNG|400px]] | ||
==PCB== | ==PCB== | ||
[[File:pcb_new.PNG]] | [[File:pcb_new.PNG|400px]] | ||
===Generation=== | ===Generation=== | ||
[[File:rule30.png|400px]] | |||
==Final Design== | ==Final Design== | ||
[[File:3d-back.png]] | [[File:3d-back.png|400px]] | ||
[[File:3d-front.png]] | [[File:3d-front.png|400px]] | ||
==Programming== | ==Programming== | ||
Revision as of 07:42, 3 April 2021
GOL-Midi Semesterprojekt
Concept
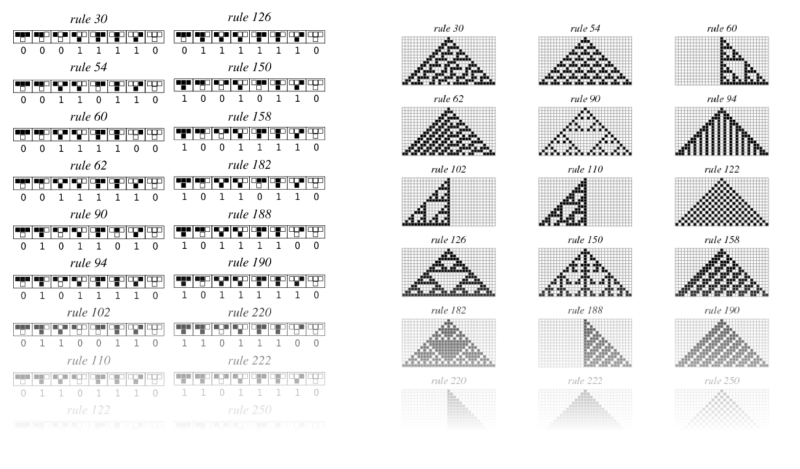
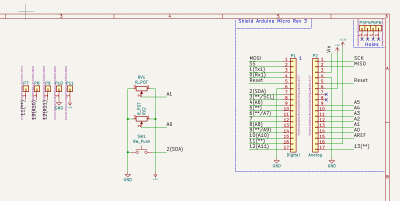
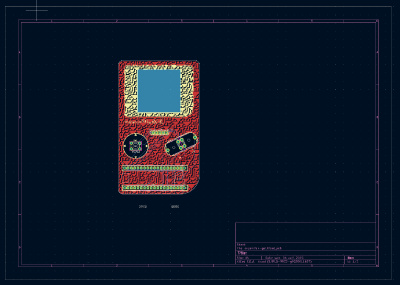
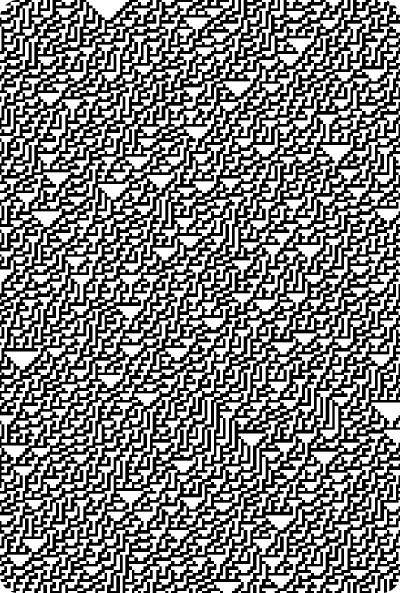
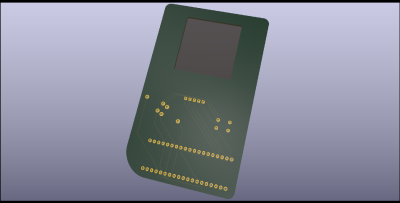
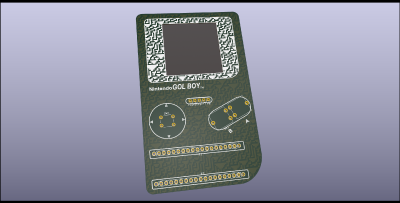
In this project I wanted to revisit my first-semester project about generating sound using cellular automata. Instead of synthesizing the sound directly from the state of the cellular automata, I wanted to take advantage of using the MIDI-capabilities of the ATmega32U4 microcontroller and design a custom PCB for an Arduino Micro shield which controlls the simulation. The state of the simulation is then send as MIDI over the USB-C port of the Arduino, which can then be used as a MIDI-controller. For the design of the PCB I wanted to take a procedural approach aswell while keeping it simple but taking advantage of all the layers available. The custom PCB controlls the speed and rules used in the one-dimensional automata.
Schematic
PCB
Generation
Final Design
Programming
Simulation
To efficiently simulate the 8-Bit automata the state of the cell and it's neighbours are interpreted as 3-Bit numbers that are then looked up in two arrays. One for the rules whether a cell is created and one for whether the cell should die. Rules for the automata can be changed using the shield.
MIDI
To send the state of the simulation using MIDI the library MIDIUSB (https://github.com/arduino-libraries/MIDIUSB) was used. The state of the simulation is mapped to chrods of a selected scale that are hardcoded in memory and can be send all at once or as an arpeggio. To map to the scales the state of the automata is interpreted as an 8-Bit number that is then mapped to the tone. The speed or time of the intervall is controlled by the shield.
Parts
Besides the PCB the following parts are necessary:
- Poti
- Button
Video
TBA
