No edit summary |
No edit summary |
||
| Line 9: | Line 9: | ||
'''materials:''' | '''materials:''' | ||
- Petri dish | - Petri dish | ||
- Hot glue/ glue gun | - Hot glue/ glue gun | ||
- 2 cables with 2 contacts each | - 2 cables with 2 contacts each | ||
- Crocodile cable | - Crocodile cable | ||
- mud | - mud | ||
- water | - water | ||
- Voltmeter | - Voltmeter | ||
- Agar- Agar Powder | - Agar- Agar Powder | ||
---- | |||
'''Experiment''' | '''Experiment''' | ||
'''1.''' Mix agar-agar powder with water which will later be placed in the middle of the Petri dish. | |||
--> allow to set | |||
'''2.''' Glue both cables with contacts on opposite sides of the Petri dish with a glue gun. (pic1) | |||
--> Make sure that the glue does not come into contact with the end of the cable. | |||
'''3.''' Put the agar-agar, which has become solid in the meantime, in the middle of the petri dish, so that it will later become the connecting piece between the two sides of the petri dish. (pic2) | |||
'''4.''' Fix the agar-agar in the middle with the help of the glue. | |||
The glue should be applied thickly over the entire middle of the dish so that a kind of wall is created between the two cables.(pic3) | |||
--> Important: '''do not leave any gaps''' when glueing, otherwise the experiment will not work properly. | |||
'''5.''' Then pour water onto one side of the bowl and make sure that the contact of the cable is covered. | |||
--> Now do the same on the opposite side with the previously collected mud. | |||
--> Again: Make sure that the water and the mud do not mix. (pic4) | |||
'''6.''' Adapters can now be attached to the cables, which are connected to a voltmeter.(Pic5) | |||
'''7.''' At the end of the experiment, a voltage should be read off.(pic6) | |||
'''8.''' The aim of the experiment is to generate more and more voltage. | |||
--> This can be done by covering the dish after the project and letting it stand. After some time, more and more bacteria form in the sludge, which means that if you repeat the experiment after a week, a higher voltage will be measurable. | |||
---- | |||
[[File:202211201.jpg|400px]] Pic1 | |||
[[File:202211202.jpg|400px]]Pic2 | |||
[[File:202211203.jpg|400px]]Pic3 | |||
[[File:2022112014.jpg|400px]]Pic4 | |||
[[File:20221025_163742.jpg|400px]]Pic5 | |||
[[File:20221025_163748.jpg|400px]]Pic6 | |||
Revision as of 10:09, 20 November 2022
Sustainable Aesthetics' . . . for me it means to create something new from already existing things. This can be something useful in the household, clothes, decorative objects or something that helps with research. In my opinion, it also depends on how you deal with the resources you use for your project, i. e. being able to estimate the amount and not use everything in excess. Perhaps you could also say that you can make a lot out of a little. With Sustainable Aesthetics, I also think of variability, that is to try out a lot and venture into projects that you have always been interested in or have never done before. In my case, this would be woodworking or modelling with damp clay.
Experiment Microbial fuel cell
materials:
- Petri dish
- Hot glue/ glue gun
- 2 cables with 2 contacts each
- Crocodile cable
- mud
- water
- Voltmeter
- Agar- Agar Powder
Experiment
1. Mix agar-agar powder with water which will later be placed in the middle of the Petri dish.
--> allow to set
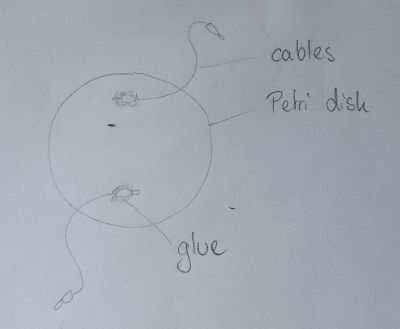
2. Glue both cables with contacts on opposite sides of the Petri dish with a glue gun. (pic1)
--> Make sure that the glue does not come into contact with the end of the cable.
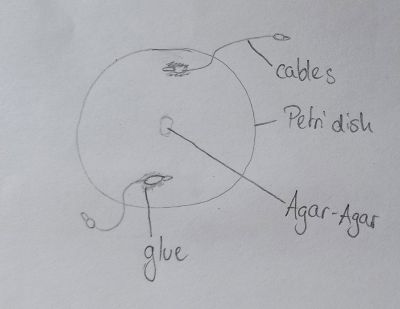
3. Put the agar-agar, which has become solid in the meantime, in the middle of the petri dish, so that it will later become the connecting piece between the two sides of the petri dish. (pic2)
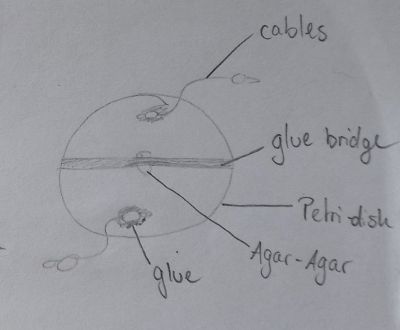
4. Fix the agar-agar in the middle with the help of the glue.
The glue should be applied thickly over the entire middle of the dish so that a kind of wall is created between the two cables.(pic3)
--> Important: do not leave any gaps when glueing, otherwise the experiment will not work properly.
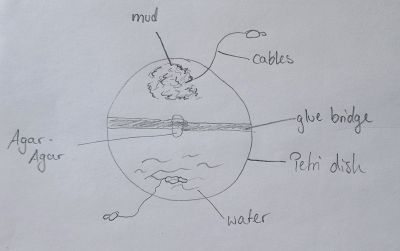
5. Then pour water onto one side of the bowl and make sure that the contact of the cable is covered.
--> Now do the same on the opposite side with the previously collected mud.
--> Again: Make sure that the water and the mud do not mix. (pic4)
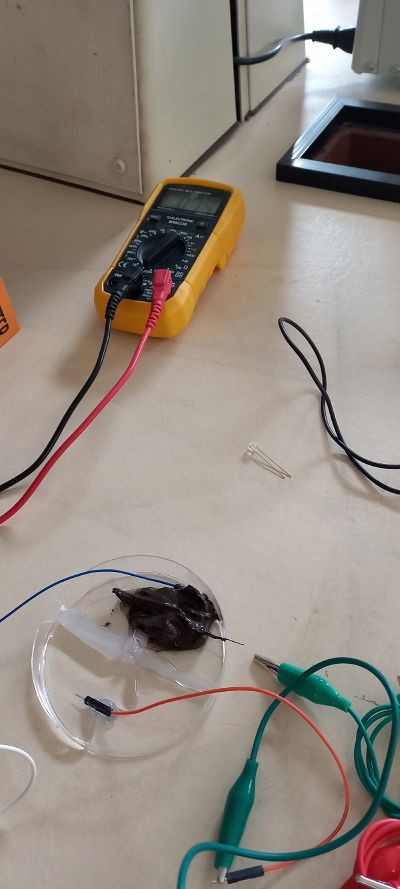
6. Adapters can now be attached to the cables, which are connected to a voltmeter.(Pic5)
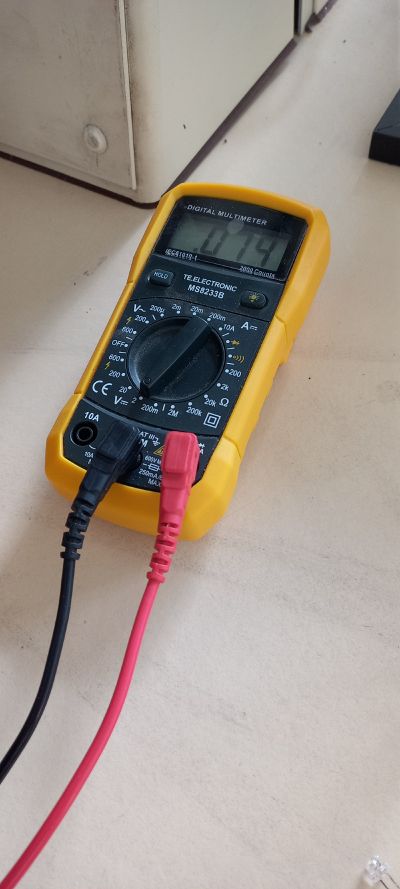
7. At the end of the experiment, a voltage should be read off.(pic6)
8. The aim of the experiment is to generate more and more voltage.
--> This can be done by covering the dish after the project and letting it stand. After some time, more and more bacteria form in the sludge, which means that if you repeat the experiment after a week, a higher voltage will be measurable.
Ideas
Loudspeaker and LED stripes (both are leftovers from home)
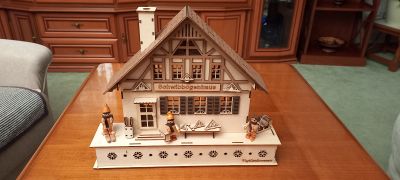
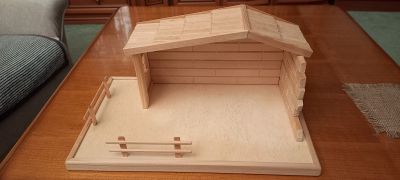
My idea is to make a small decorative house, which is made of wood. In terms of sustainability, I try to make sure that the wood I want to use is not very expensive. An additional consideration is to equip the house with LED lights or a speaker. For the lights, the idea is to light the small house from the inside. For the LED's I would take an old string of lights or purchase an LED light with cables on the internet. The idea with the speaker would be that I would install it so that it is not visible. The final product should then be able to play music or christmas sounds. In the end, my product should be built so that it lasts a few years, because that is another point of sustainability for me.
References
chrismas decoration with little LED lights inside the house which is build out of plywood
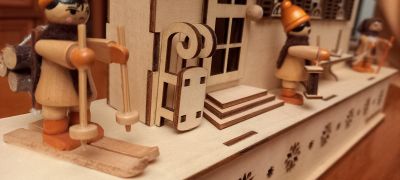
chrismas crib made by my grandpa where you can put figures in, it's build out of cheap wood and plywood
https://www.amazon.de/s?k=B09J1BGC51
https://www.erzgebirgskunst-drechsel.de/weihnachten/lichterhaeuser.html
