IFD:Eclectic Electric!/DocumentationWS2013/Lydia Kluge/Exercise1: Difference between revisions
Lydiakluge (talk | contribs) (Created page with "== Get That Soldering Done == '''Task''' The task was to build a small circuit mainly in order to familiarise ourselves with a soldering iron. '''Work''' Tobias Wolf and I c...") |
Lydiakluge (talk | contribs) |
||
| (One intermediate revision by the same user not shown) | |||
| Line 21: | Line 21: | ||
'''Circuit | '''Circuit Diagram''' | ||
Last but not least, our wiring diagram: | Last but not least, our wiring diagram: | ||
[[File:Led-zero-one-two-way-connection-circuit.jpg|800px]] | [[File:Led-zero-one-two-way-connection-circuit.jpg|800px]] | ||
Latest revision as of 21:36, 28 June 2014
Get That Soldering Done
Task
The task was to build a small circuit mainly in order to familiarise ourselves with a soldering iron.
Work
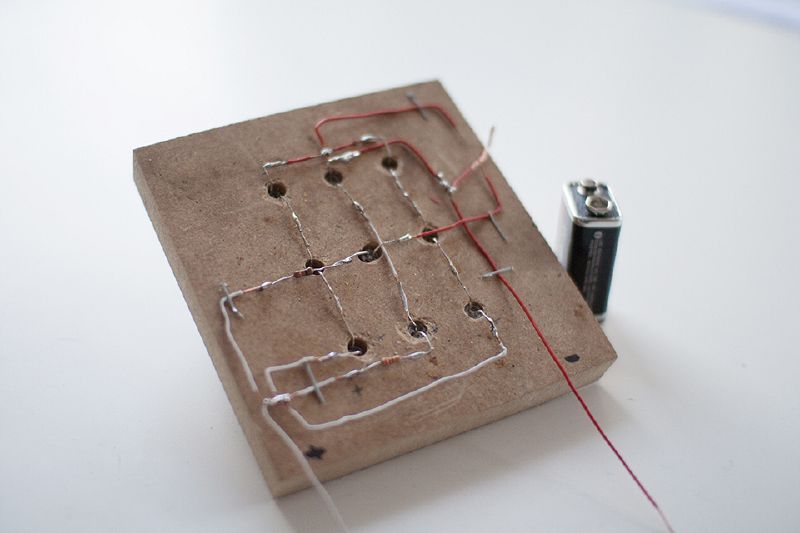
Tobias Wolf and I constructed a wooden display that either shows the number zero or the number one with the help of a drilled dot matrix and nine LEDs.
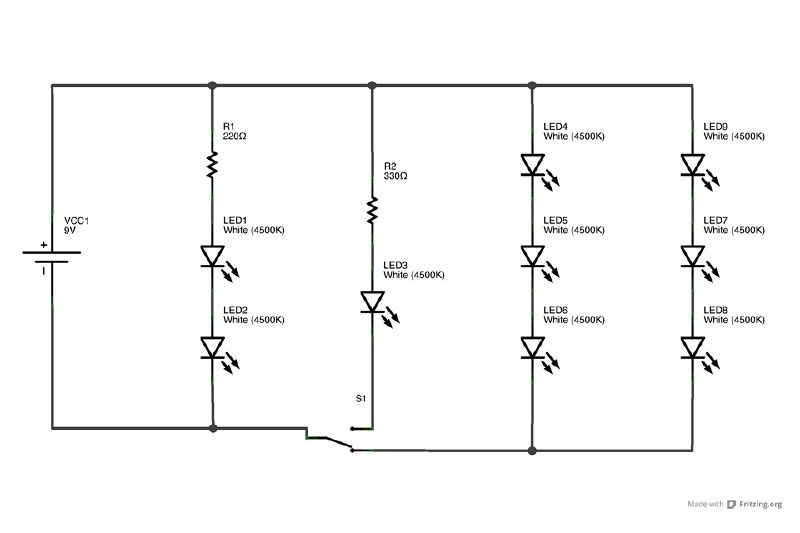
To accomplish the change of the number we build a two-way connection; first we put one, two and two times three LEDs each in a series circuit and connected those in parallel. Next a resistor of 330 Ohm was used for the wiring with only one LED and a resistor of 220 Ohm for the one with two LEDs. That's slightly more resistance than needed but we assumed this wouldn't be a problem.
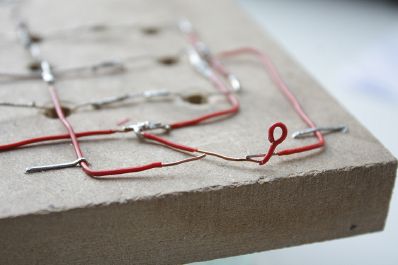
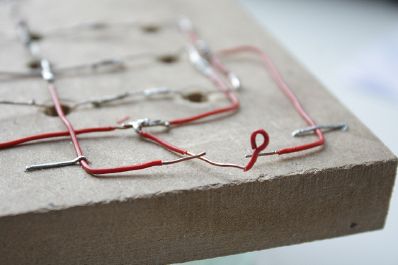
On top of this we improvised a toggle switch which connects the two LEDs either with the single LED to form the "1" or with the other six LEDs to form the "0".
Circuit Diagram
Last but not least, our wiring diagram:


