| Line 24: | Line 24: | ||
== 3D Printed Model == | == 3D Printed Model == | ||
[[File:3D_Model_printedNils.jpg]] | [[File:3D_Model_printedNils.jpg]] | ||
This Model was printed with a Rapman 3.1 within 4h 37min. | This Model was printed with a Rapman 3.1 within 4h 37min. | ||
i used sketchup to create the needed .stl file and then used netfabb to check it. | i used sketchup to create the needed .stl file and then used netfabb to check it. | ||
Last step was to create a .bfb file (for Rapman) via Axon (Windows only) likewise you could use Skeinforge. | Last step was to create a .bfb file (for Rapman) via Axon (Windows only) likewise you could use Skeinforge. | ||
Revision as of 13:49, 23 November 2012
Miroscopy stage construction
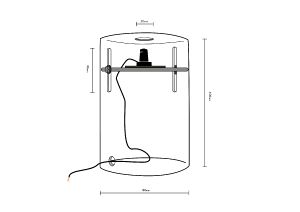
The aproach was to build a cylinder form for the microscope in order to pick up the shape of the petridish. two srews at each side of the cylinder are added to manually lift and lower the plate with the camera (which is insider of the cylinder).
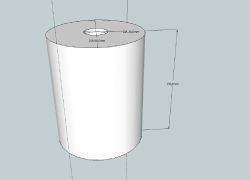
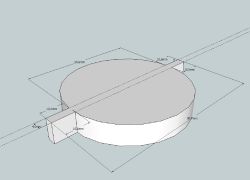
3D Model
You can download the .stl files of the plate and the plain cylinder
Stage construction cardboard model
3D Printed Model
This Model was printed with a Rapman 3.1 within 4h 37min.
i used sketchup to create the needed .stl file and then used netfabb to check it.
Last step was to create a .bfb file (for Rapman) via Axon (Windows only) likewise you could use Skeinforge.


