mNo edit summary |
mNo edit summary |
||
| Line 120: | Line 120: | ||
3D design of the the mounting for potential 3D Printing (using the Blender software): | 3D design of the the mounting for potential 3D Printing (using the Blender software): | ||
[[File:3D_mount_seb.jpg]] | [[File:3D_mount_seb.jpg]] | ||
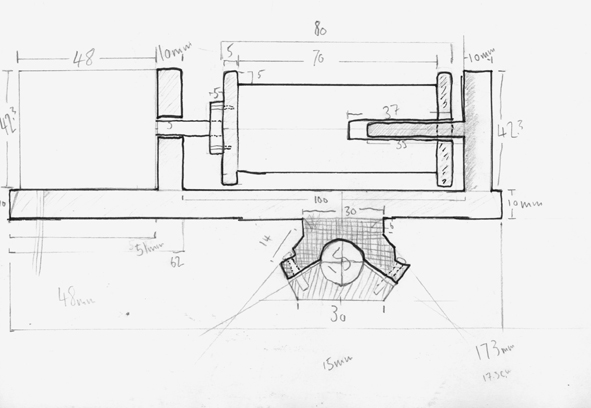
To scale section drawing: | |||
[[File:Mech_sketch_wiki.jpg]] | |||
First attempt to use wood and Metal by hand to construct the above mechanism sketch is shown below in the images: | |||
Revision as of 19:41, 10 November 2014
DeViCeS oF pErCePtIoN
Day 1 Notes
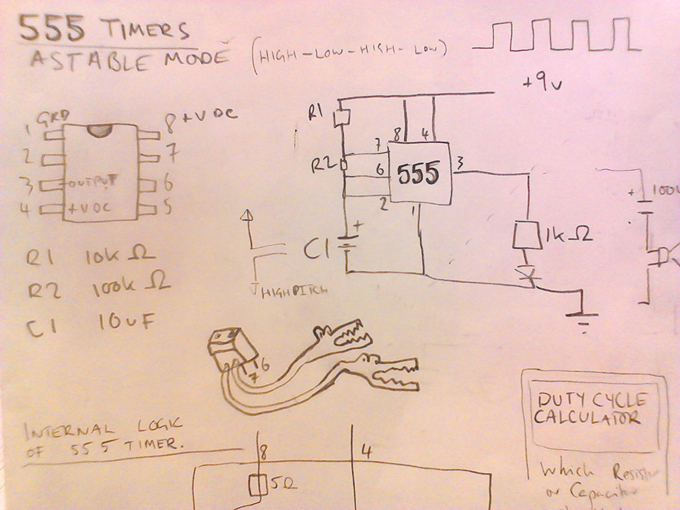
Learning about the two versions of circuits you can make with the 55 timer, for two modes, Astable and Monostable.
The Astable mode the circuit has a constant output which's the duration can be varied by using resistors and capacitors with different strengths. In this example we used an LED as the output.
-insert video-
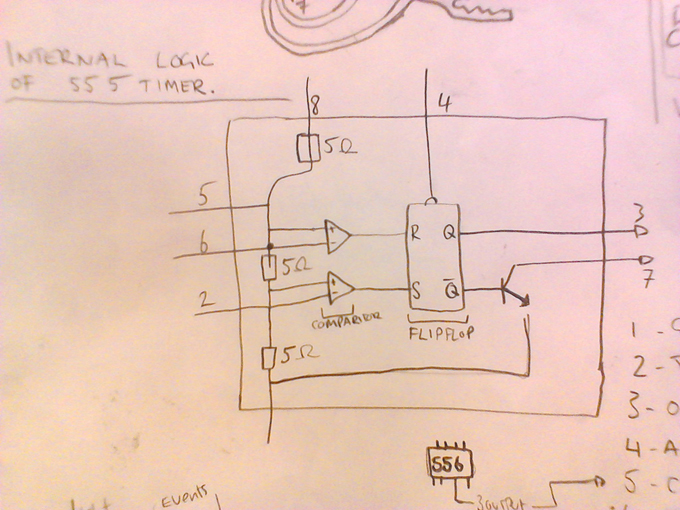
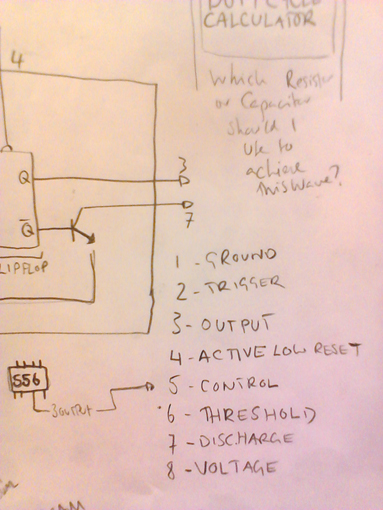
Then you've got to 'get inside the machine' The internal Logic of the 555 Timer.
Day 2 Notes
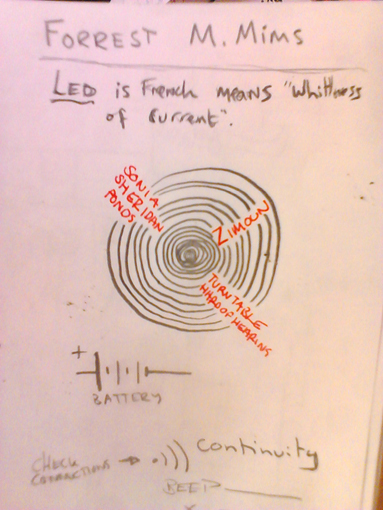
'Technology is an agent of power... and in practice is not the sum of the artefacts, but a system much more than the parts. this system includes organisation-mindset-symbols and a whole body of knowledge...' - Sonia Sheridan Bonds
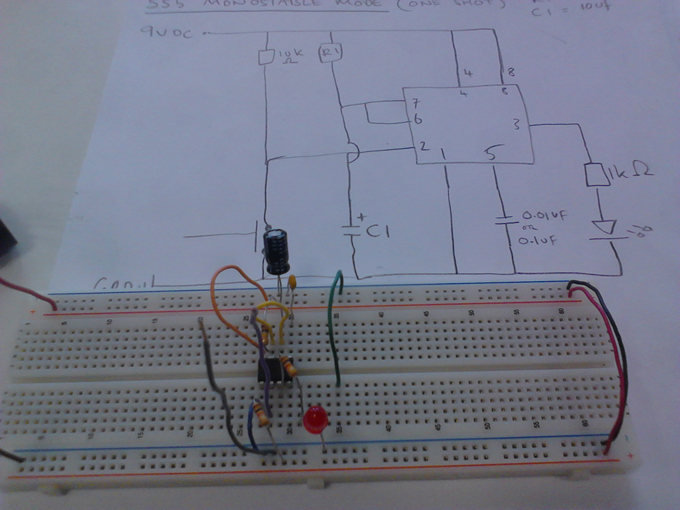
The 555 TIMER: MONOSTABLE MODE
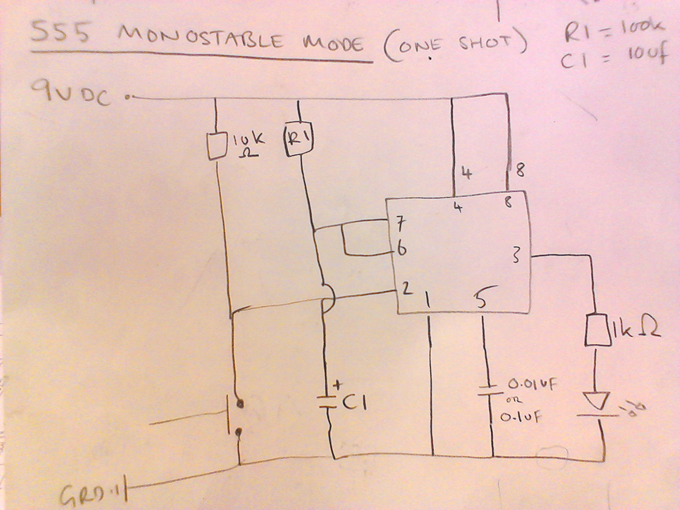
The Monostable mode includes a stitch, which when activated, lets the circuit run for a duration of time that is conditioned by the resistors and capacitors. (on once, HIGH)
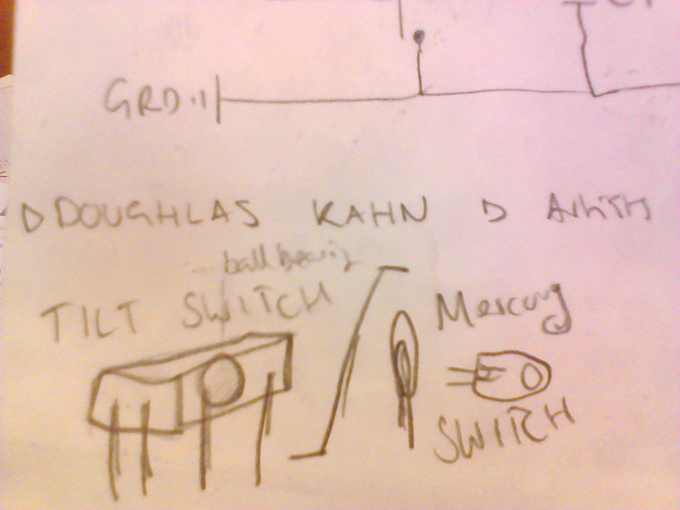
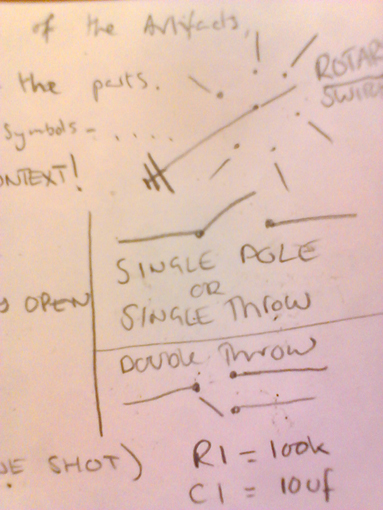
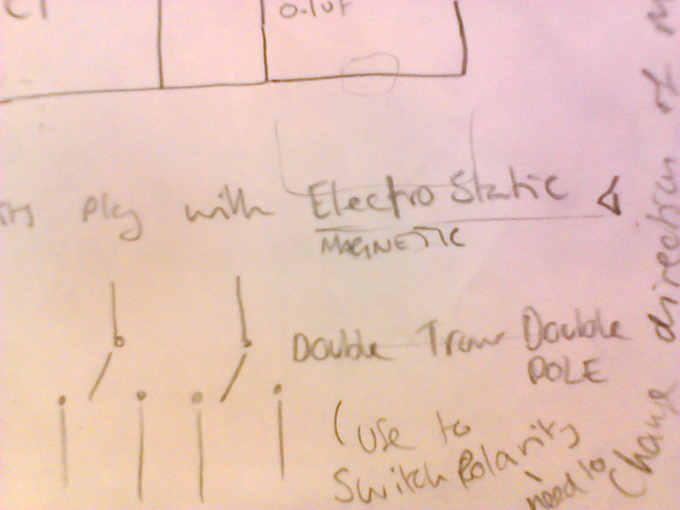
Switches:
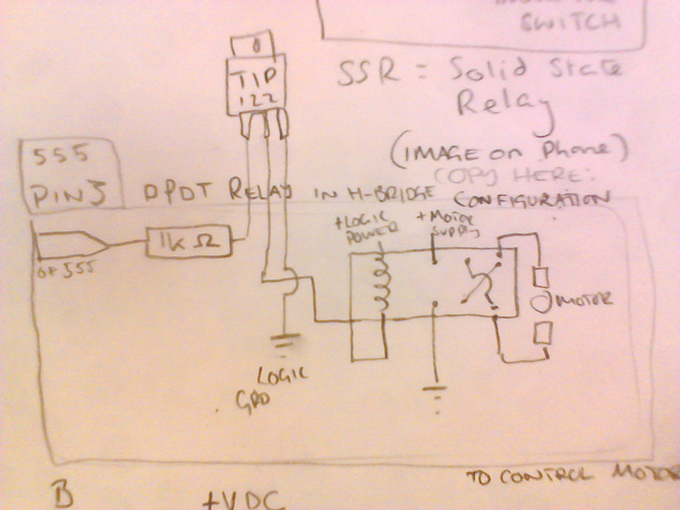
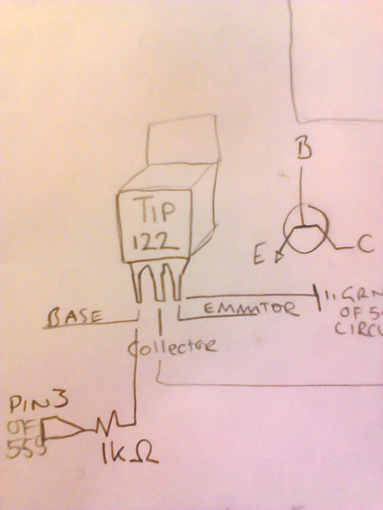
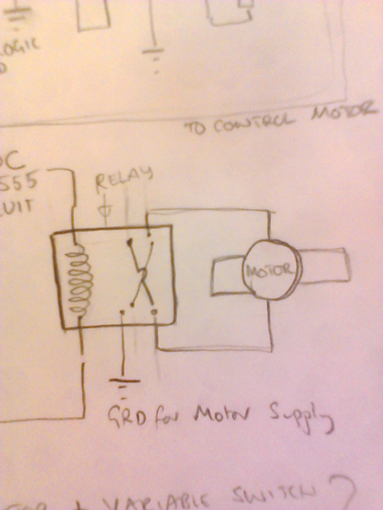
H-Bridge for controlling the direction of a motor:
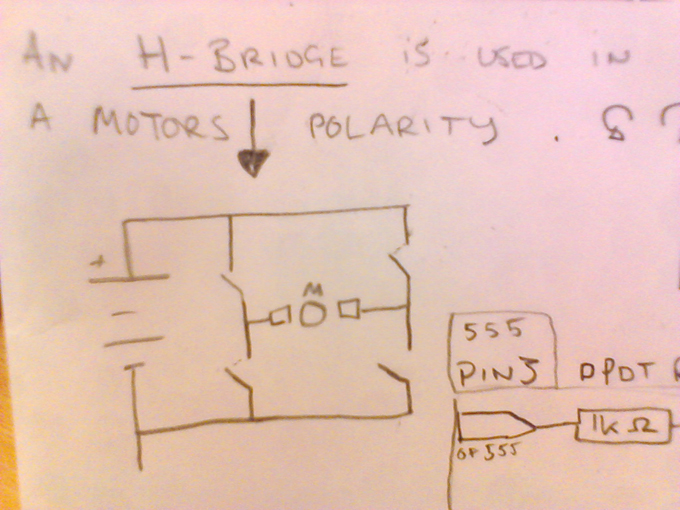 File:Day2 F.jpg
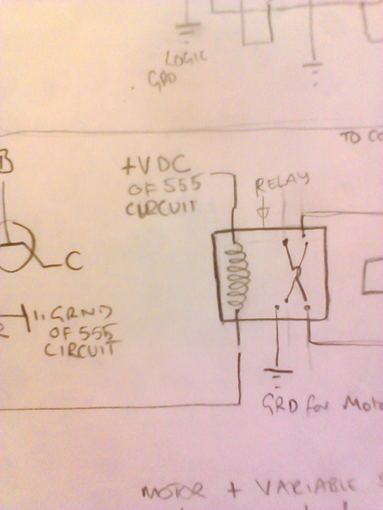
Using a relay:
1st Assignment:
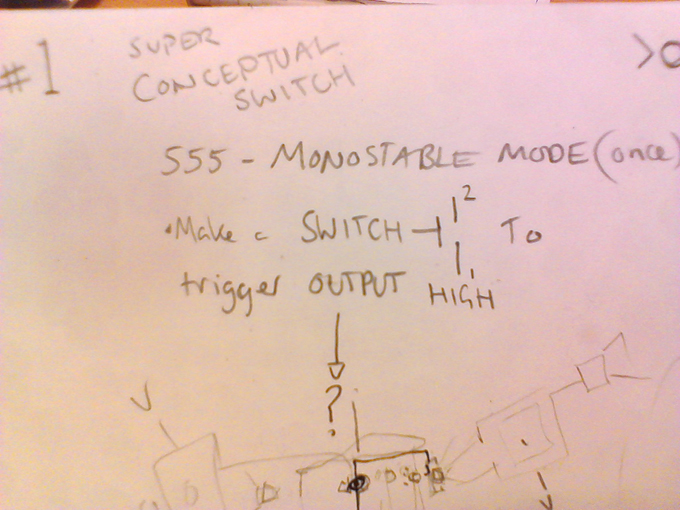
Two choices: Make a switch (super conceptual) using the 555 timer in MONOSTABLE mode. Output what ever you like. Focus is on the switch.
Or
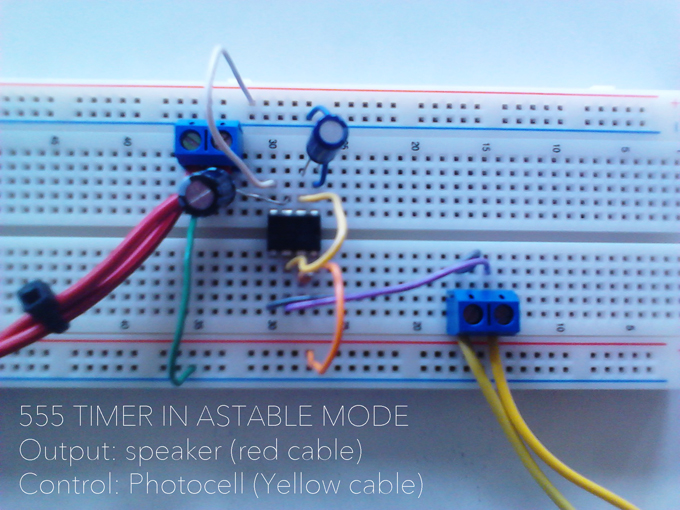
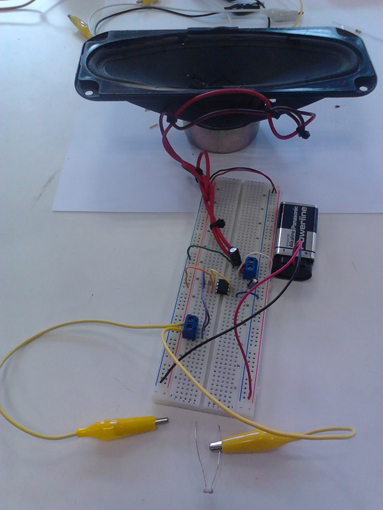
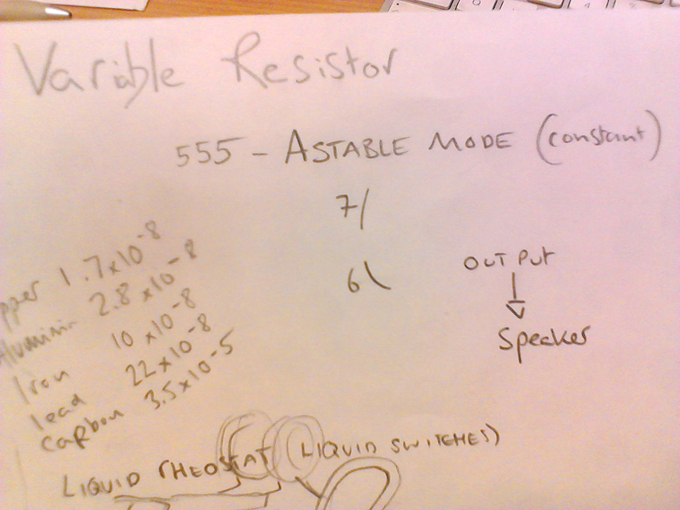
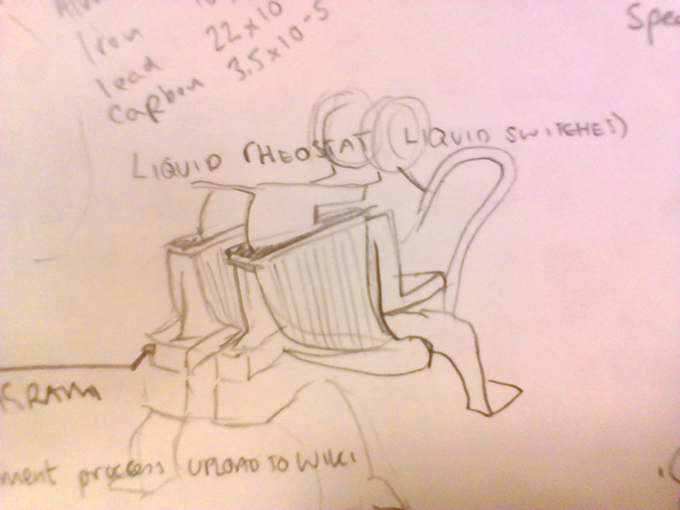
Make a variable resistor (alternative, creative) the main thing is that what ever it is, the material needs to be conductive. Using the 555 timer in Astable STABLE mode. Output will be sound (speaker) Focus is on the aesthetic of the sound and the creative use of resistance.
So! to thinking and sketching.....
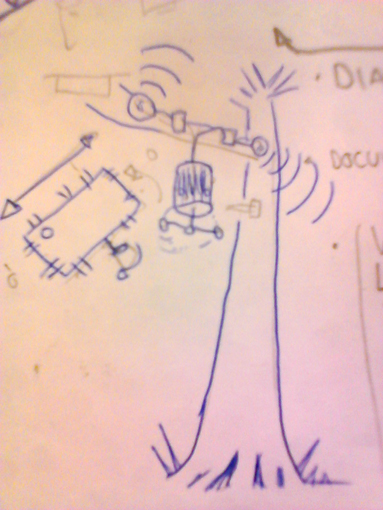
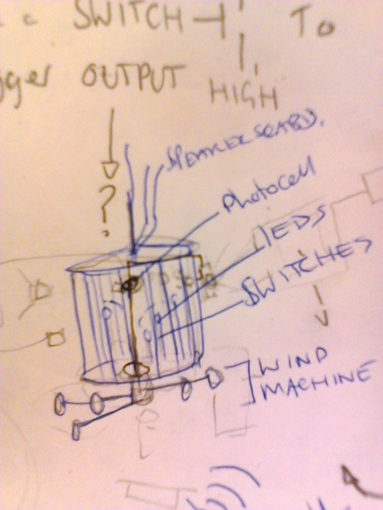
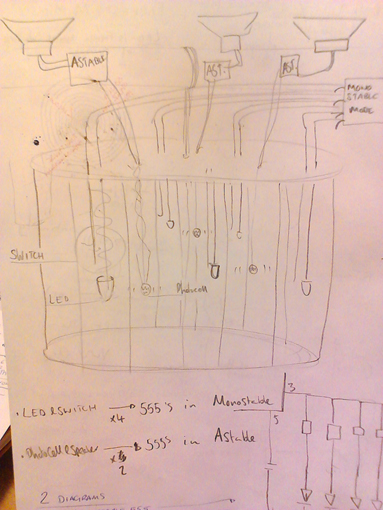
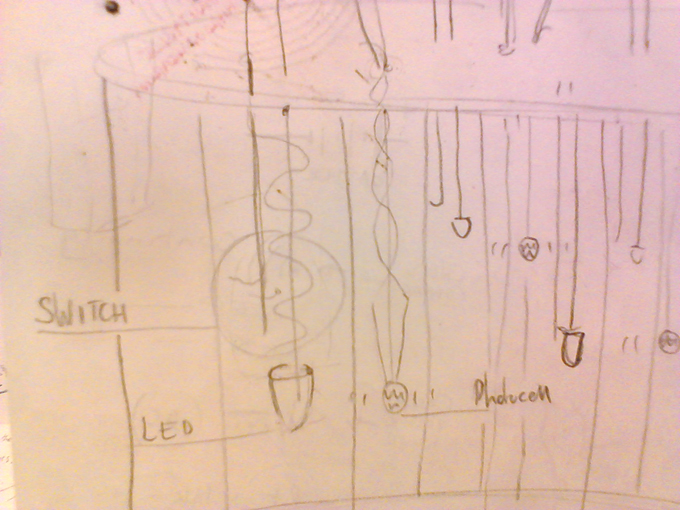
Working with Luis, we came up with an electric anti-bird cage. The wind should blow the switched to turn on the LED's, which in turn are recognised by the photocells, acting as resistors in another circuit which produces sounds. We tried it in the Ilm Park at night.
Here is a video of it inside: https://vimeo.com/98824110
This is the Cage in the ilm Park:
https://www.youtube.com/watch?v=5zqEh81ad68&feature=youtu.be
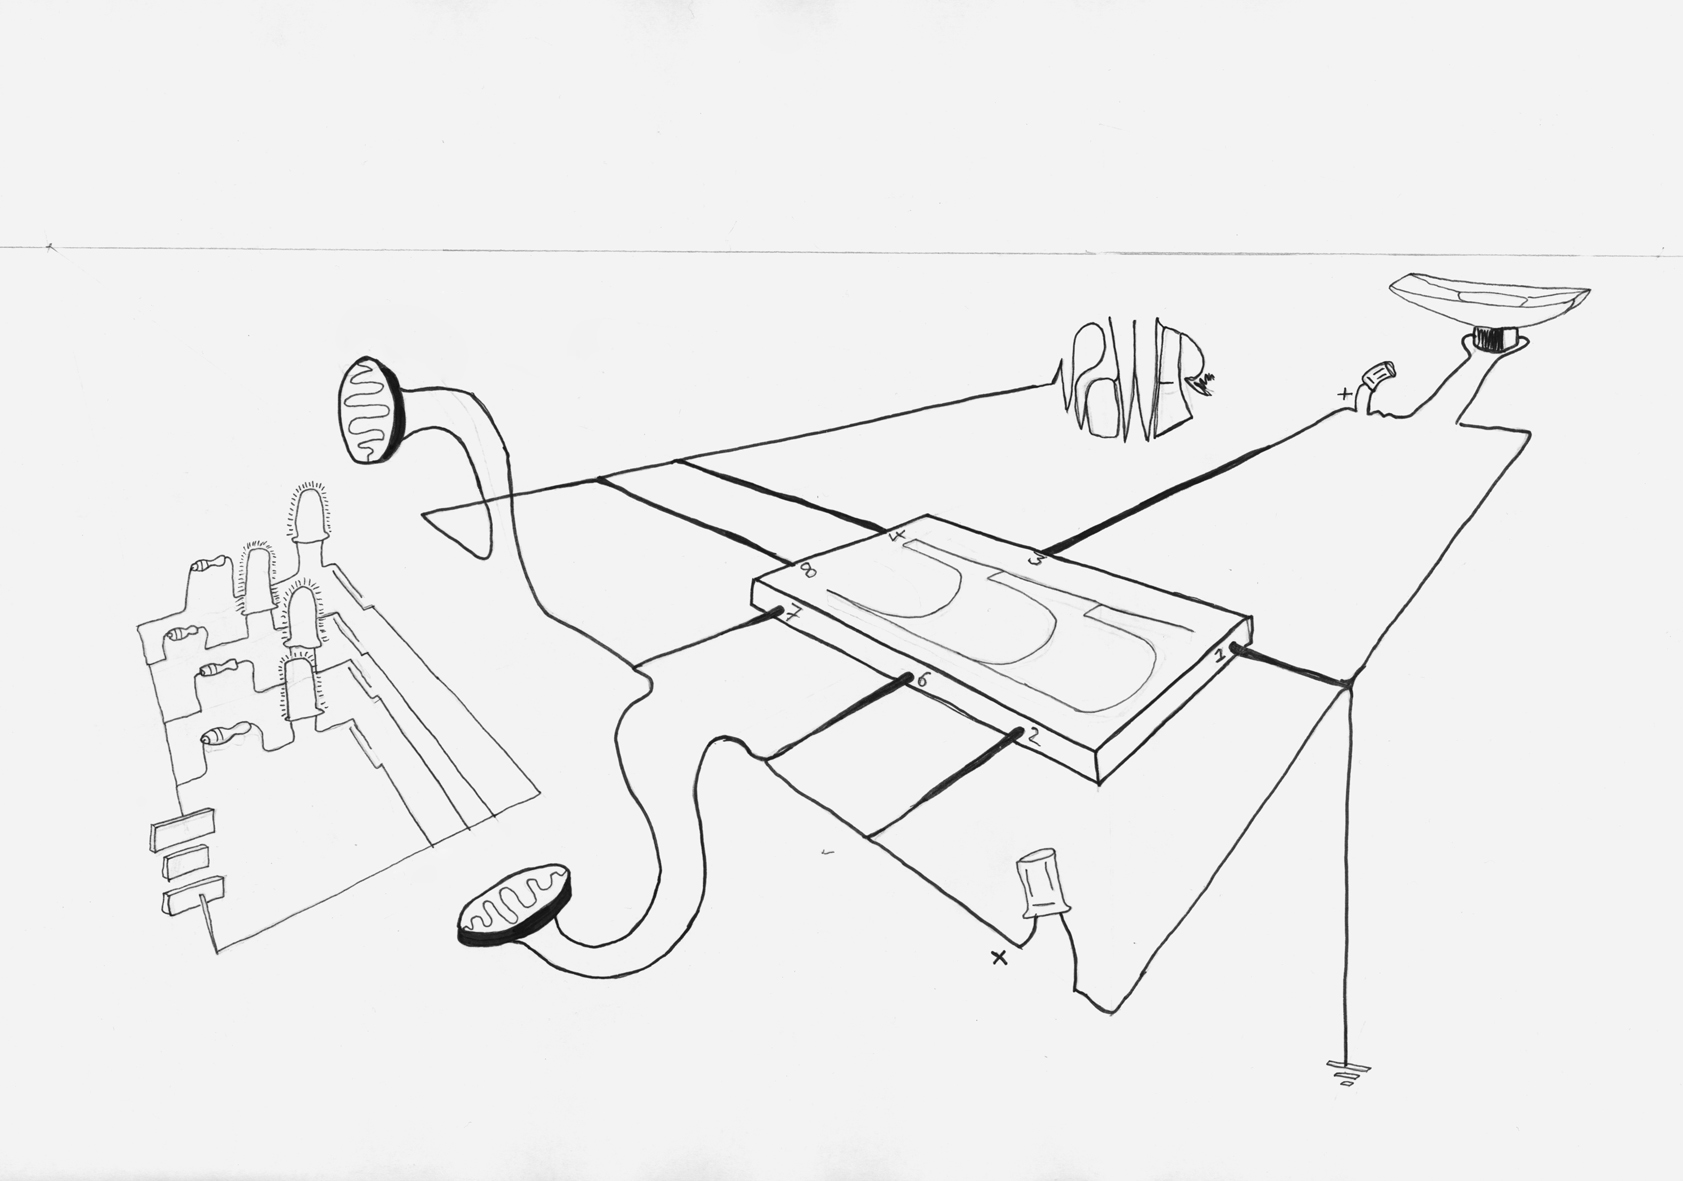
This is a 3d circuit diagram of both circuits:
--- F I N A L P R O J E C T ---
Designing and building a mechanism to control an Umbrella a with ones' breath, or respiratory movement of the chest. Enter the breathing Umbrella. Do you breath the Umbrella or does it breath you?
First researched and collected the necessary components:
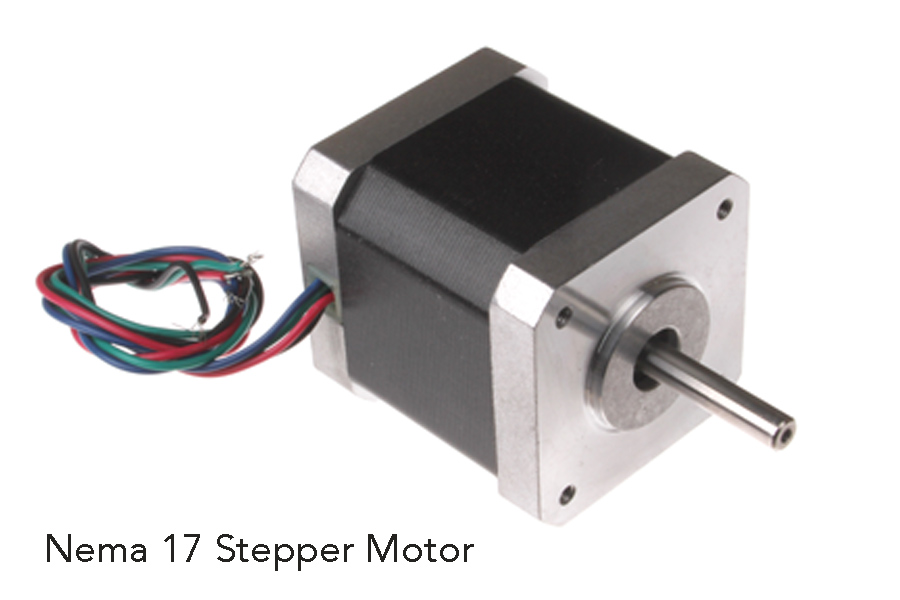
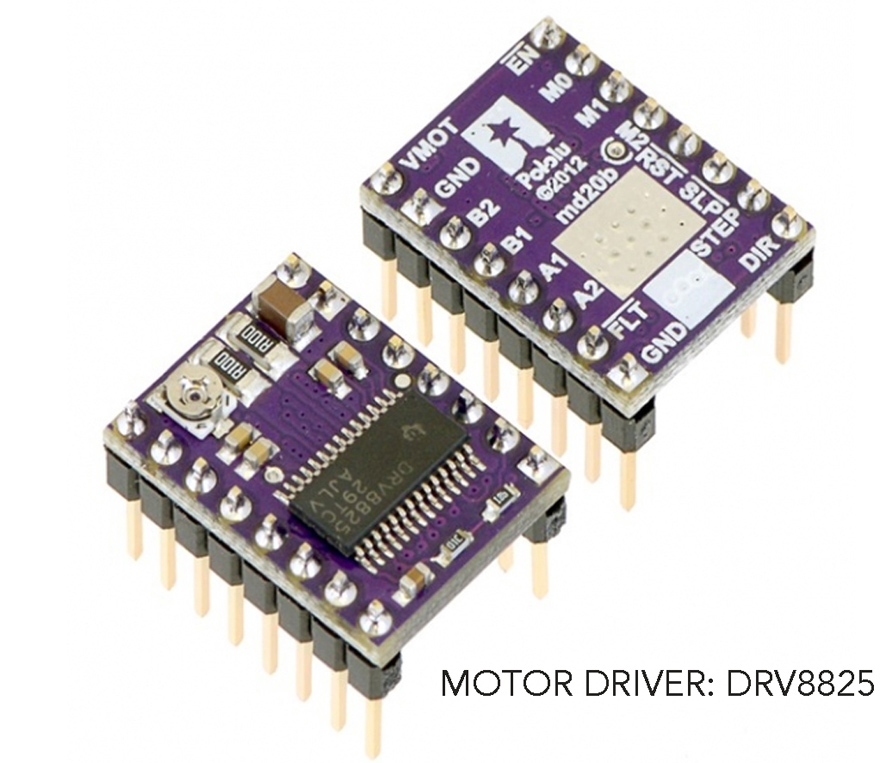
One Strong Stepper Motor The Motors Driver A Universal Mounting Hub
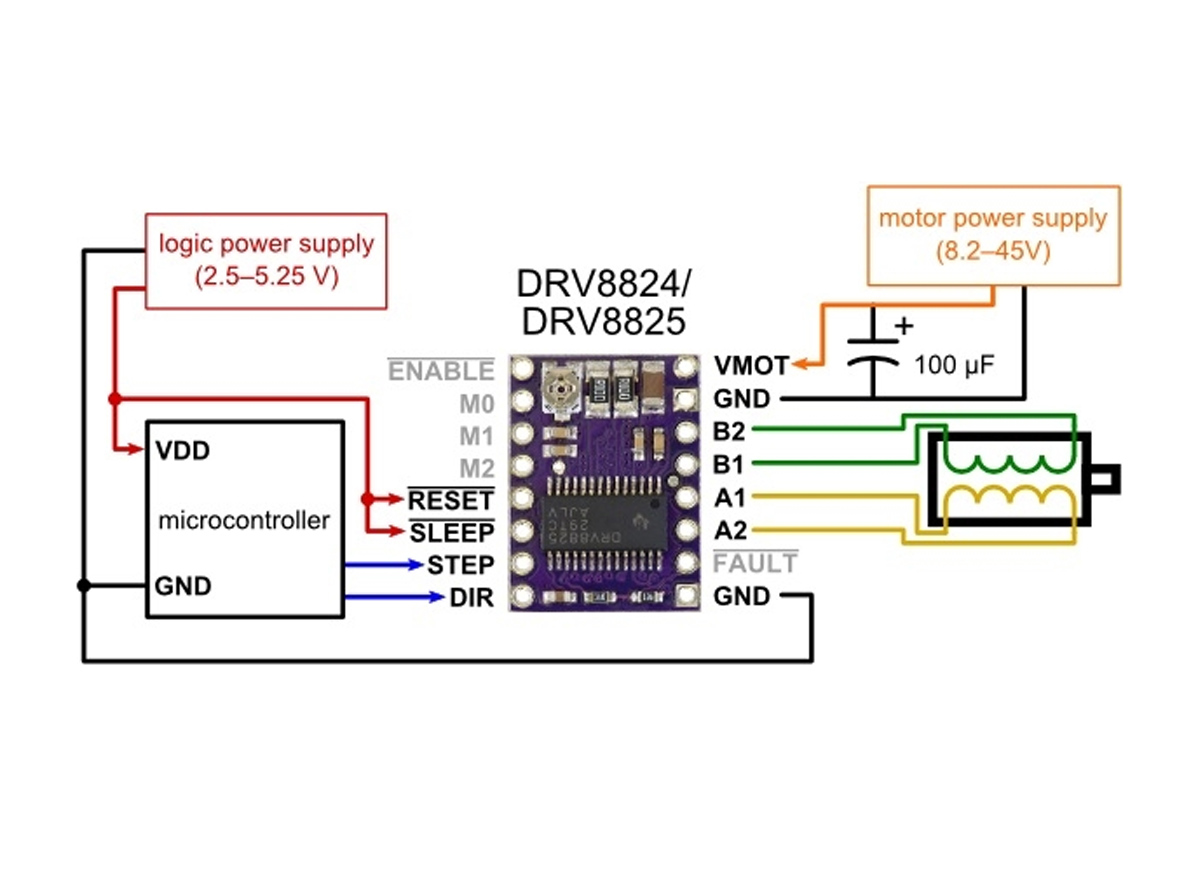
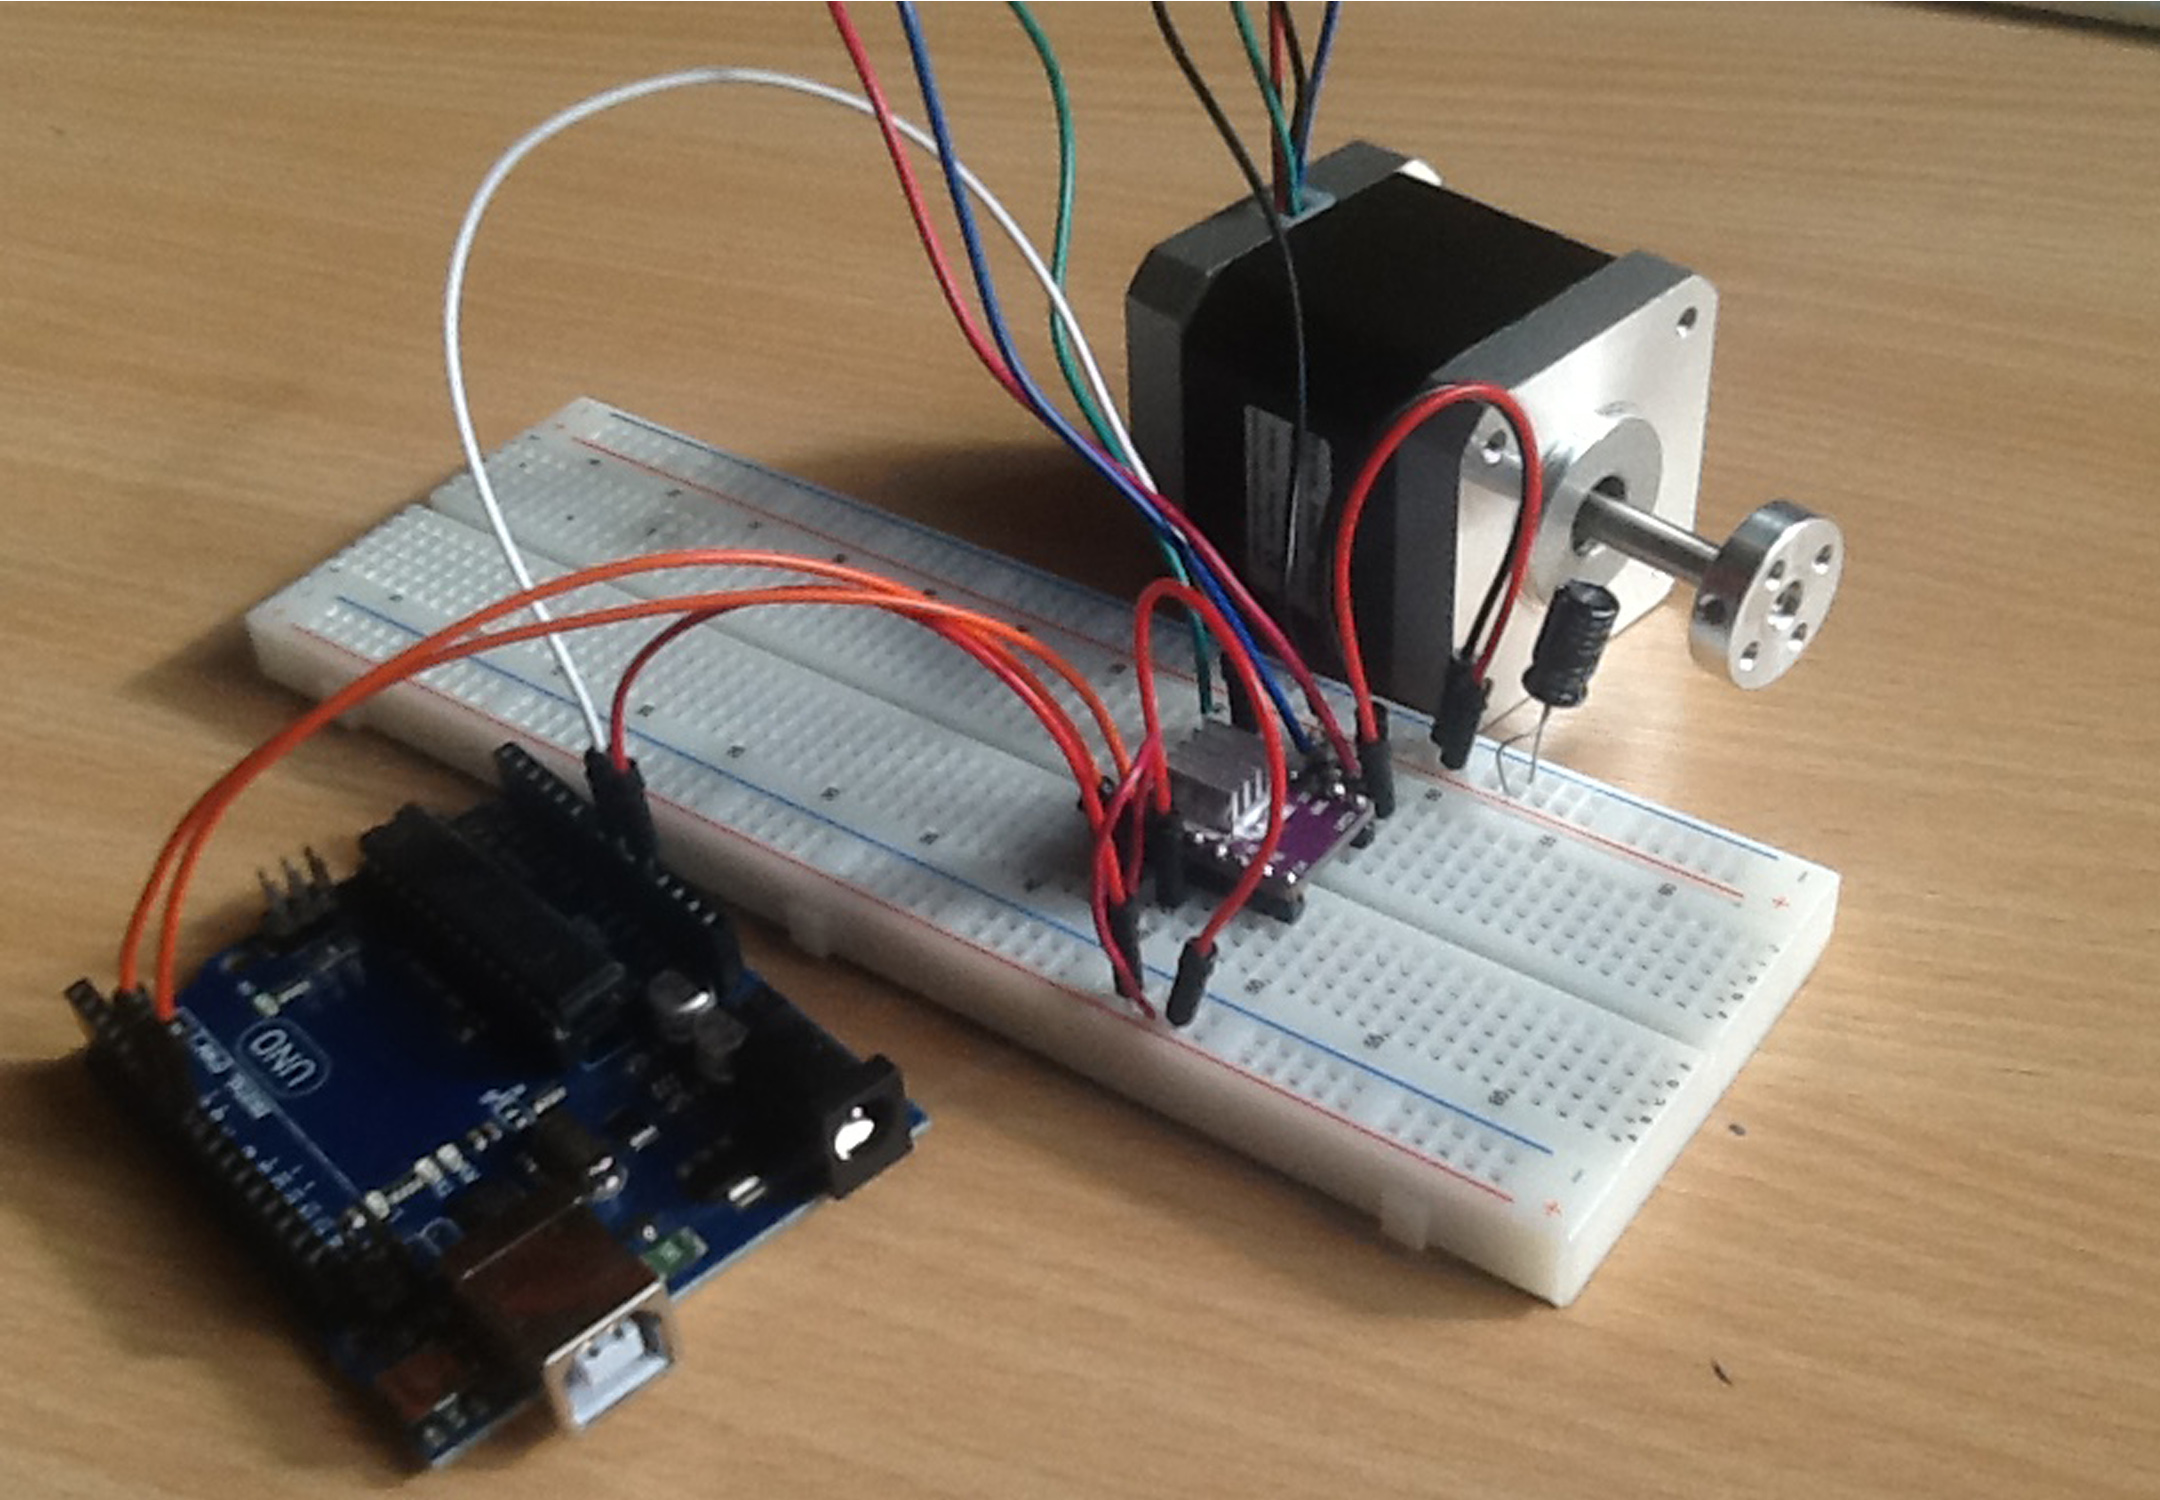
Arduino, Motor and Driver connected:
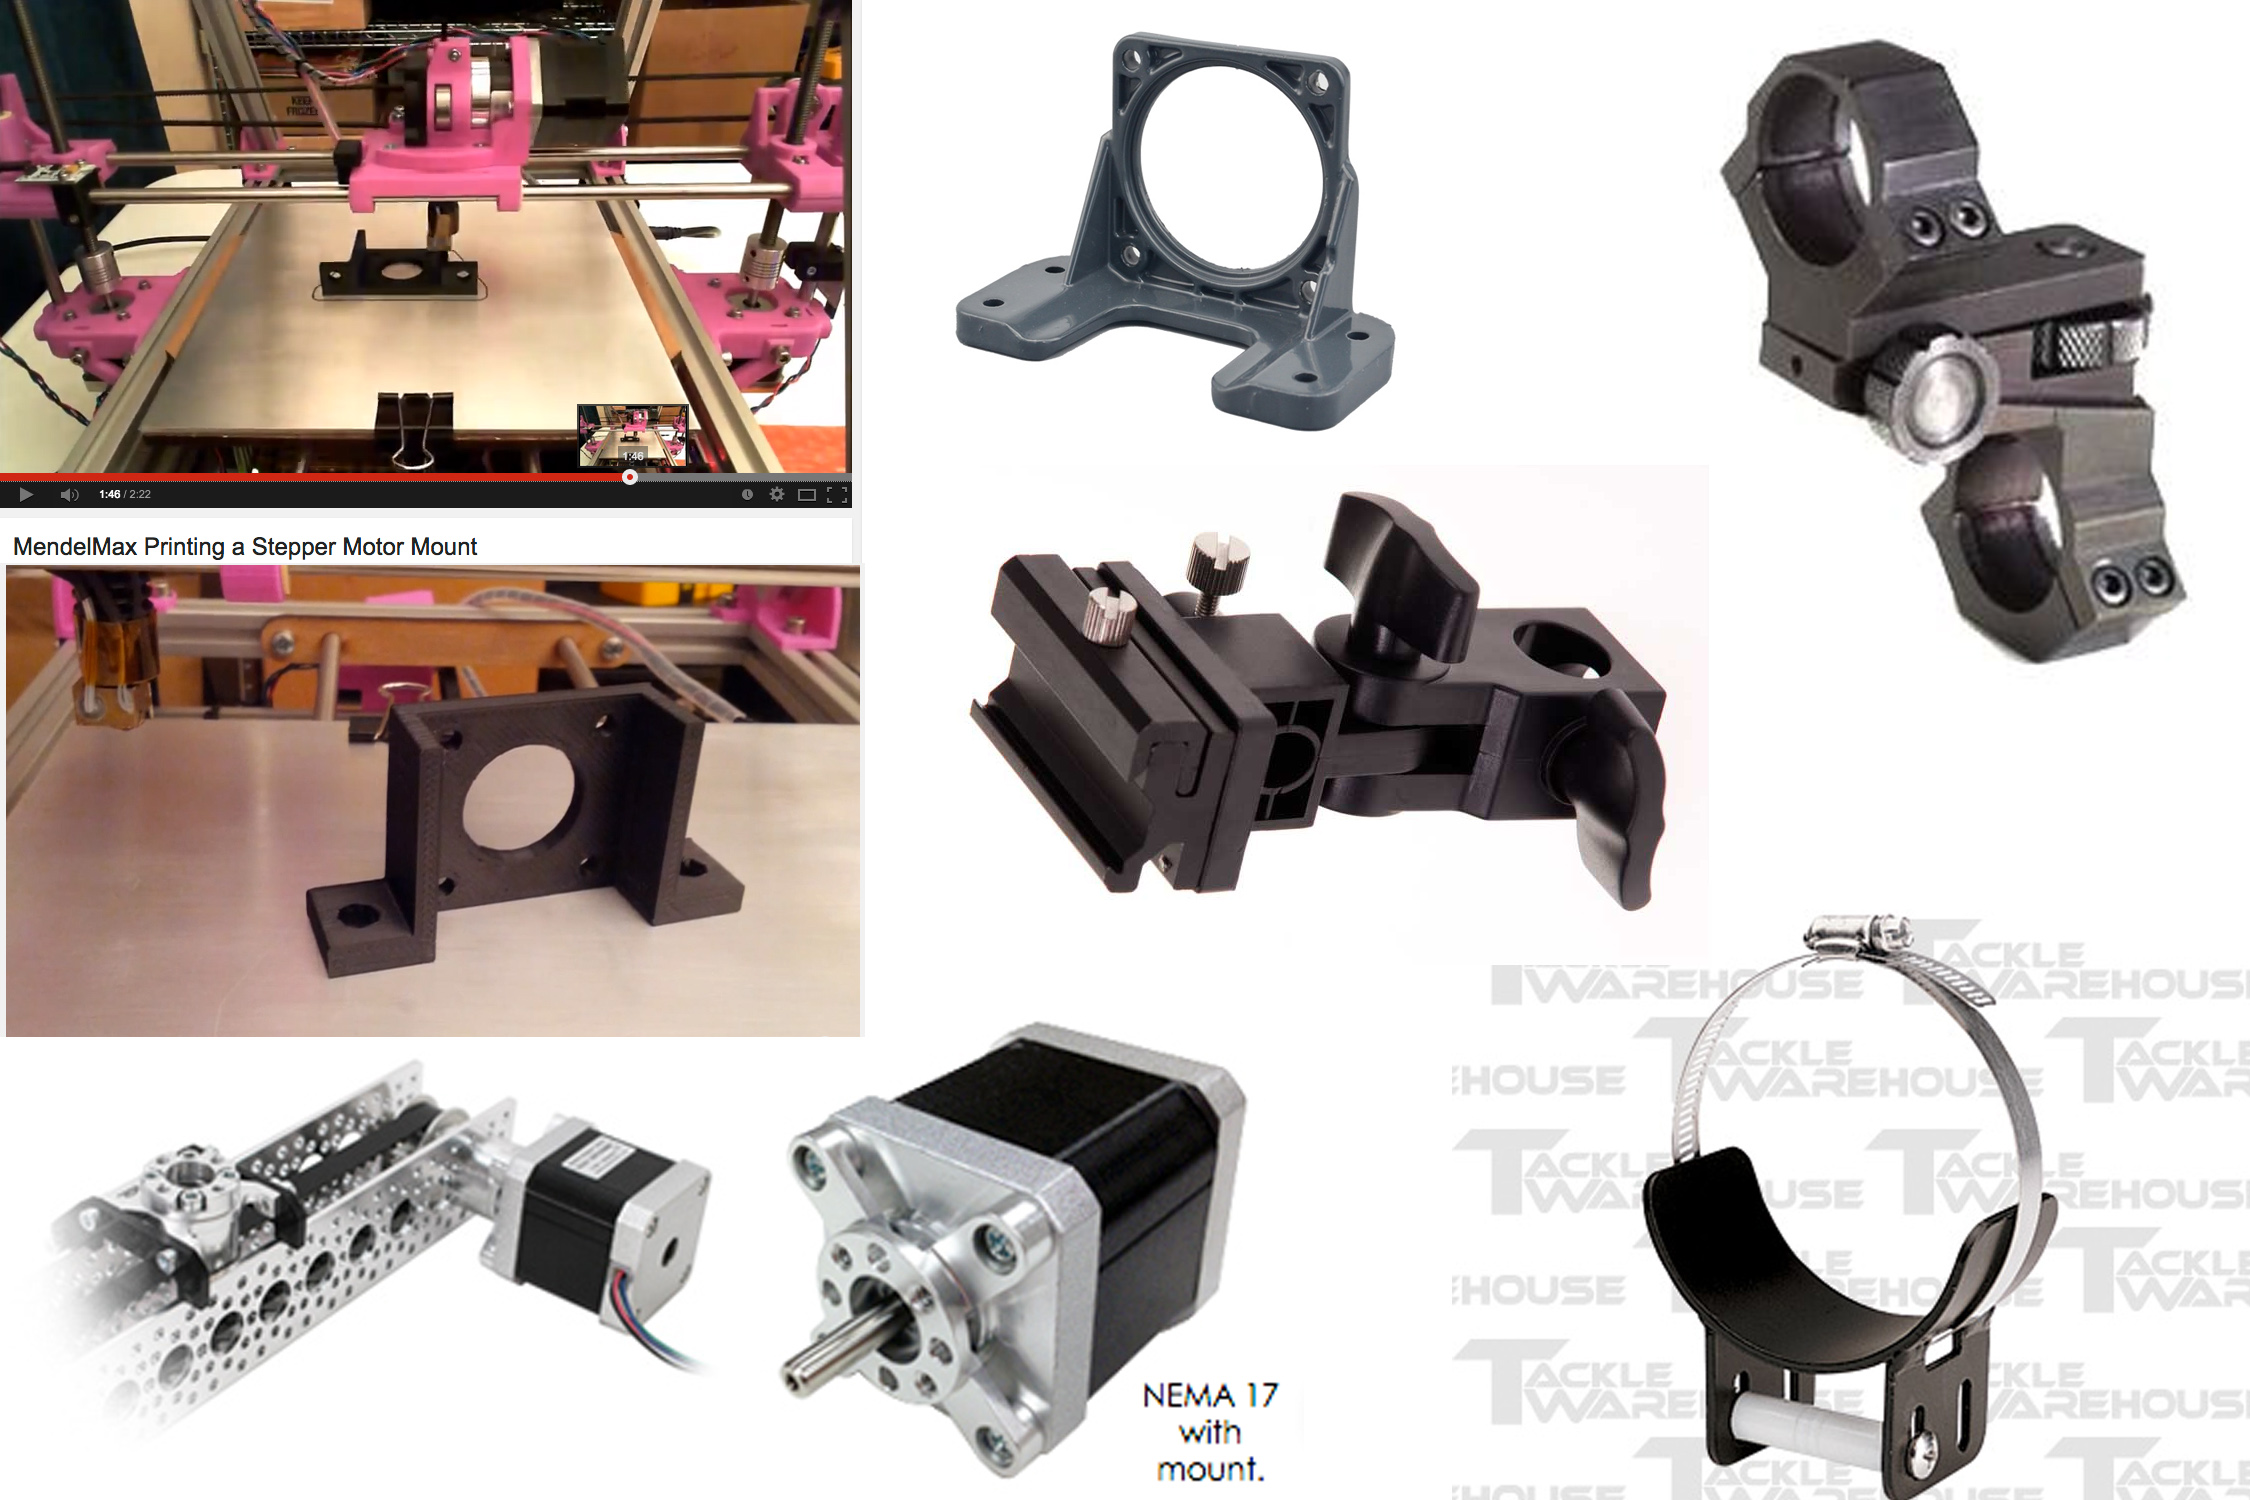
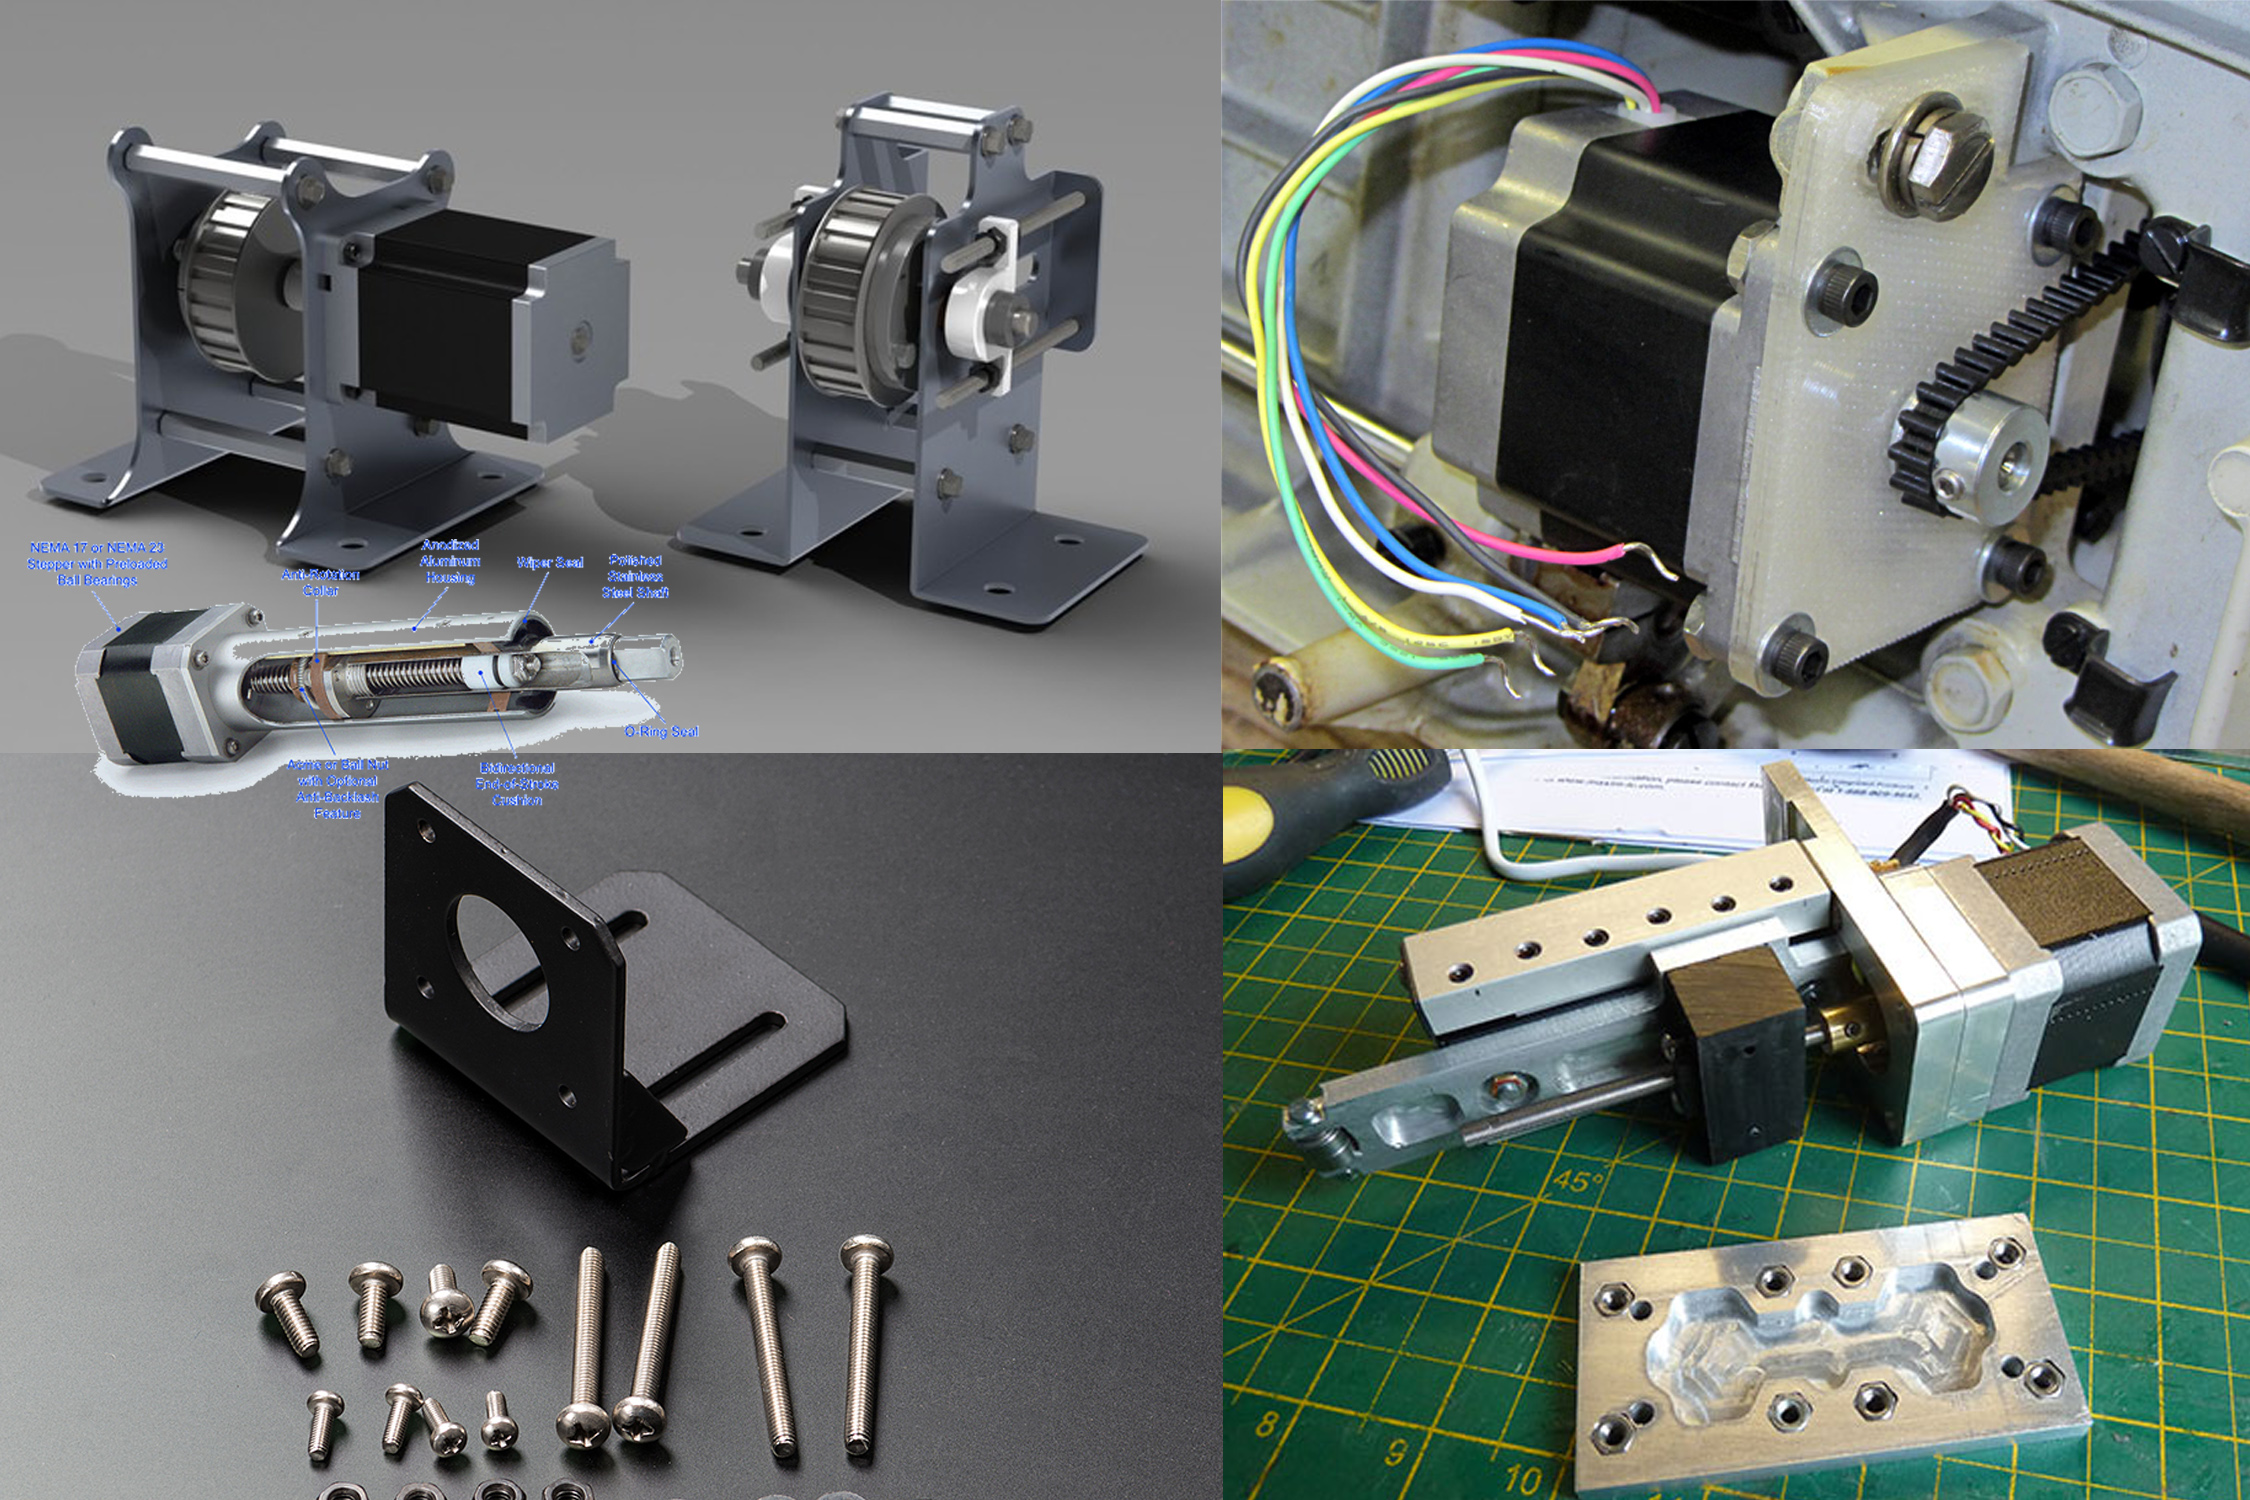
Considered a variety of mounting methods for the Motor and Umbrella:
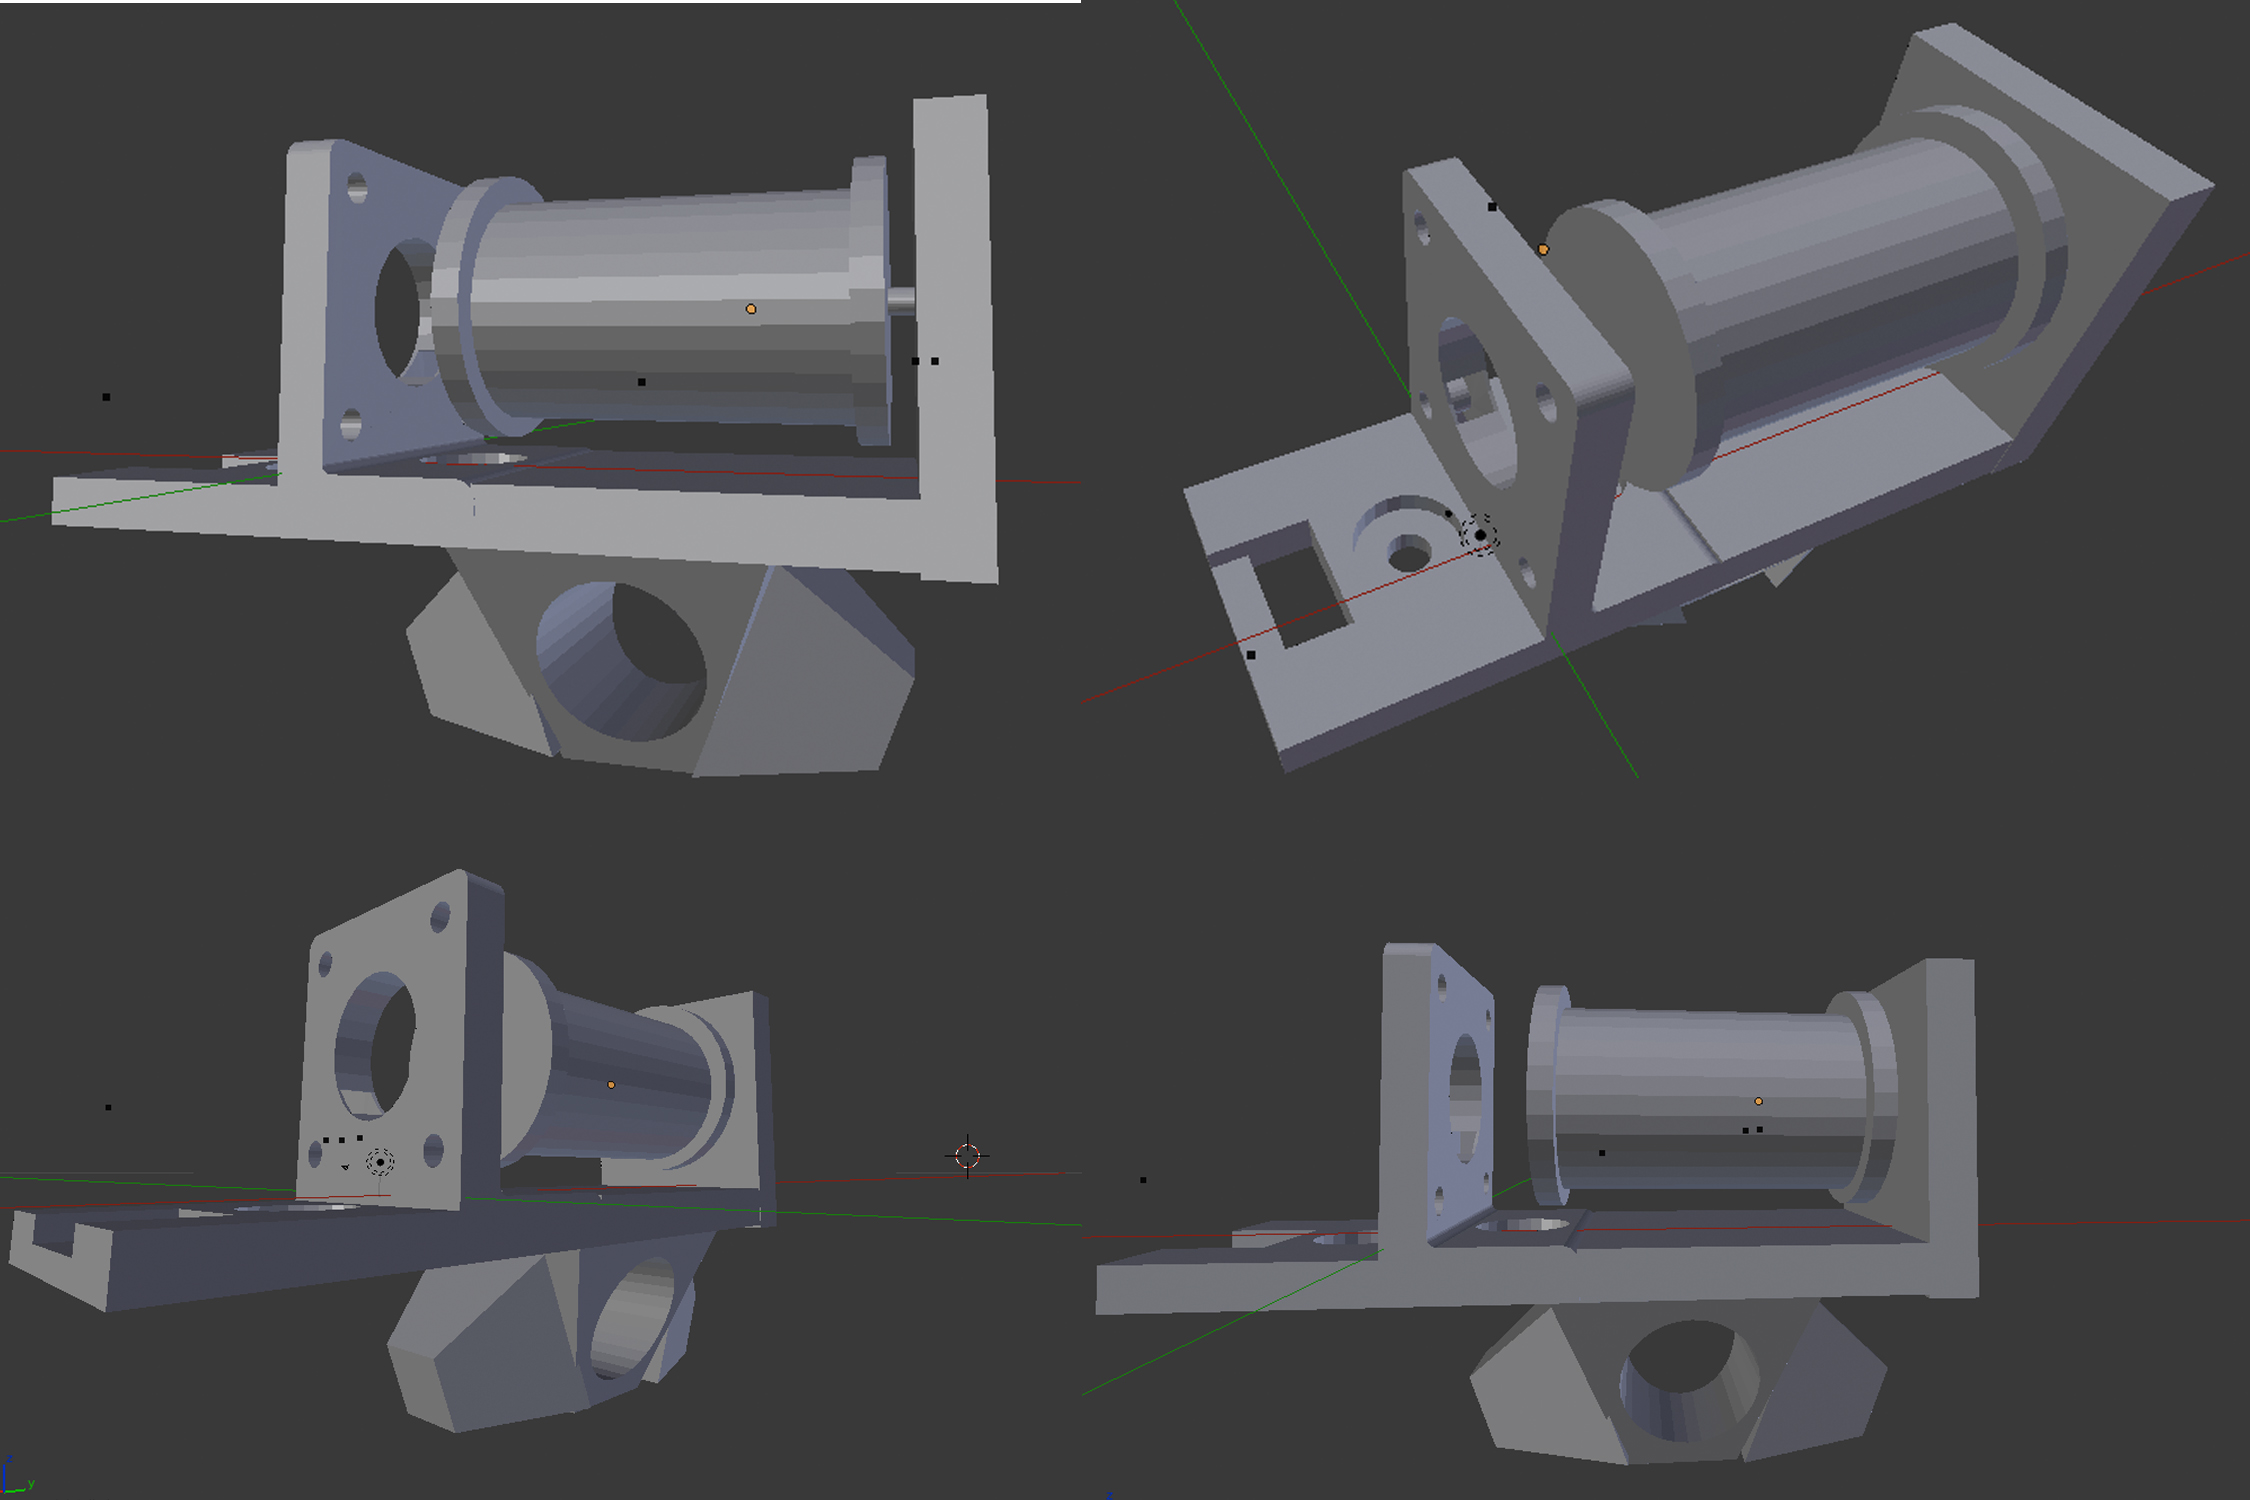
3D design of the the mounting for potential 3D Printing (using the Blender software):
First attempt to use wood and Metal by hand to construct the above mechanism sketch is shown below in the images:
