mNo edit summary |
mNo edit summary |
||
| Line 8: | Line 8: | ||
Growing (fructification of) Pink Oyster Mushrooms. | Growing (fructification of) Pink Oyster Mushrooms. | ||
2 Flushes from a substrate of straw prepared via | 2 Flushes from a substrate of straw prepared via sterilization: immersion in hot water. | ||
[[File:Pink_oy_my_2_wiki.jpg]] | [[File:Pink_oy_my_2_wiki.jpg]] | ||
| Line 40: | Line 40: | ||
[[File:Ag_Gel_Electo.jpg]] | [[File:Ag_Gel_Electo.jpg]] | ||
Above: The teams own self build Gel chamber. We later construct one from a lunch box. | Above: The teams own self build Gel chamber. We later construct one from a lunch box. | ||
[[File:PCR_workshop1.jpg]] | [[File:PCR_workshop1.jpg]] | ||
Above: The workshop teams! | Above: The workshop teams! | ||
| Line 58: | Line 60: | ||
[[File:4-parts_wiki.jpg]] | [[File:4-parts_wiki.jpg]] | ||
The heating Element is surrounded by the PCB circuit. On this workshop there was an issue with their custom PCB circuit, so that is why we used an Arduino instead. But we still needed to add this part because it was integral to the casing. | The heating Element is surrounded by the PCB circuit. On this workshop there was an issue with their custom PCB circuit, so that is why we used an Arduino instead. But we still needed to add this part because it was integral to the casing. | ||
| Line 71: | Line 74: | ||
[[File:PCR_Side view_wiki.jpg]] | [[File:PCR_Side view_wiki.jpg]] | ||
A finished PRC Machine : one of three | A finished PRC Machine : one of three | ||
Revision as of 13:50, 9 March 2016
---Mycelium Presentation (Free PDF Download below)---
Media:MYCELIM_PDF_SEB_K.pdf
---Mycelium growth ---
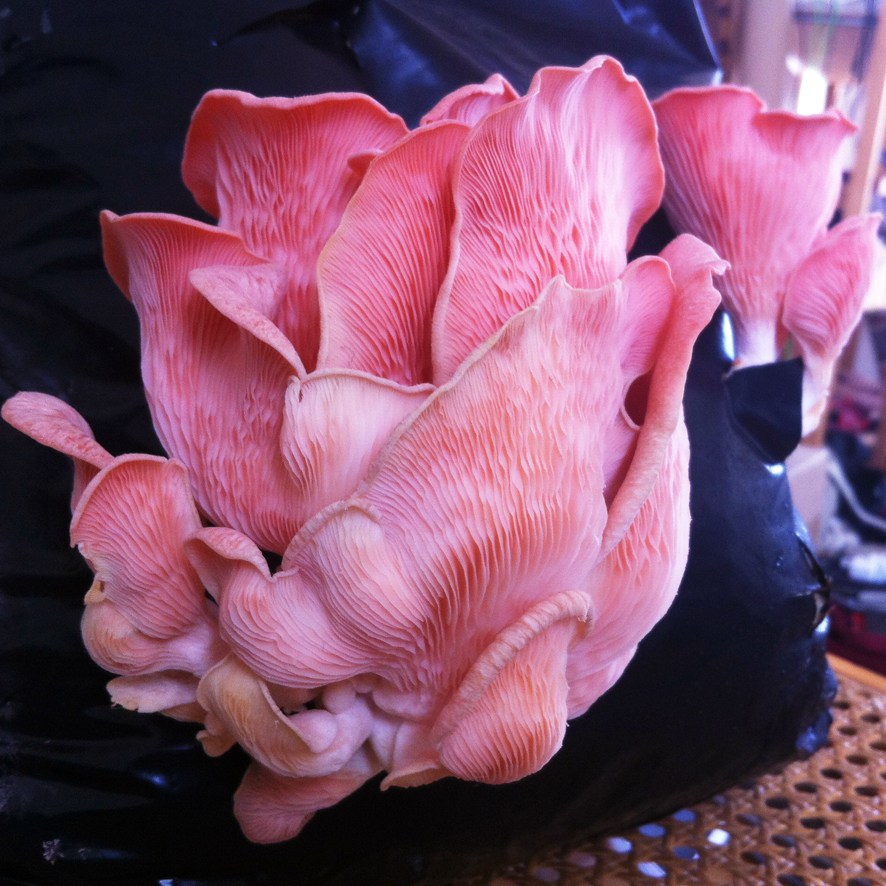
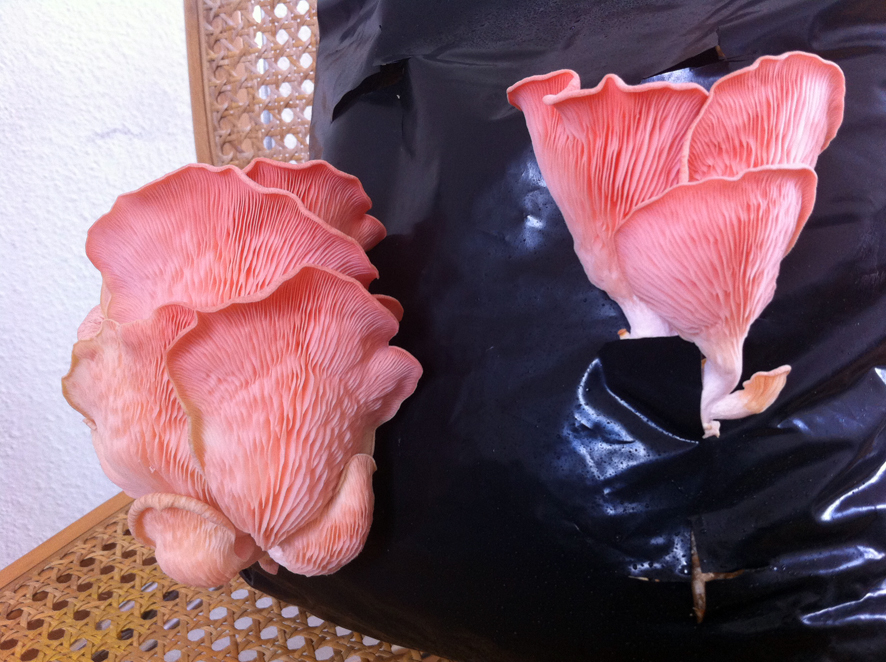
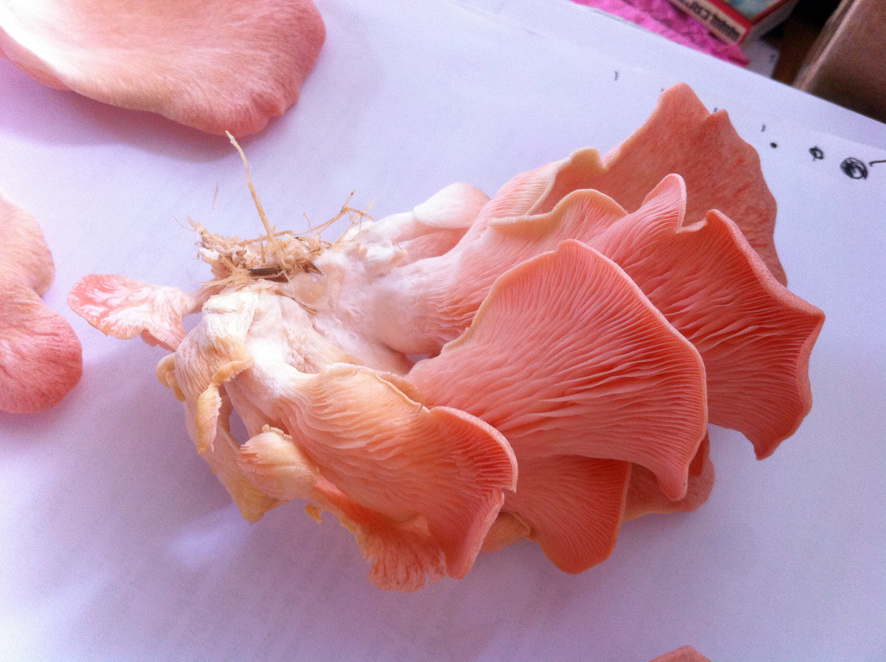
Growing (fructification of) Pink Oyster Mushrooms. 2 Flushes from a substrate of straw prepared via sterilization: immersion in hot water.
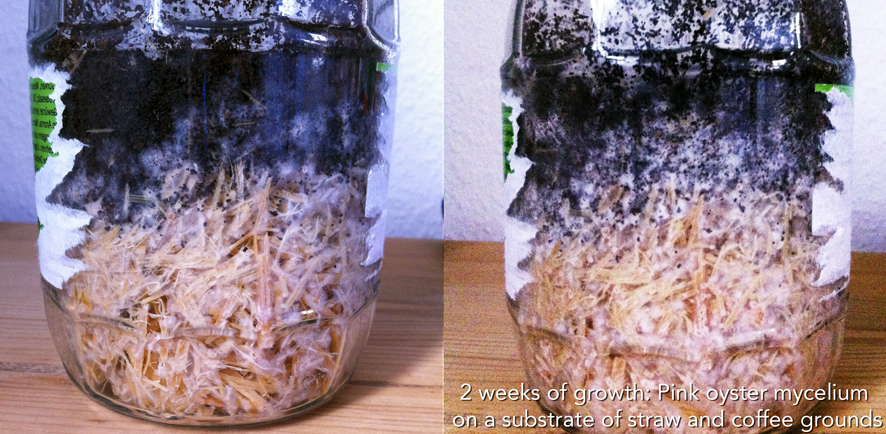
After transferring some of the straw fro the original bag into a glass container, I tried to vary their food with the addition of used coffee grounds (sterilised via coffee making :))
---D I Y DNA ---
PCR Workshop with Philip Bayer from the Heidelberg Life science Lab (25th - 28th Feb) 2016
Hands on Citizen Science, exploration of homemade alternative devices. DIY BioTech.
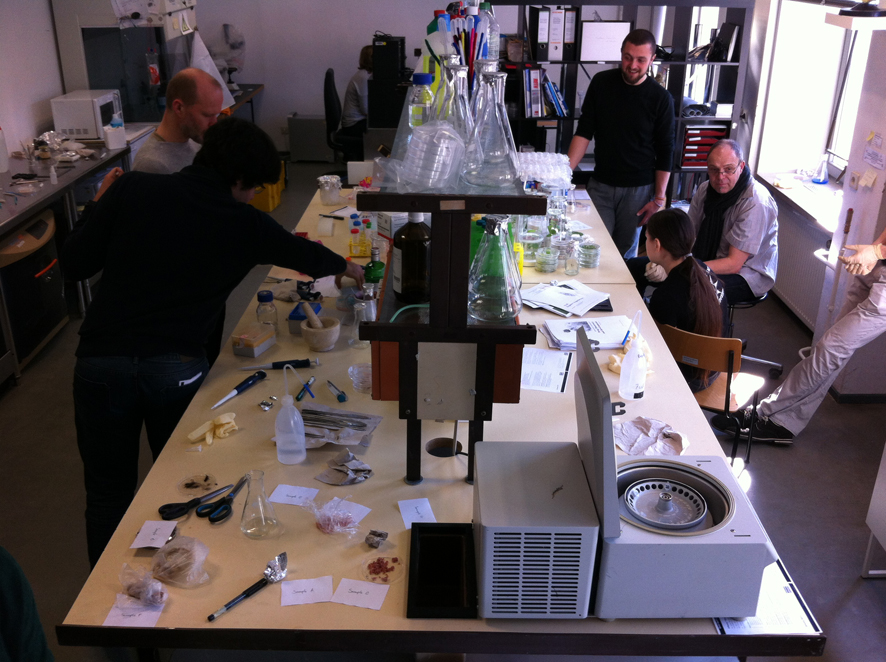
The team from Heidelberg spent four days with us (students from Media art and Media Architecture) to build three PRC Machines, based on their prototype for introducing and teaching PCR.
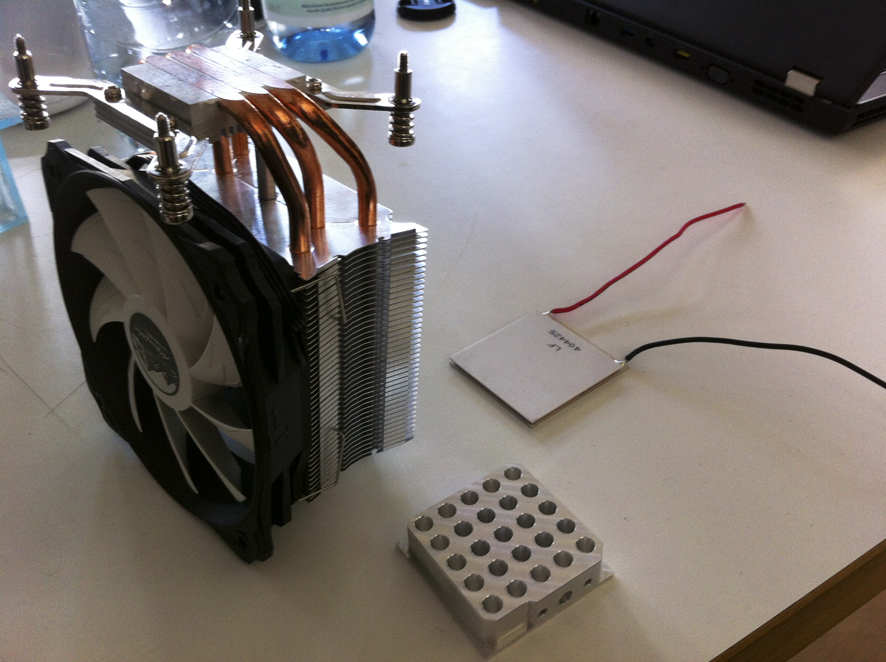
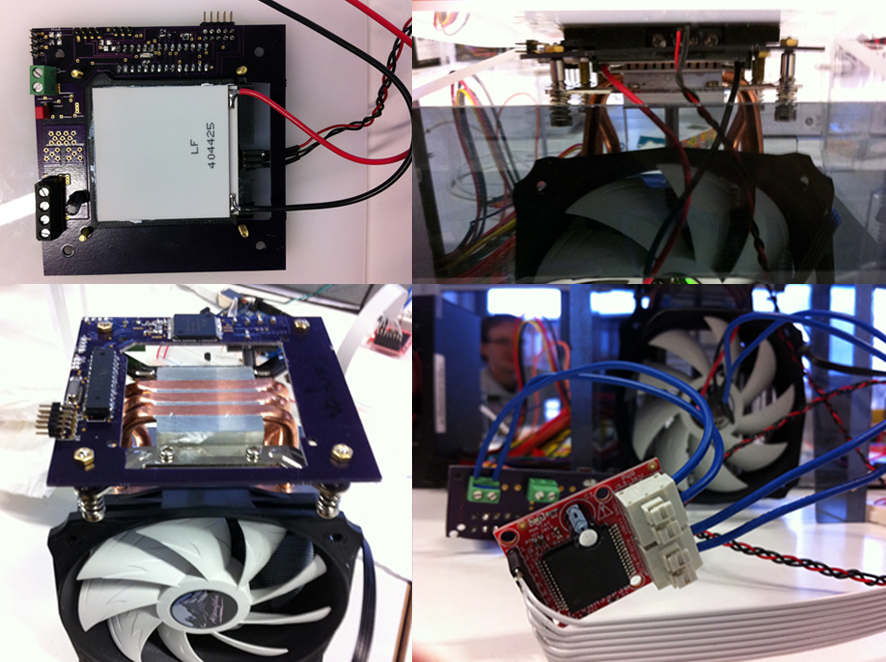
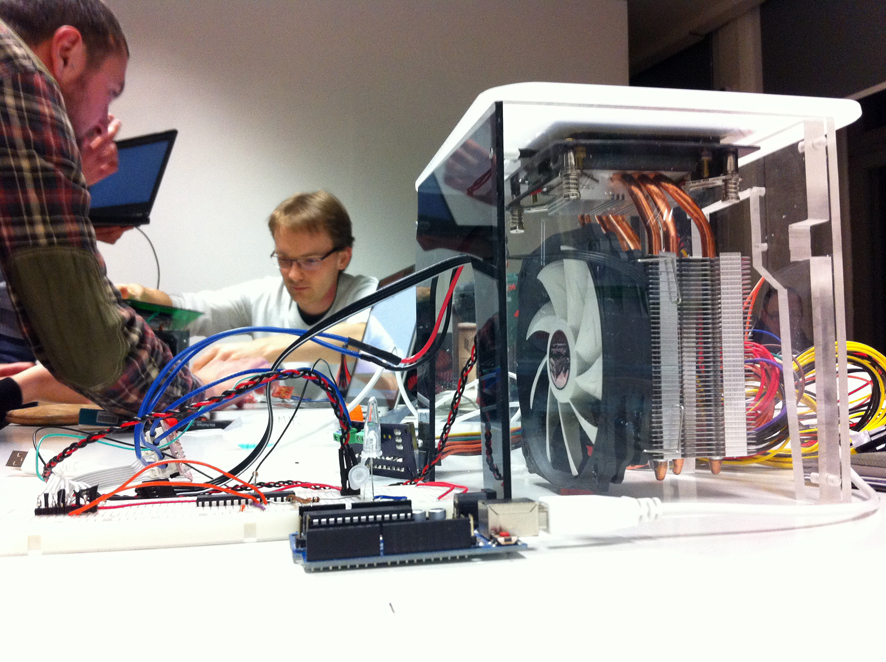
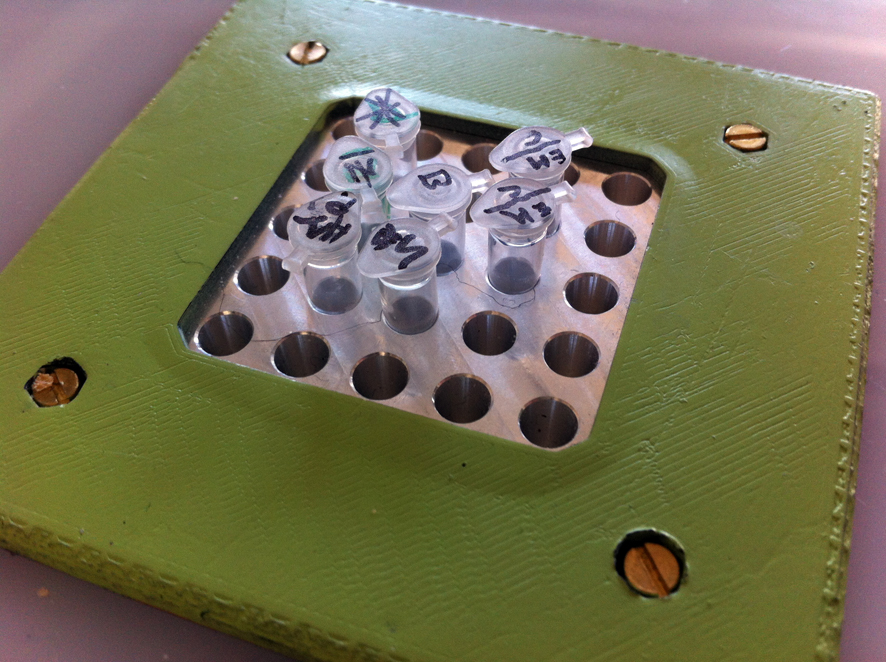
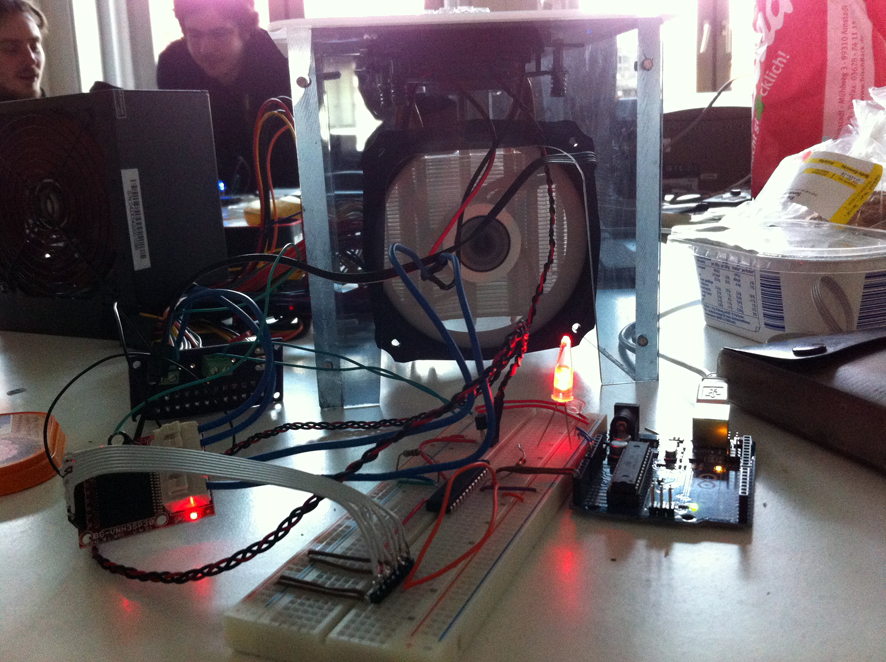
These are the essential components for building this PCR Machine. A cooling element (the large fan). A heating Element, and a custom built metallic part as the holder for the DNA samples to be Amplified.
Before building the machine, we were first educated on what is a PCR and the related microbiological concepts.
"The polymerase chain reaction (PCR) is a technology in molecular biology used to amplify a single copy or a few copies of a piece of DNA across several orders of magnitude, generating thousands to millions of copies of a particular DNA sequence. Developed in 1983 by Kary Mullis, PCR is now a common and often indispensable technique used in medical and biological research labs for a variety of applications. " - wikipedia
With the help of a heat-stable DNA polymerase, (in this case) Taq polymerase (an enzyme originally isolated from the bacterium Thermus aquaticus), and other microbiological tools, the PRC allows you to replicate and copy specific sections of DNA code (thanks to Primers).
Once the polymerase and Primers (through the PCR Cycles) have amplified the original DNA sample, one can then analyse this using ' agarose gel electrophoresis', a DNA analysis method.
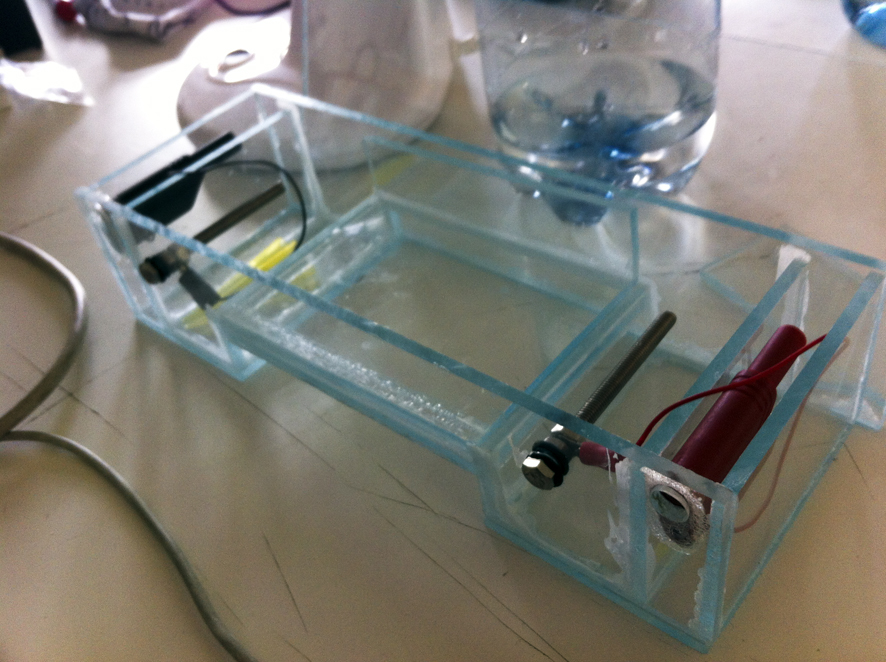
Above: The teams own self build Gel chamber. We later construct one from a lunch box.
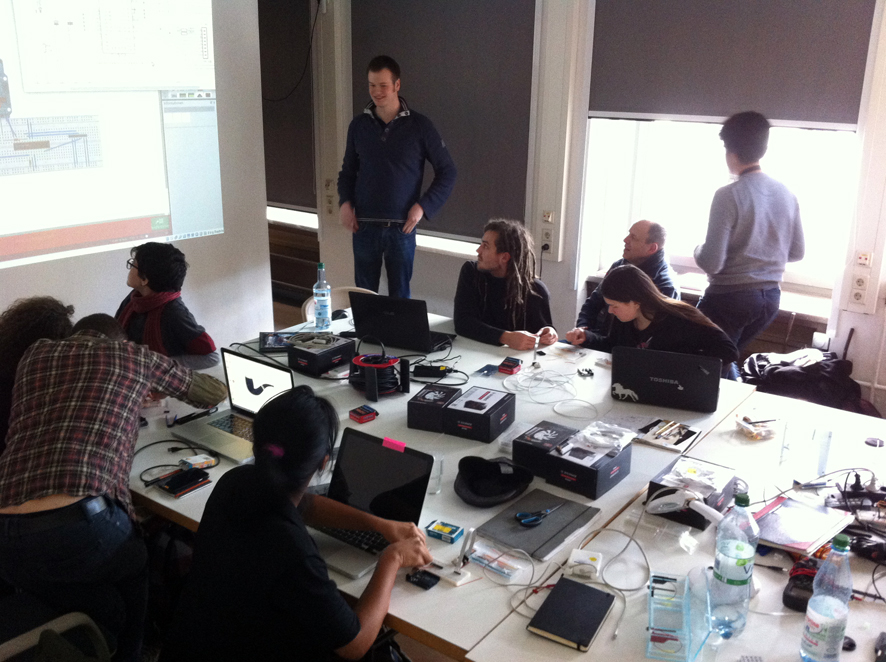
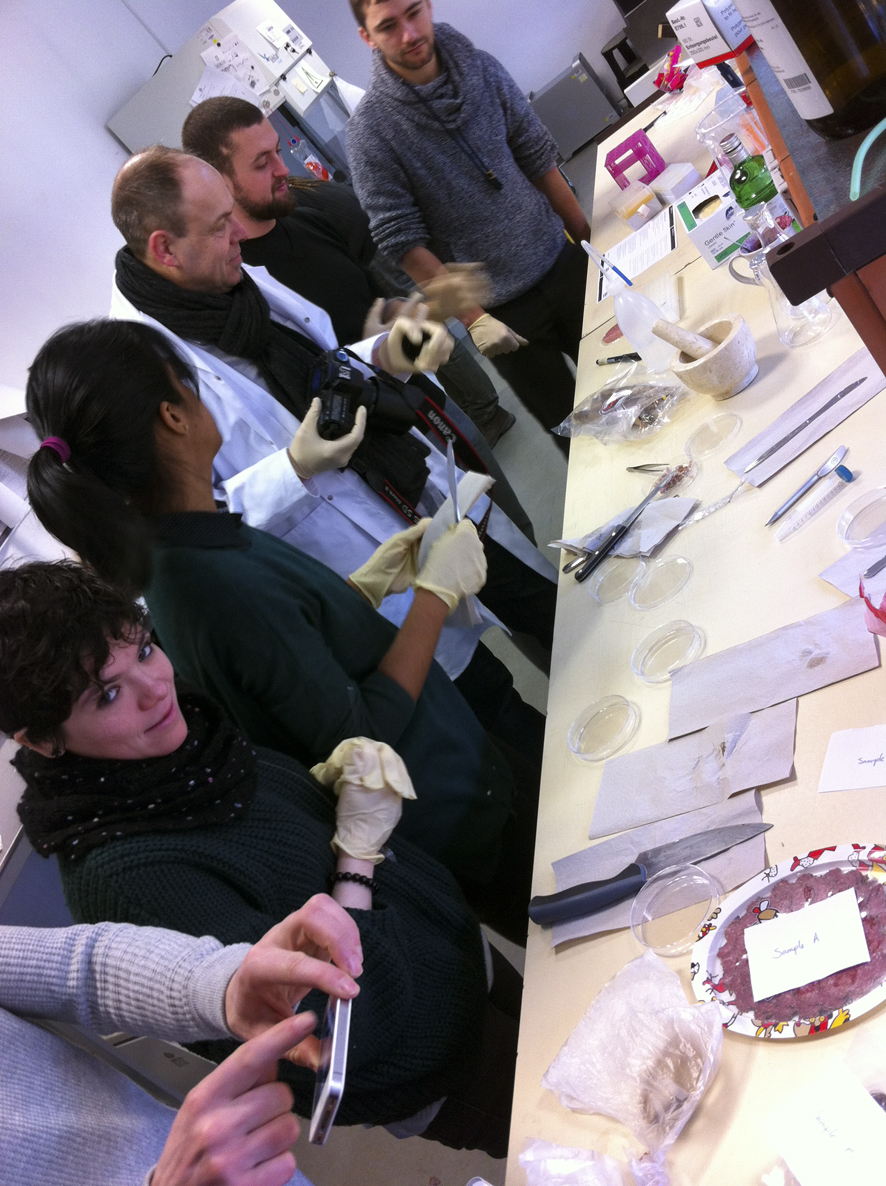
Above: The workshop teams!
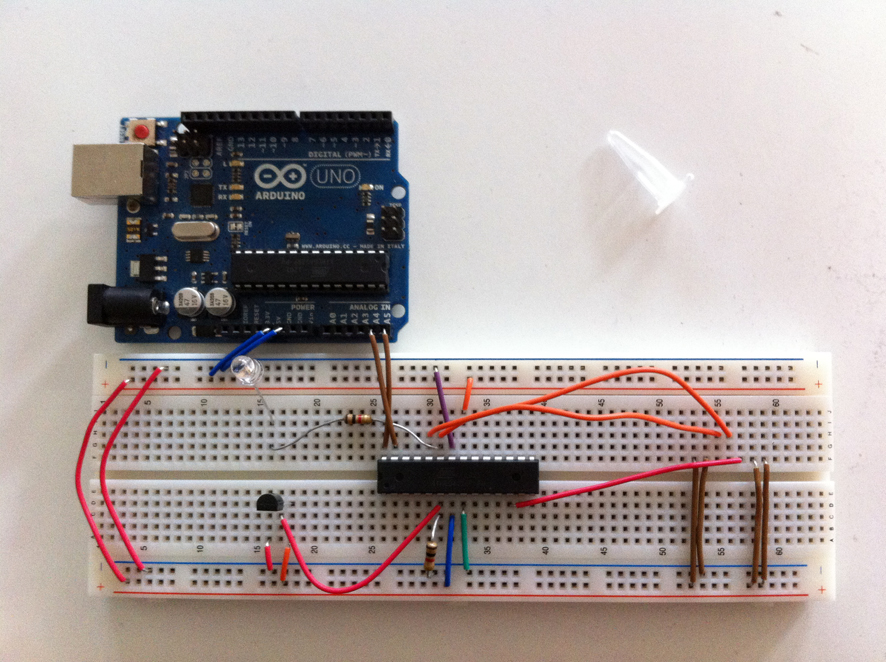
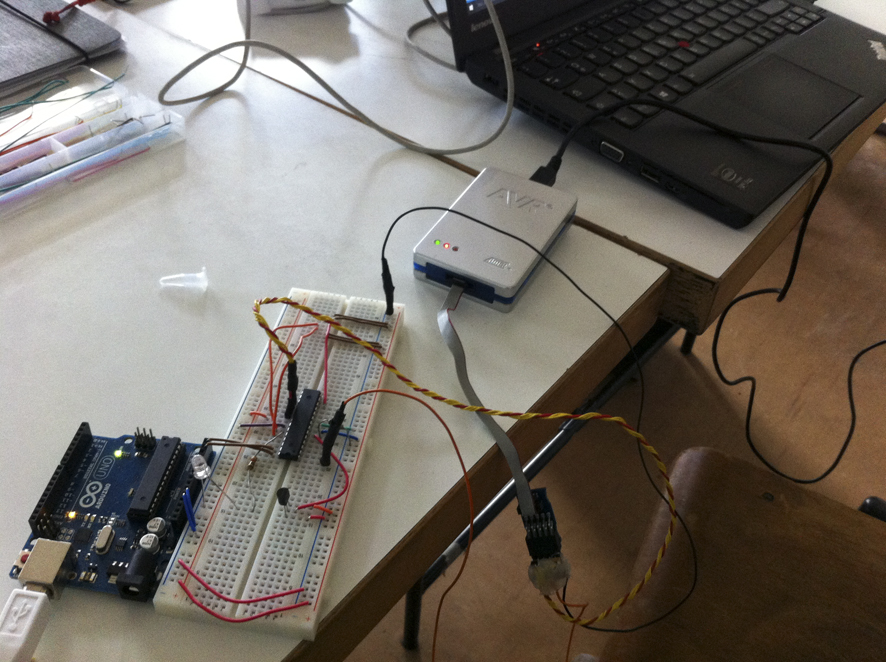
Building the Arduino circuit.
Flashing the PIC on the breadboard with their software which runs the thermo cycler.
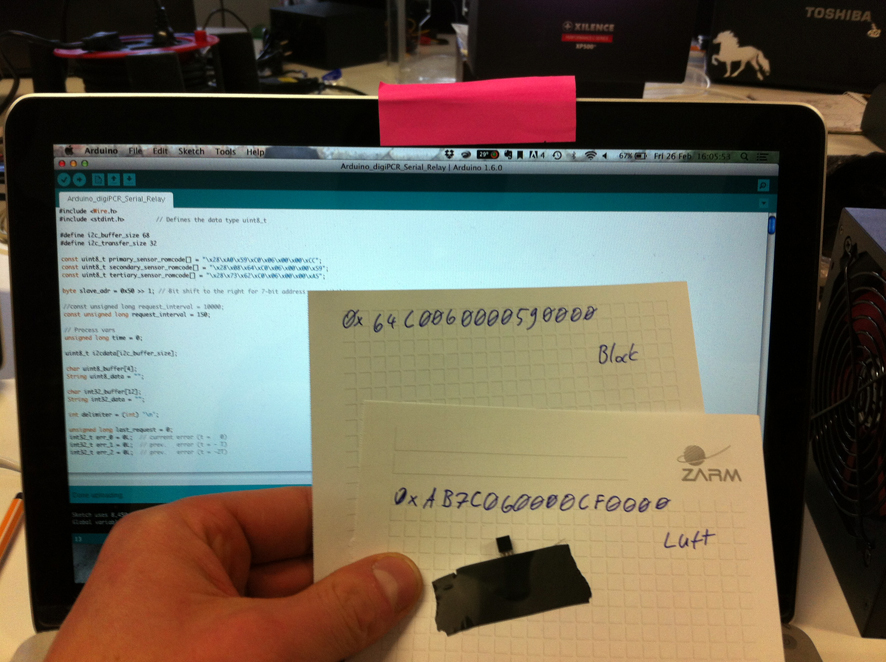
Updating the unique sensor addresses in the Arduino code.
The heating Element is surrounded by the PCB circuit. On this workshop there was an issue with their custom PCB circuit, so that is why we used an Arduino instead. But we still needed to add this part because it was integral to the casing.
DNA Seperation Demonstration
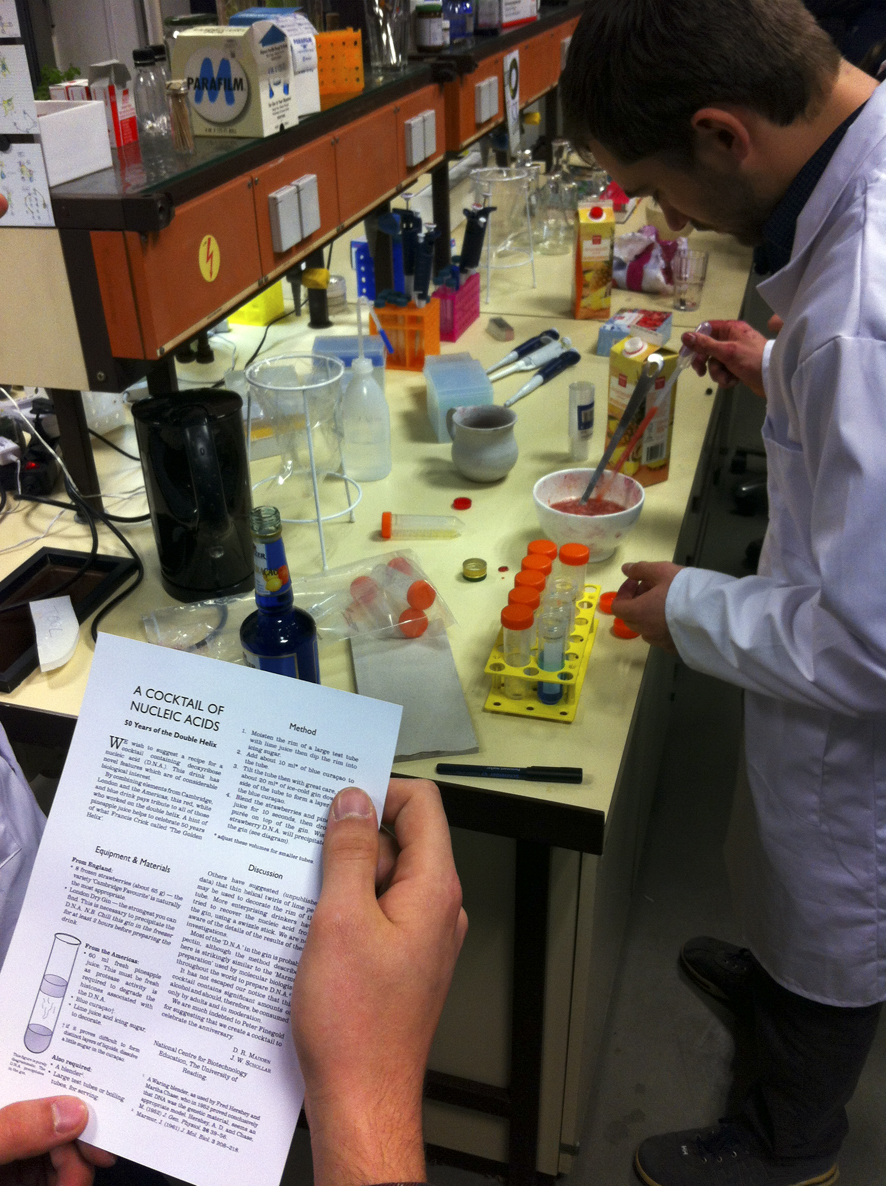
With cocktail ingredient Philip Bayer enthusiastically demonstrated how one can separate DNA of Strawberries using ingredient from England and the USA.
(a recipe to celebrate the 50 years of the Double Helix, a collaboration between these two countries, quite fitting!)
A finished PRC Machine : one of three
With the 3 PCR's assembled and ready on Friday evening, Saturday morning came where we followed a DNA extraction protocol using the solutions (Primers.. Master mix.. Buffers.ec.t..) which came from a PRC Kit.
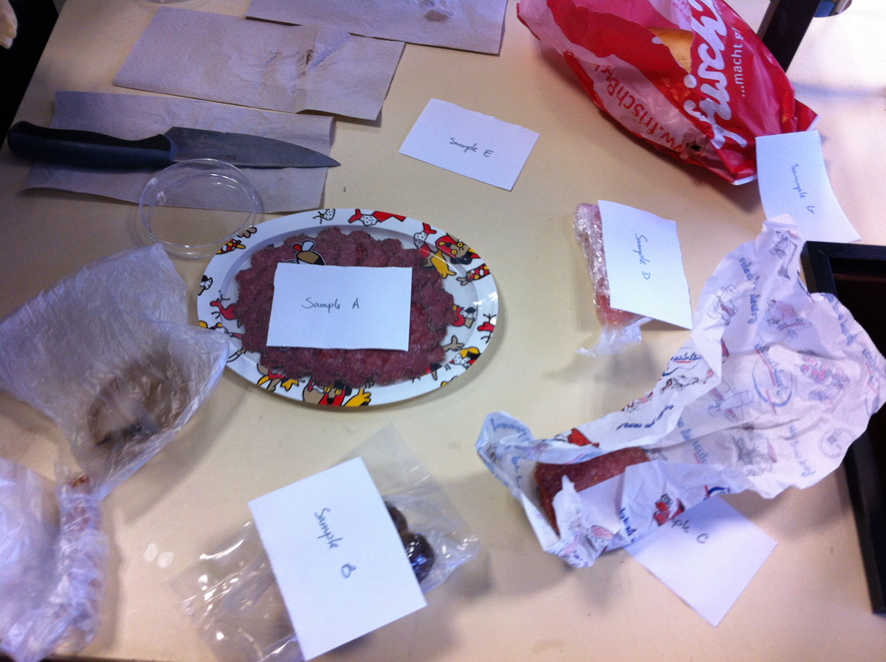
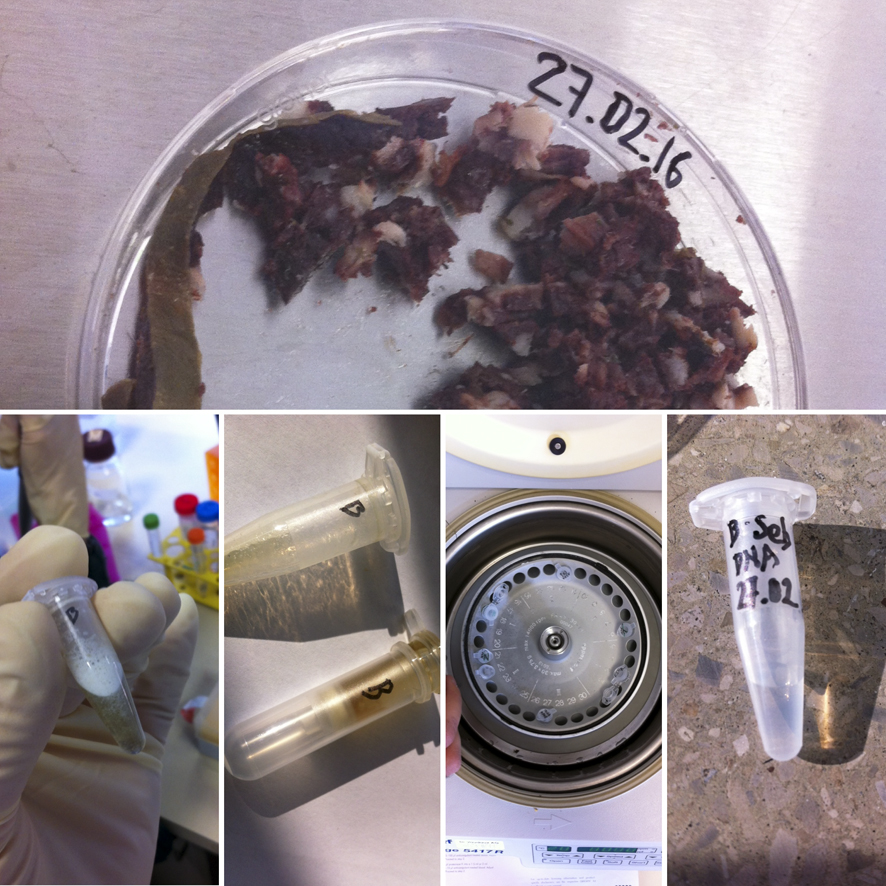
So we Extracted DNA from our Breakfast:
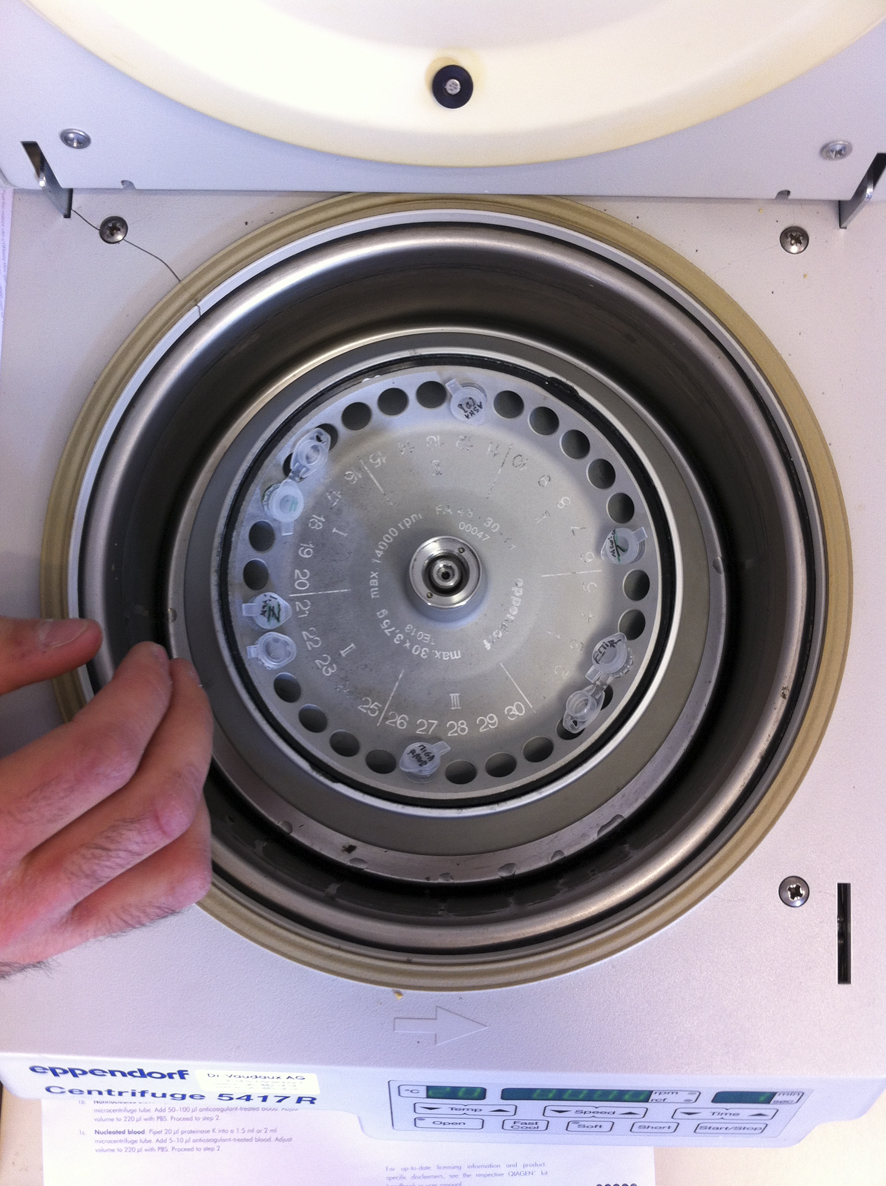
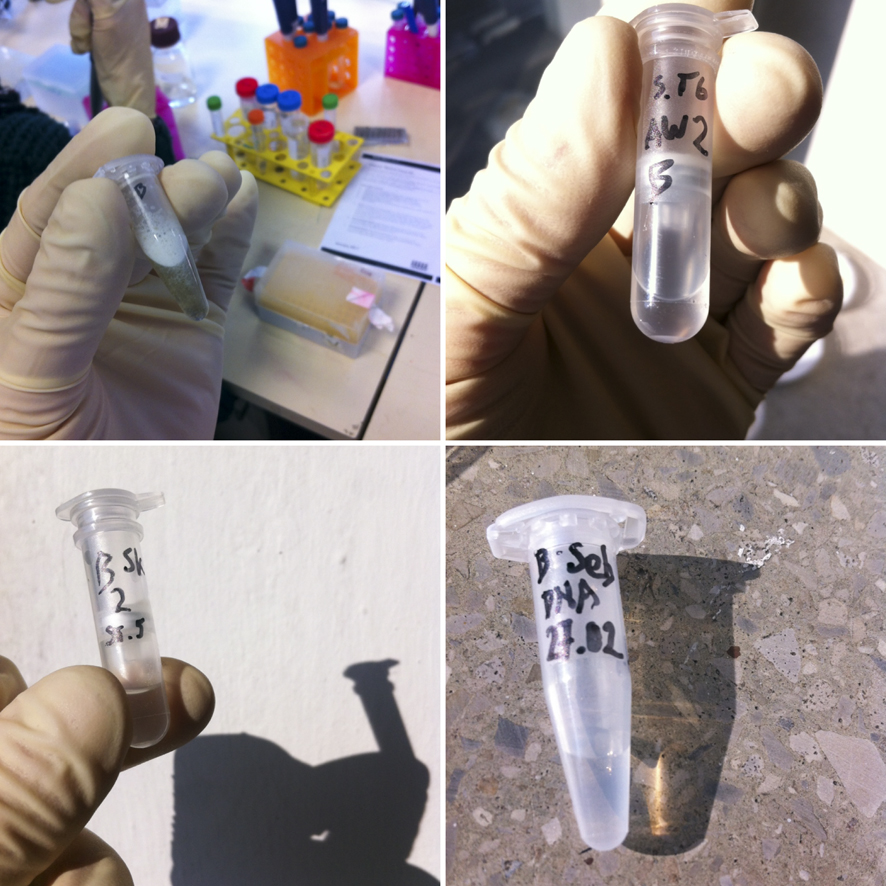
The protocol involved breaking the histones, and using a centrifuge several times to extract the DNA.
I had extracted some tissue DNA from a Thuringian Blutwurst.
I planned to use Pork Primers to test it for Pork. If there is any pork DNA in this sausage, then the primers will attach, the Polymerase with replicate and there will be amplified Pork DNA in the Analysis afterwards. If there is not any pork, then the gel analysis will show nothing.
The final samples are a cocktail of:
DNA Sample to be tested
Primers (forward and revers) 'Mark very specific lines of DNA code, (species specific)
Deoxynucleotide triphosphates (dNTPs) - the nucleotides adenine (ATP), guanine (GTP), cytosine (CTP), and thymine (TTP) - the Characters of the code which will be used by the polymerase to replicate the DNA code that the Primers locate.)
The Thermophilic polymerase with a buffer. (works well at 70 centigrade)
The PCR Starts its first cycle!
1. 95 °C Denaturation step. First, you heat the DNA to a high temperature (95 °C) so that the two strands of genomic DNA, and later PCR DNA, separate.
2. Annealing Step (at ~ 50 - 60 °C). Second, you reduce the temperature so that DNA primers bind to either end of the template that you want to amplify. It is important that you have two primers, one to bind to each strand of DNA.
3. Extension Step. Third, you raise the temperature to about 70 °C to activate a DNA polymerase and elongate the primer with respect to the template strand.
This sequence above is repeated about 35 times. This results in 34,359,738,368 copies of the starting DNA sample.
After the first three cycles, we will have the first perfect copy.
POST PCR...
There are several Methods for analysing DNA. Here we are making a gel Chamber for electrophoresis.
This basically is running an a electrical current though some gel. One positive cathode at one end, and the the Negative at the other.
By setting the gel with a 'comb' you create small pockets where the DNA samples can be added along with a tracer.
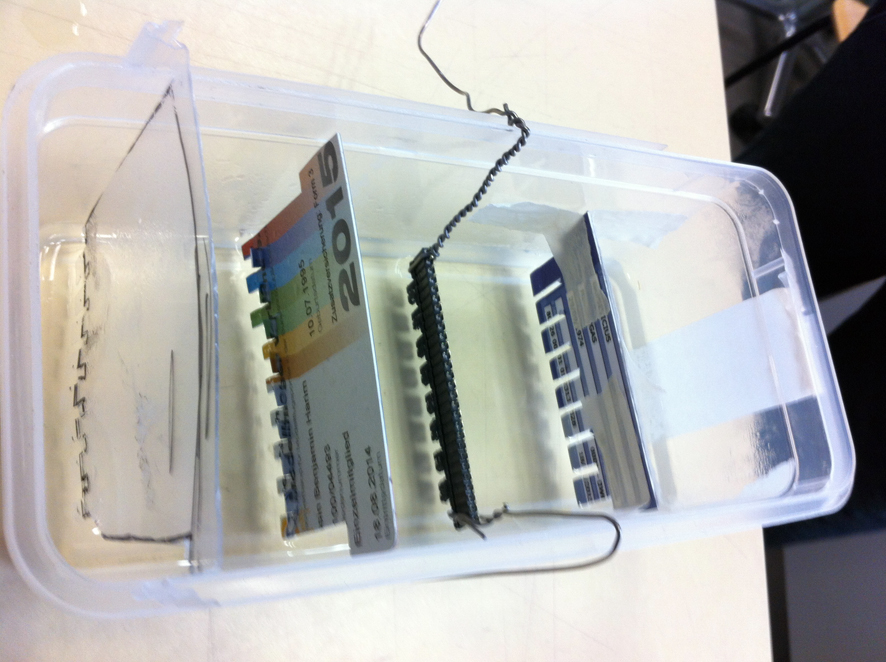 The combs in place, ready for the gel to be added..
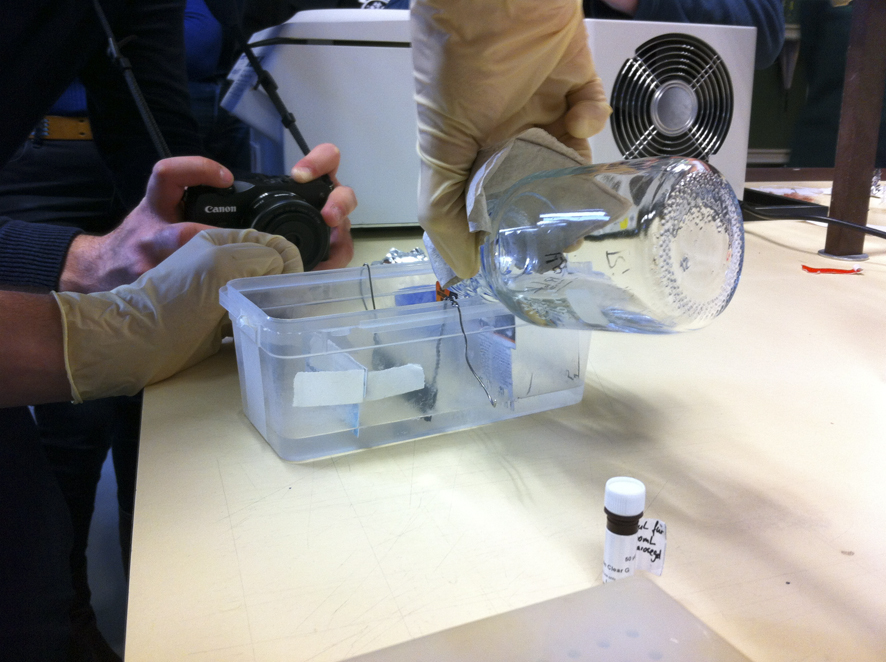 Filling the Chamber with gel. Then leaving it to set, before adding the Traces with Amplified DNA.
My Phone died at this point and some I have no more footage.
