No edit summary |
No edit summary |
||
| Line 18: | Line 18: | ||
- two magnets <br> | - two magnets <br> | ||
- a transparent plastic bowl <br> | - a transparent plastic bowl <br> | ||
- thread<br><br> | |||
[[File:Aufbau_Thread1_1.png]]<br><br> | |||
[[File:Aufbau_Thread1_2.png]]<br><br> | |||
[[File:Aufbau_Thread1_3.png]]<br><br> | |||
How to use it:<br><br> | |||
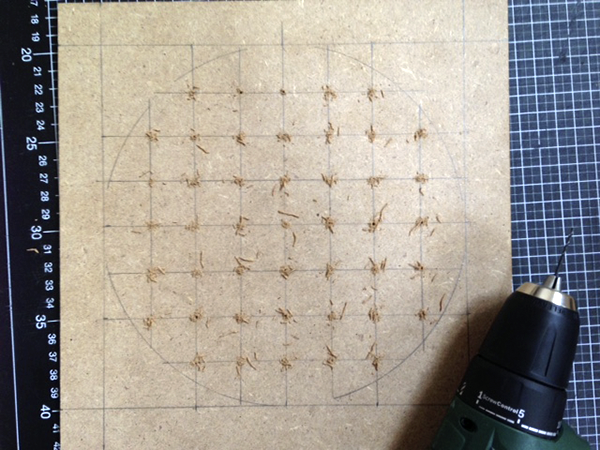
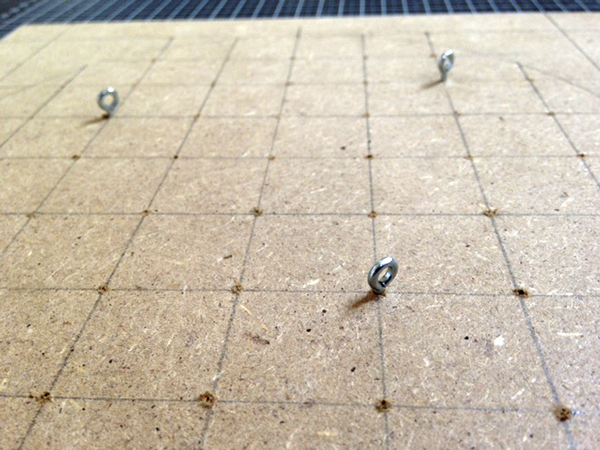
1. Screw in as many hooks as you like<br> | |||
2. Insert a certain length of thread<br> | |||
3. Connect the LED, the button battery and the clamp<br> | |||
4. Put the plastic bowl above the installation and put the magnets in place<br> | |||
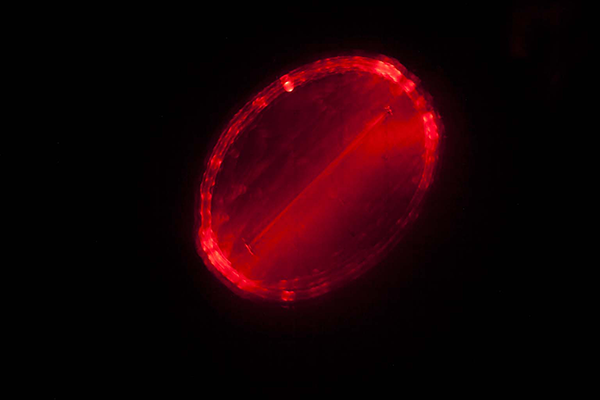
5. Set up the camera, darken the room, push the trigger and move the upper magnet!<br> | |||
[[File:Licht_Thread1_1.png]]<br><br> | |||
[[File:Licht_Thread1_2.png]]<br><br> | |||
[[File:Licht_Thread1_3.png]]<br> | |||
<br> | |||
== Computation and Communication with Knots == | |||
<br> | |||
This "machine" | |||
Components: | |||
- camera with "B" mode <br> | |||
- thread<br><br> | - thread<br><br> | ||
Revision as of 09:51, 5 May 2016
Thread Geometries
This is the starting point for a kit that allows to visualize geometric forms by using thread (along with some other things).
Components:
- camera with "B" mode
- tripod
- wooden plate
- some screwable hooks
- LED
- button battery
- piece of paper
- clamp
- two magnets
- a transparent plastic bowl
- thread
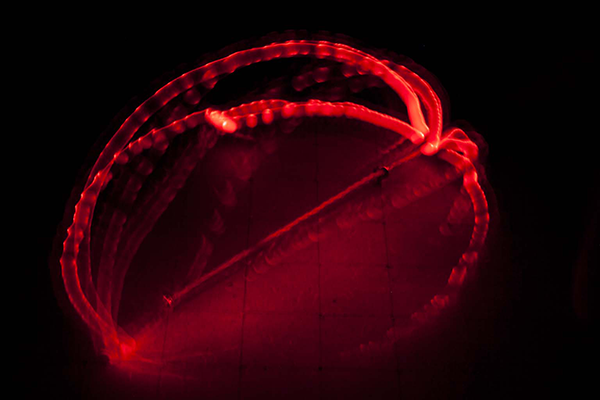
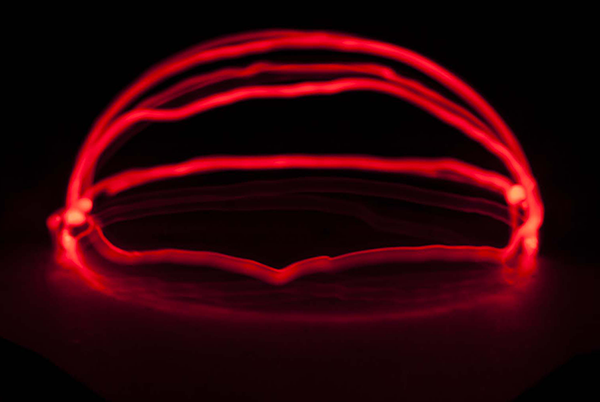
How to use it:
1. Screw in as many hooks as you like
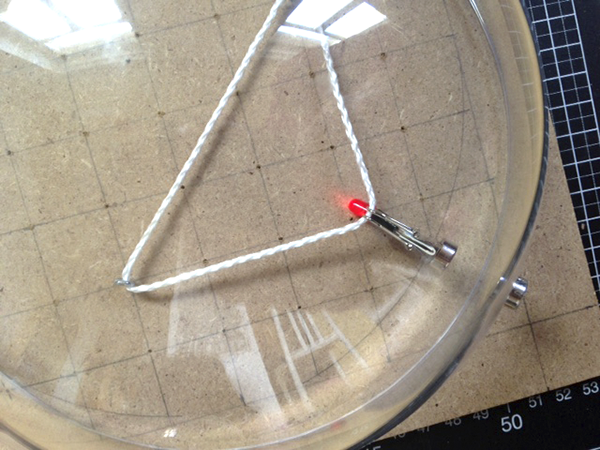
2. Insert a certain length of thread
3. Connect the LED, the button battery and the clamp
4. Put the plastic bowl above the installation and put the magnets in place
5. Set up the camera, darken the room, push the trigger and move the upper magnet!
Computation and Communication with Knots
This "machine"
Components:
- camera with "B" mode
- thread
How to use it:
1. Screw in as many hooks as you like
2. Insert a certain length of thread
3. Connect the LED, the button battery and the clamp
4. Put the plastic bowl above the installation and put the magnets in place
5. Set up the camera, darken the room, push the trigger and move the upper magnet!
