No edit summary |
No edit summary |
||
| Line 39: | Line 39: | ||
<br> | <br> | ||
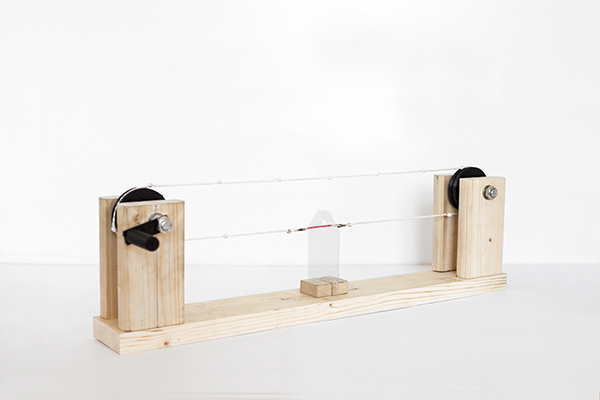
This "machine" | This "machine" is capable of two things: <br> | ||
- it can help the user to conduct simple (and complex - if developed further) calculations and <br> | |||
- it can be used as a communication tool for two people by translating messages in a kind of morse code<br><br> | |||
Components: | Components: | ||
- | - Wood (left overs) <br> | ||
- thread<br><br> | - two pieces of threaded rod <br> | ||
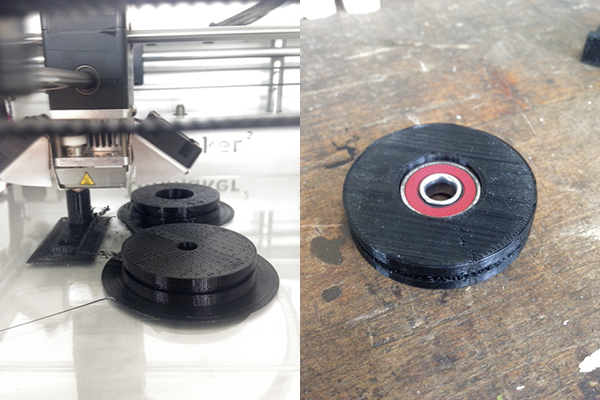
- two 3D printed wheels <br> | |||
- a ball bearing that fits to the threaded rod<br> | |||
- and thread<br><br> | |||
[[File: | [[File:3D_knots1.jpg]]<br><br> | ||
[[File: | [[File:3D_knots2.jpg]]<br><br> | ||
[[File: | [[File:3D_knots_print.png]]<br><br> | ||
How to use it:<br><br> | How to use it:<br><br> | ||
1. | 1. Use the winder to make the knots scratch the thin plastic plate <br> | ||
2. | 2. Wind the thread until the red section crosses the thin plastic plate <br> | ||
3. | 3. Move the winder forward to add "knot-scratches" <br> | ||
4. | 4. Move the winder forward to subtract "knot-scratches" <br> | ||
5. | 5. Enter your calculation <br> | ||
5. Wind back to the red mark and count the "scratches"- they represent the result of your calculation!<br> | |||
[[File: | [[File:Knot_Calculator.png]]<br><br> | ||
Revision as of 10:09, 5 May 2016
Thread Geometries
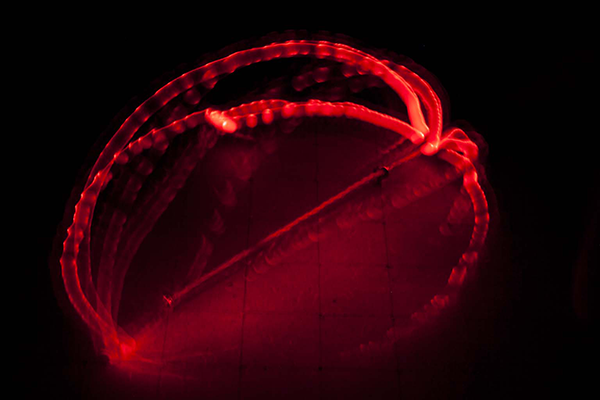
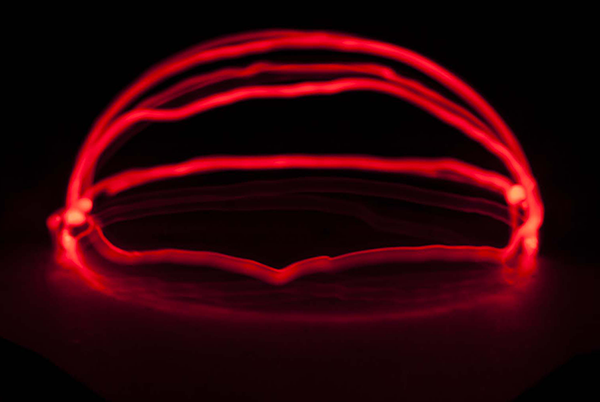
This is the starting point for a kit that allows to visualize geometric forms by using thread (along with some other things).
Components:
- camera with "B" mode
- tripod
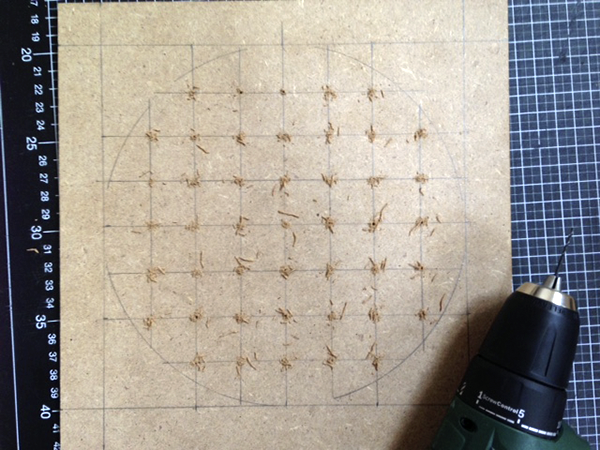
- wooden plate
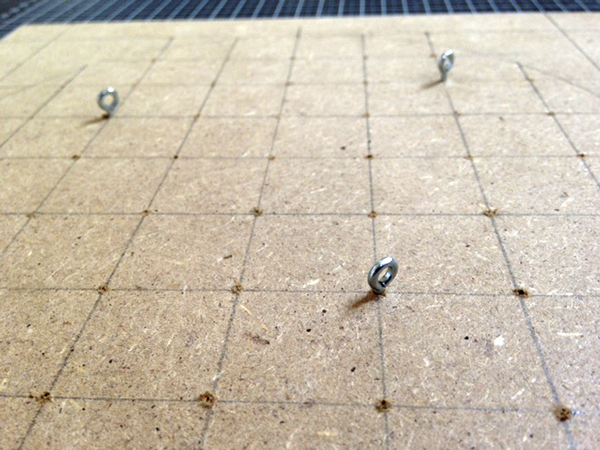
- some screwable hooks
- LED
- button battery
- piece of paper
- clamp
- two magnets
- a transparent plastic bowl
- thread
How to use it:
1. Screw in as many hooks as you like
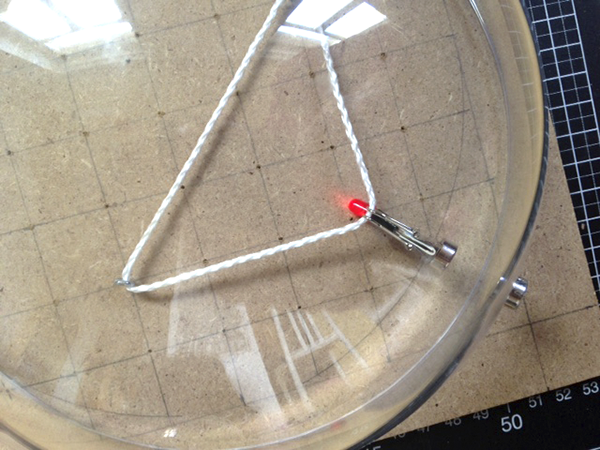
2. Insert a certain length of thread
3. Connect the LED, the button battery and the clamp
4. Put the plastic bowl above the installation and put the magnets in place
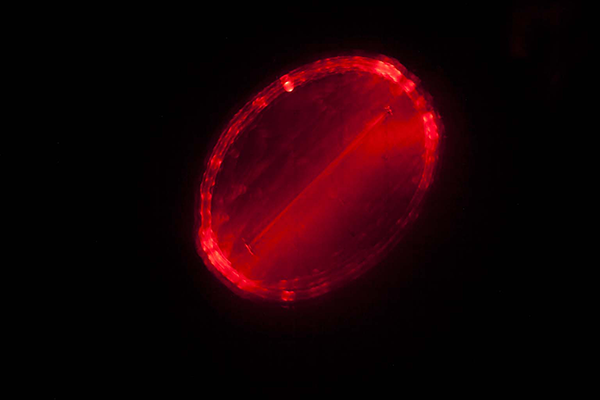
5. Set up the camera, darken the room, push the trigger and move the upper magnet!
Computation and Communication with Knots
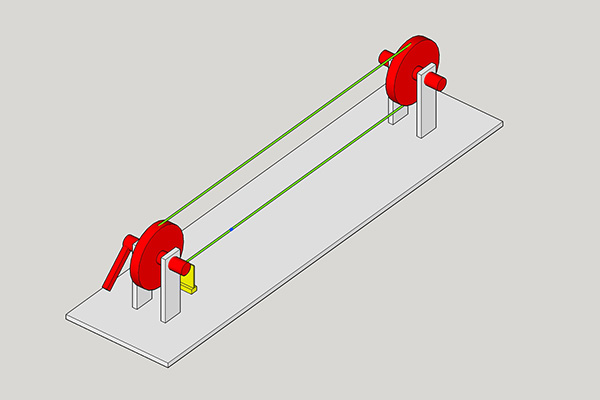
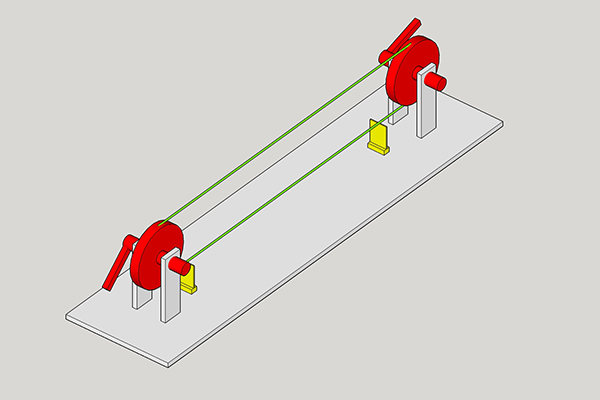
This "machine" is capable of two things:
- it can help the user to conduct simple (and complex - if developed further) calculations and
- it can be used as a communication tool for two people by translating messages in a kind of morse code
Components:
- Wood (left overs)
- two pieces of threaded rod
- two 3D printed wheels
- a ball bearing that fits to the threaded rod
- and thread
How to use it:
1. Use the winder to make the knots scratch the thin plastic plate
2. Wind the thread until the red section crosses the thin plastic plate
3. Move the winder forward to add "knot-scratches"
4. Move the winder forward to subtract "knot-scratches"
5. Enter your calculation
5. Wind back to the red mark and count the "scratches"- they represent the result of your calculation!
