InterFace: How You See Me
InterFace is an interactive tool which uses the facial expressions to detect the emotions and creates an additional layer of communication between the viewer and the wearer. When an emotion is detected on the wearer side, it is translated into a set of colors to be seen by the viewer who is also triggered by the colors that has a relatively universal meaning.
Abstract
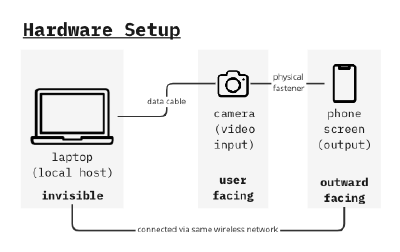
Hardware Setup
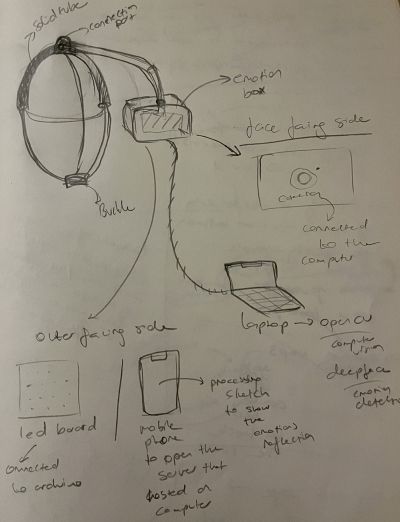
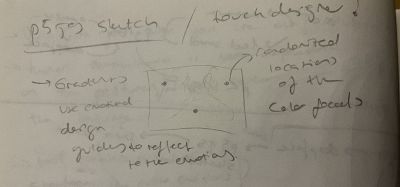
Initial Sketch
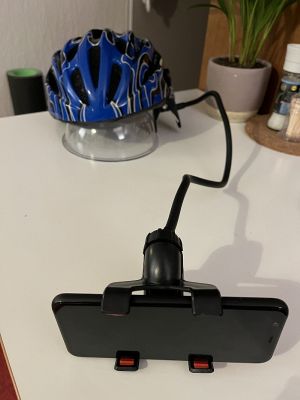
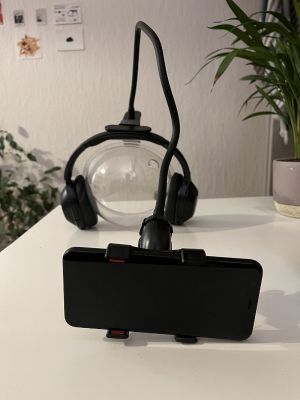
Experiments with the holder
Placed on head, camera facing the wearer, screen facing out.
Tools used;
- Phone holder
- Headphones
- Bİke Helmet
This model of display did not work, because the holder was too heavy to be balanced on the head. And since the camera cannot be too close to the face(to see and detect the face) the weight distribution was faulty.
Placed on the shoulder, camera facing the wearer, screen facing out.
- Phone holder
- Adjustable strap
File:Emotiondet 19.JPG //change this
This model was more stable than the head ones. The holder is clipped to the strap to ensure the stability with the help of the upper body that the strap goes around.
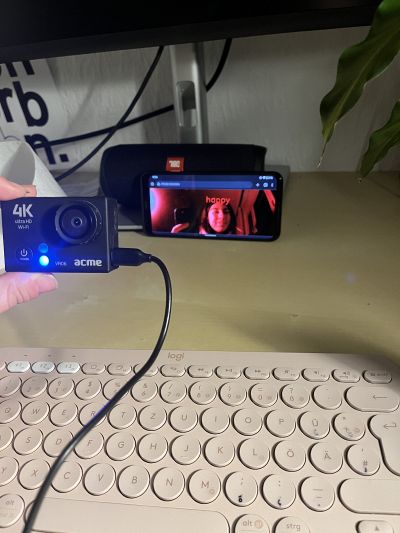
Camera
An external camera (an action camera which has a wide angle lens built-in) successfully set within the software setup process, which was more or less a cyclical process that went together with the hardware setup.
Hardware System Diagram
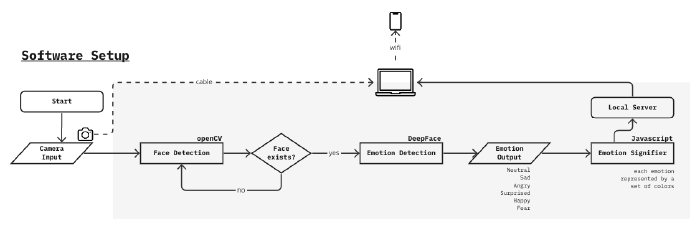
Software Setup
Phase 1: Backend
Sources used;
- OpenCV Face Detection
- DeepFace Emotion Recognition
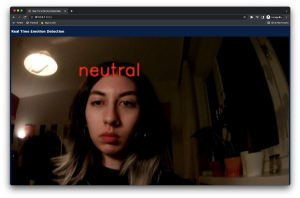
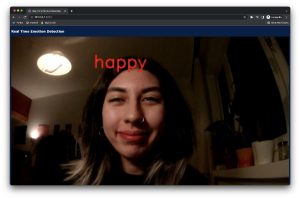
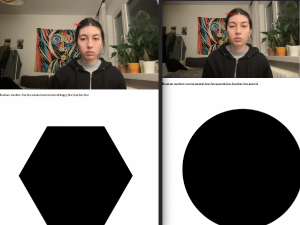
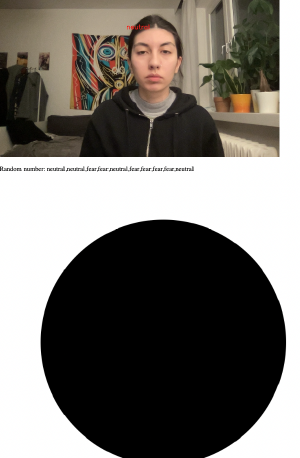
Starting with the OpenCV library which enabled face detection from the camera input, instances of the face each second are fed to DeepFace algorithm. DeepFace gives an output of the emotional data, labeled on the face.
The default emotion read-write was too fast(<1 sec intervals) to be used for a more stable visual which will be done in the further process, therefore a limiter is designed to output the emotion only when the same emotion is shown at least 2 times in a row.
Phase 2: Frontend
The emotion output is used for controlling a simple p5.js sketch on the website where all emotion detection visual coming together. This experiment was successful so it created space for elaborating the emotion driven visual.
Phase 3: Emotion Signifier Visual
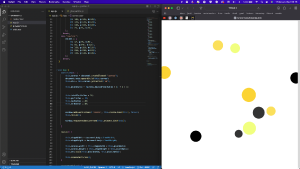
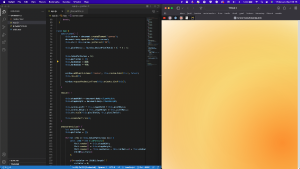
Using pure javascript, a particle system consisting of several ellipses in different sizes and with different alpha values in their color, moving gradient effect is created.
Phase 4: Connection to the hardware & collecting the signifier output
For showing the same web page that is hosted on the laptop, the phone used as the screen should be connected to the same wifi. This method has its disadvantages and advantages such as not being able to make it full screen on the phone(not impossible but also not easy since the wearer has so little control over the screen) but also there is no significant latency for the display of the emotion signifier output.
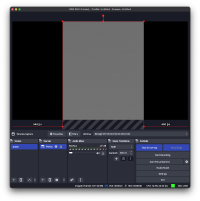
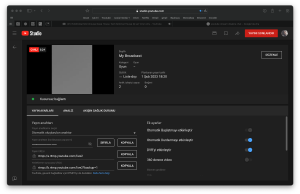
An alternative to this solution might be broadcasting the laptop screen directly on a platform so that when it is displayed on the phone screen, the control is easier, while it requires a remote operator of the laptop. However after the experiments, using the tools OBS and YouTube streaming, there was a long latency period that the visual loses its purpose of being in sync with the real facial expression of the wearer. Therefore it is better to go with the first option which connecting via wifi.
Discussions
early sensor experiments
