DEVICES OF PERCEPTION
BASICS
ASSIGNEMENT N° 1 - LOUDNESS KILL SWITCH
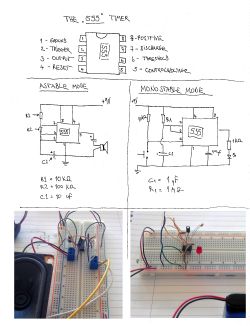
MONOSTABLE 555 - MOMENTARY SWITCH
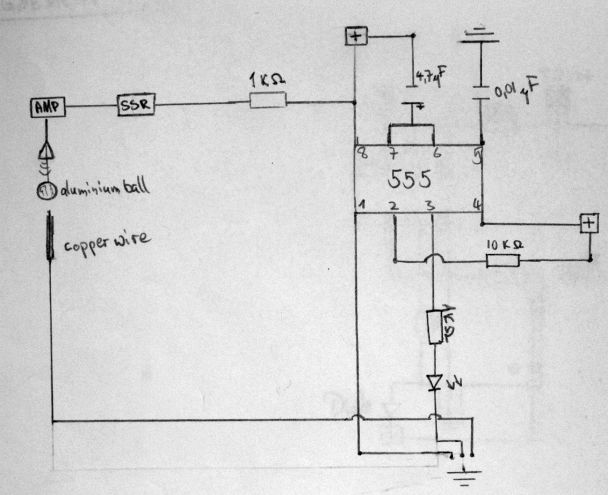
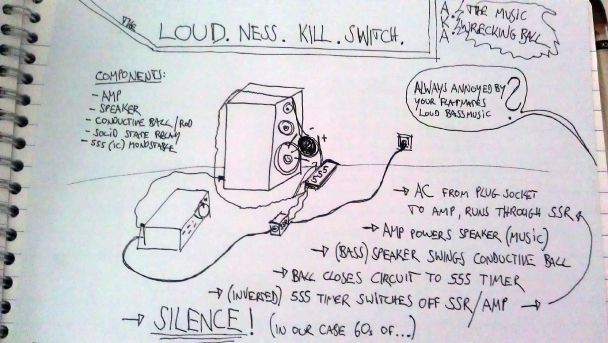
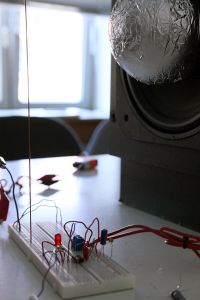
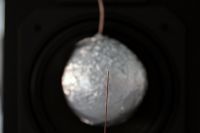
The "Loudness Kill Switch" reacts to the loudness of music emmited from a speaker. The mechanical construction consists of an aluminium ball applied to a loudspeaker, moving towards a copper rod when music is played. The circuit will be closed if the aluminium ball gets in contact with the copper rod.
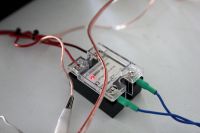
That happening a LED will light up and the loudspeaker (connected to an amplifier again connected to a solid state relay) will turn off for ca. 30 seconds. This time passed the loudspeaker will turn on as the LED will turn off again.
Parts:
Styrofoam ball wrapped with aluminium foil |
Copper rod |
555 Timer |
Solid State Relay |
Loudspeaker |
Amplifier
ASSIGNEMENT N° 2 - VEHICLE, MODEL N° 1
ASTABLE 555 - PHOTODIODE as a SWITCH
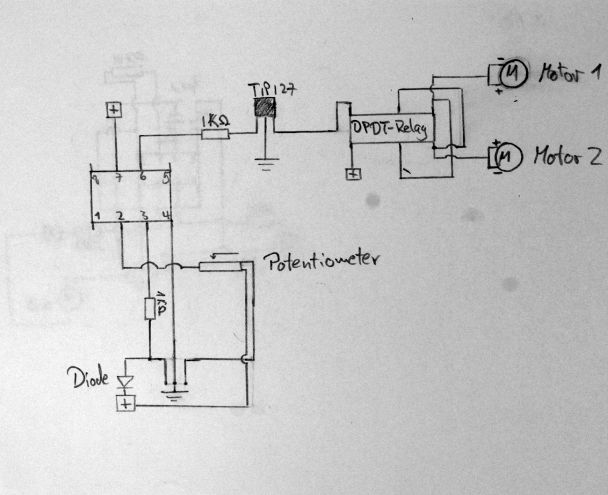
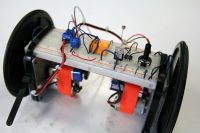
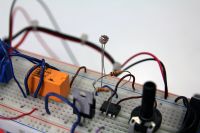
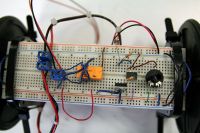
For the second assignment we decided to built a kind of vehicle. One that should be able to move forwards, backwards and sidewards. Therefore we came up with the idea to use two motors with plastic wheels as our main device. The first model was able to move forwards and backwards depending on a photodiode and its changing resistance again depending light.
To improve: Apply a second photodiode to the breadboard so that it is possible to steer both of the wheels independent from each other.
Parts: 1x Double Pole Double Throw - Relay | TIP 127 | 741 Comparator | Photodiode | 2x Battery |
ASSIGNEMENT N° 3 - DRAWING MACHINE
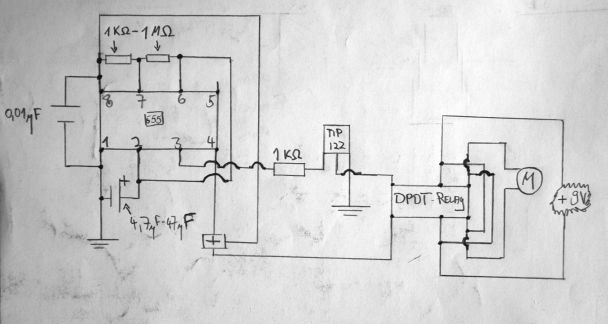
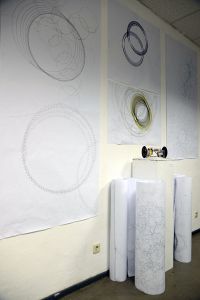
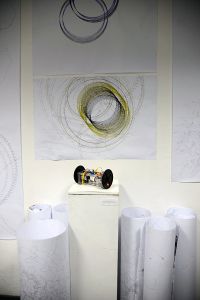
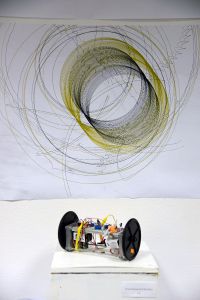
ASTABLE 555 - RESISTORS as SWITCHES VEHICLE, MODEL N° 2, DRAWING MACHINE The basis for our third assignment was the previous one. Instead of the photodiode's resistance triggering the Double Pole Double Throw - Relay, we decided to only work with the common resistors and capacitors as our aim was to make the vehicle move in a certain rhythm. We added another Double Pole Double Throw - Relay, two 555 Timers and two TIP 122 to the breadboard. This allowed us to control both of the motors separately from each other.
You will need: 2x Double Pole Double Throw - Relay TIP 122 555 Timer 3x Battery
To improve: Add photodiodes so that you can influence the rhythm of the motors moving forwards/backwards permanently.
<videoflash type=vimeo>101011710|610|340</videoflash>
