How to Upload Pictures to the Wiki
Uploading pictures to the Wiki is easier than you think. If you do happen to get many problems while uploading, it is probably not your fault. The system is quite buggy sometimes, so just keep trying until it works!
The first two tips I will give you when uploading pictures to the wiki is this:
Save your photos as .png files. The wiki has trouble reading jpeg files and 9 times out of 10, it will not upload the file. If you are receiving error messages that your photo can not be uploaded, check to make sure it isn't saved under anything other than png.
The second tip is to give your photo an easy file name to remember. This is because when you go post your photo in the wiki, you have to manually type the file name in. A file named "flower" is easier to remember than "flower182438405jfhu3498".
To begin putting pictures on the wiki, you first have to upload your photos. You should be logged in, otherwise you won't be able to upload anything.
Go to the left side of your screen and look for the link that says "Upload File".
Click on this link.
The Wiki then will bring you to the Uploading Page for photos.
The next step here is very important. Do not upload any copyrighted material that you do not own!!! You will be held responsible, and your photo will be taken down from the wiki.
When uploading pictures, make sure to name your file appropriately and do not use special characters such as @$%^&, etc. These will not be recognized by the system. As stated before, name your file simply! Do not call it inappropriate things - this wiki is public and can be viewed by anyone!
Make sure to choose the proper copyright status and source. If you aren't sure what to choose, ask, or look it up! It's the internet - there are answers everywhere!
As you can see on the picture on the left, I have decided to upload the file named "ducks", because it is a very simple file name to remember.
I have also saved it as a png file. Since I am the author of the photo, I hold copyright to the picture, so I have chosen the option of Copyright by Image Upholder.
If you don't know where your photo is from, I advise either to find the source so you can give credit, or do not use it! You are responsible if you are caught using something copyrighted that is not yours!
If your picture was successful, then you should see something that looks like the picture on the left! Hurray!
If you received an error message that looks like this, try resizing your photo before uploading it again. Sometimes the file sizes are too large for the Wiki to handle. Keep in mind you will have to change the name of the file.
Make sure the photo is a png!
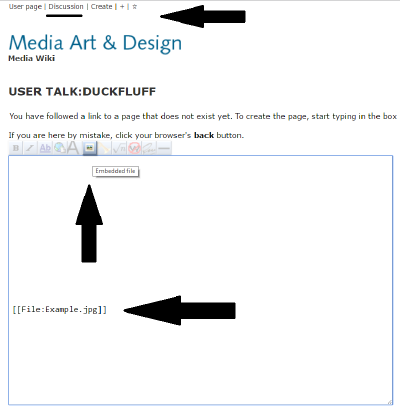
The next step is actually embedding the picture file you have into the wiki. We will assume that you want to add a photo to your discussion. Click on the discussion button at the top of your wiki page. This will bring you to the editing page of your wiki.
The second arrow shows the "Embed Button" or "Embedded File".
Clicking on this button will produce the sentence: 
This sentence is the key to your uploading photos!
Now remember how we named the photo we uploaded ducks and that it was a png file?
 should now read [ [ File:ducks.png ] ] (except minus all the spaces).
Make sure you write the EXACT file name as it is. If you uploaded it with a capital "D" for "Ducks", make sure that file name has a capital "D" otherwise the Wiki will not read it.
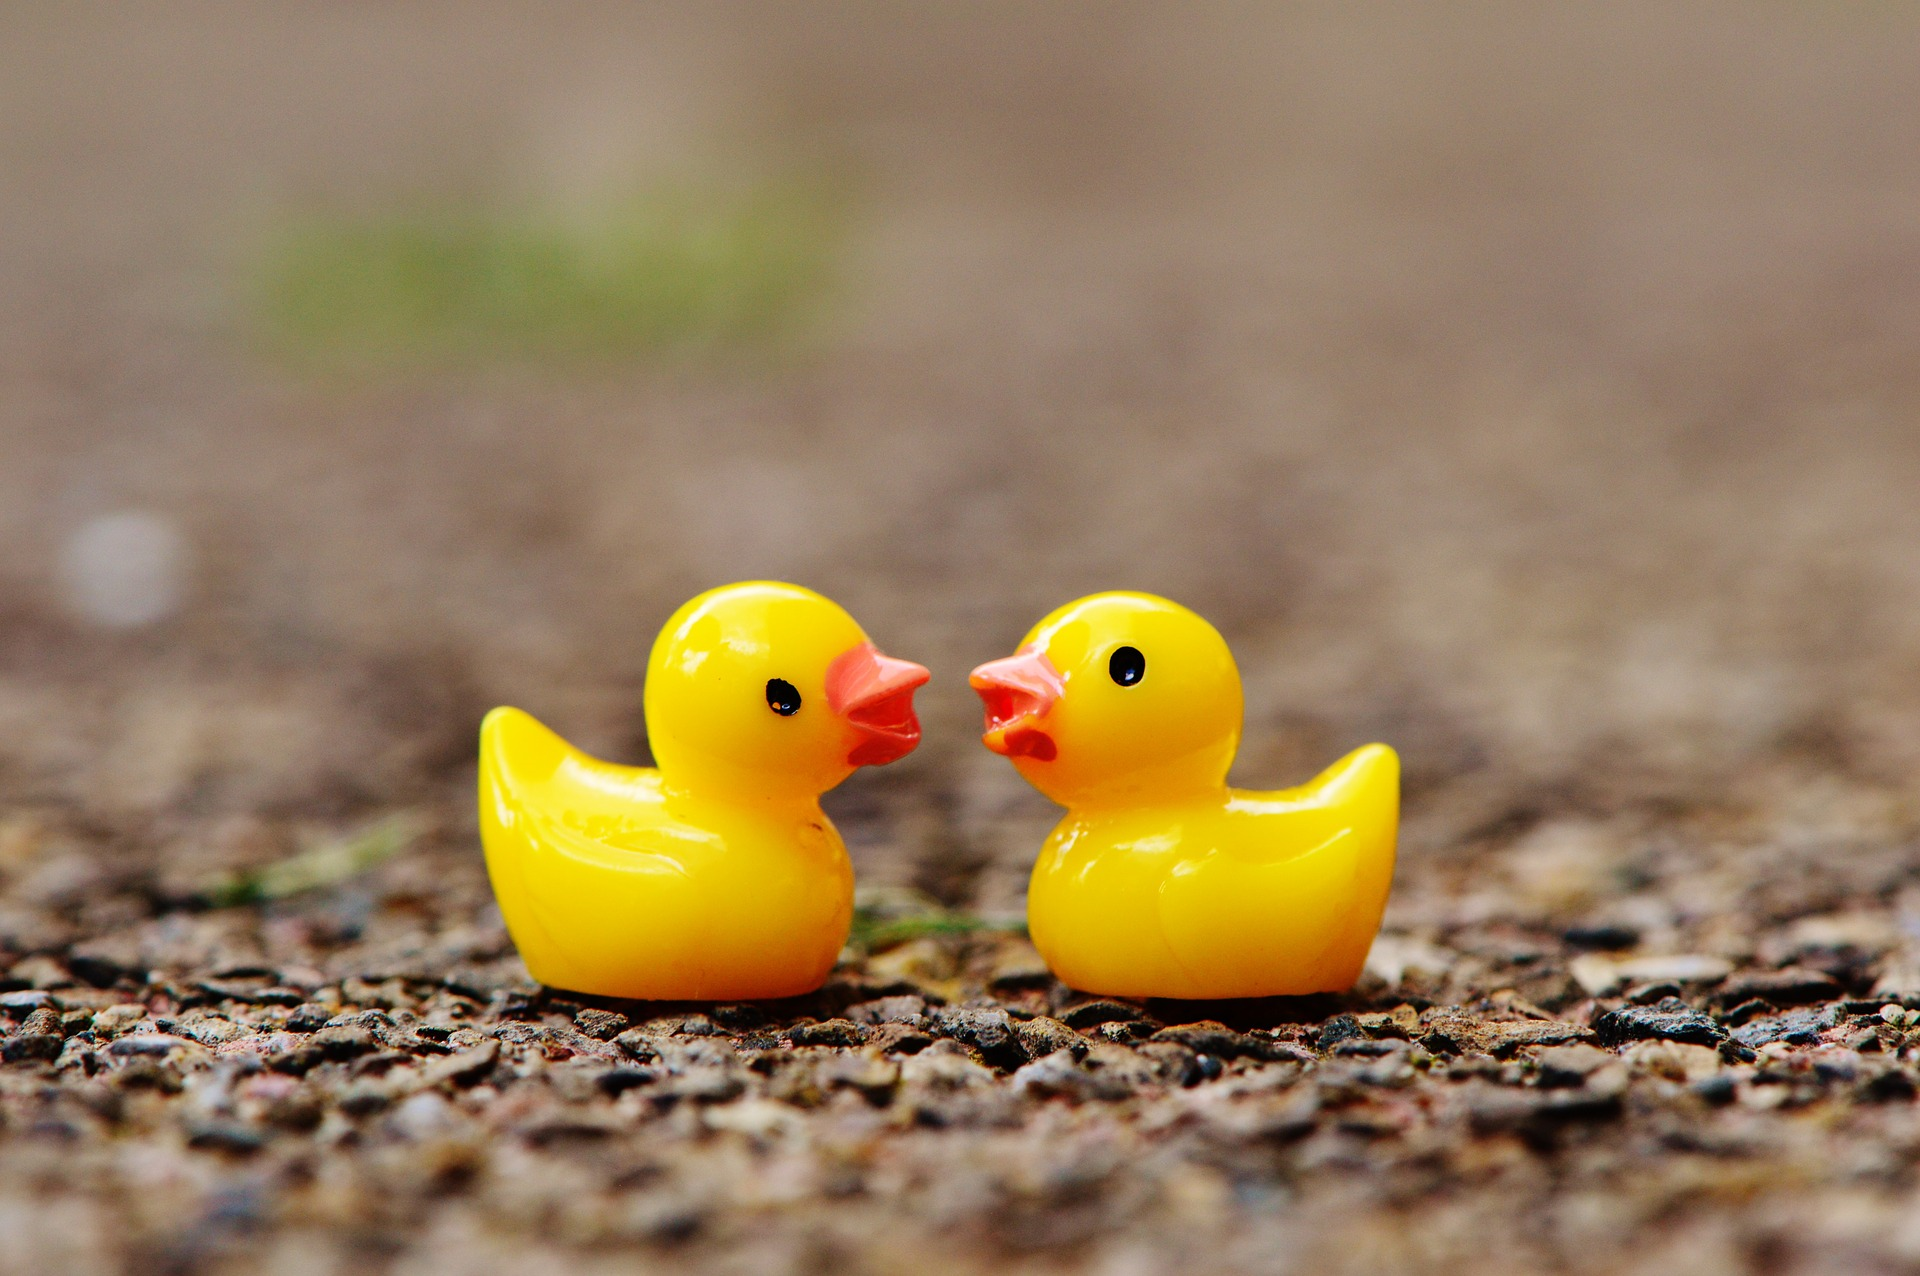
If you do everything right, then you should have the fullsize picture of the ducks you uploaded:
So, now we are thinking, well, this is a little bit too big! That's simple to change! You can change the size of the picture by writing in how big you want it.
[ [File:ducks.png|thumb|200px] ]
TO BE CONTINUED


