Introduction
This tutorial will show you how to set up a rigged Model in Blender, how to export it into Unity and how to control it with The Cpatury's OSC Messages.
Shortcuts (Blender)
TAB = Toggling between Edit- and Object-Mode
Shift + Right-Click = Multi-Select
Spacebar = Open Finder -> type in commands and select them
X = delete
S = scale
Shift + D = Duplicate Object
Ctrl + J = Combine Objects to one Mesh
G = "Grab"
Creating the Rig in Blender
Step1
Open a new .blend File. Delete the Cube which is set as default with "x".
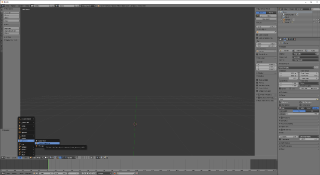
Go to Add -> Armature and select Human (MetaRig).
If there is no Rig then go to: File -> User Prefrences and select the Addons Tab and type in "Rigify". Make sure the Addon is checked.
If not simply click on the square and Save User Settings at the bottom.
Step2
Select your Rig and switch to the Outliner on the right. Double click on metarig and type in the name you wish: e.g "Cubeboy".
Step3
Now switch back to the 3d-Rig and select it with right-click and press "TAB" to switch into "Edit Mode".
Because we don't need any fingers and unnacessary bones we are going to delete the Fingers: Hold "Shift" and right-click to multi-select the bones.
After you selected all fingers go and press "x" to delete the bones. Repeat the Process on the other side. We are also going to delete the "Heel bones".


