HUMAN AND NONHUMAN PERFORMANCES TWO PROJECT
Hello
My name is Smin Kim. I'm studying Media art and design(M.F.A) at Bauhaus University Weimar.
Currently living and working in Weimar. Nice to see you here!
:)
Inspiration
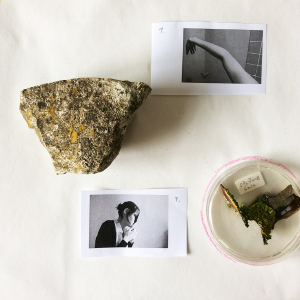
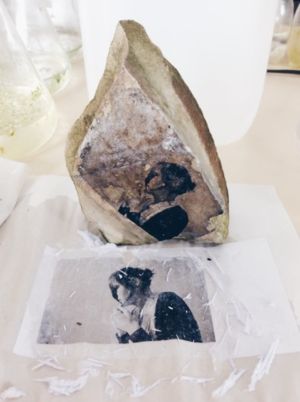
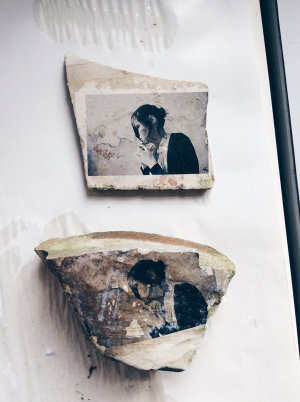
- Liquid Emulsion on stone
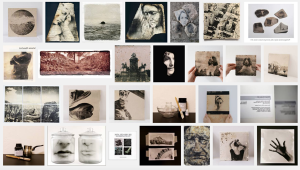
>>google search to Liquid Emulsion
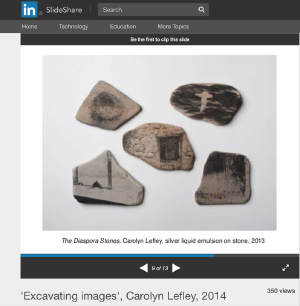
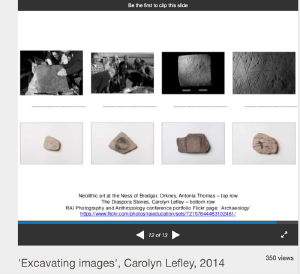
'Excavating images', Carolyn Lefley, 2014
Slides to illustrate a paper presented at the RAI Anthropology and Photography conference, British Museum. May 2014
http://www.slideshare.net/lefley/excavating-images-carolyn-lefley-2014
Lichen
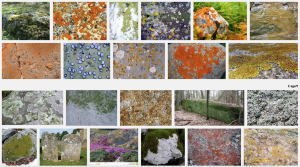
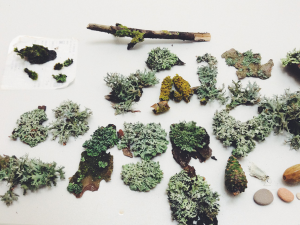
A lichen is a composite organism that arises from algae or cyanobacteria (or both) living among filaments of a fungus in a symbiotic relationship. The combined life form has properties that are very different from the properties of its component organisms. Lichens come in many colors, sizes, and forms. The properties are sometimes plant-like, but lichens are not plants. Lichens may have tiny, leafless branches (fruticose), flat leaf-like structures (foliose), flakes that lie on the surface like peeling paint (crustose),or other growth forms.
Lichens occur from sea level to high alpine elevations, in a very wide range of environmental conditions, and can grow on almost any surface.
Different kinds of lichens have adapted to survive in some of the most extreme environments on Earth: arctic tundra, hot dry deserts, rocky coasts, and toxic slag heaps. They can even live inside solid rock, growing between the grains. Some lichens do not grow on anything, living out their lives blowing about the environment. It is estimated that 6% of Earth's land surface is covered by lichen.
Symbiotic relation
A lichen is a composite organism that emerges from algae or cyanobacteria living among the filaments (hyphae) of a fungus in a mutually beneficial (symbiotic) relationship. The fungus benefits from the algae or cyanobacteria because they produce food by photosynthesis. The algae or cyanobacteria benefit by being protected from the environment by the filaments of the fungus, which also gather moisture and nutrients from the environment, and (usually) provide an anchor to it.
Evidence that lichens are examples of successful symbiosis is the fact that lichens can be found in almost every habitat and geographic area on the planet. Two species in two genera of green algae are found in over 35% of all lichens, but can only rarely be found living on their own outside of a lichen.
Growth rate
Lichens often have a regular but very slow growth rate of less than a millimeter per year. Different lichen species have been measured to grow as slowly as 0.5 mm, and as fast as 0.5 meter per year.
In crustose lichens, the area along the margin is where the most active growth is taking place. Most crustose lichens grow only 1–2 mm in diameter per year.
reports from Joe ̈l Boustie and Martin Grub
Lichens are characterized as a stable and self-supporting association between fungi—the mycobionts—and photo- autotrophic, algal partners—the photobionts.
About 18,500 different lichen species have been described all over the world. They may grow under rather diverse and sometimes extreme ecological conditions. Lichens can be found in very cold and dry
Growing
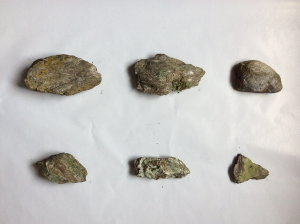
Collections
Species
               Crustose lichen - Caloplaca and Caloplaca marina

               Lobate lichen - Lecanora dispersa

               Endophloelic - Amandinea punctata

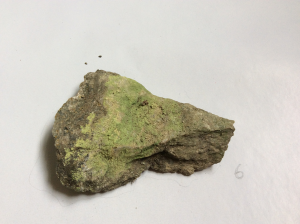
               Chrysotrix candelaris or chlorina (green yellow)
Conditions
 Keeping lichen in the shade, 24h air circulation, water supplying one time in a day

 (Rice water supplying 2 times in a week)
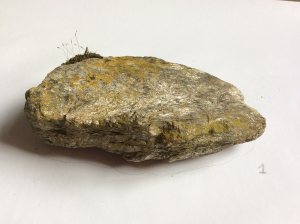
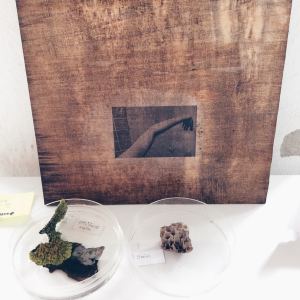
*Lichen on the stone
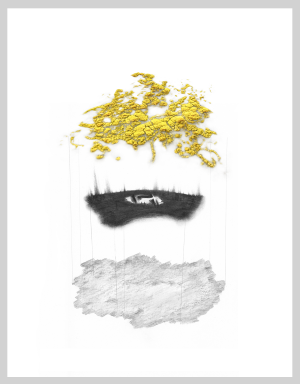
An idea about how it looks a stone with lichen.
Methods
=
Method1 : Liquid emulsion
With a liquid silver emulsion applications can be made to a variety of surfaces such as tile, glass, pottery, wood, canvas, stainless steel and coated metals. Brushing, dipping, and spraying are among the techniques employed for applying the emulsion to three-dimensional surfaces.
>> References
Method2 : Transfer gel medium
We have a ton of slab stone in our yard, and as soon as I came across a few pieces that were particularly thin I knew exactly what I wanted to do with them. I also have a few pictures I have been meaning to display, so this project was a good way to finally get around to displaying them. After a lot of research I found that there are many ways get pictures onto stone, each with varying effects. I tried out three methods and eventually went with one though I will talk about the the other two as well.
>> References
Method3 : 배접 (褙接) Bae-joup
Traditional korean technic to preserve painting
Material : 풀 (糊) Pull, Material
We have a ton of slab stone in our yard, and as soon as I came across a few pieces that were particularly thin I knew exactly what I wanted to do with them. I also have a few pictures I have been meaning to display, so this project was a good way to finally get around to displaying them. After a lot of research I found that there are many ways get pictures onto stone, each with varying effects. I tried out three methods and eventually went with one though I will talk about the the other two as well.
>> References
How to make it?
Here is a breakdown of how I transferred the images. 1. Clean the rock 2. Gesso is not necessary for the transfer here, it just adds tooth and depth. You can use watered down white paint. Let it dry. 3. Use a "Splendid Blender" pen by Chartpak. Other blender pens don't have the same chemical composition, and won't work. Check out "Splendid Transfer" on my sidebar for more info on the pen. 4. Make a laser, toner based copy of the image you want to use. Ink jet copies don't work. 5. Place the copy face down on the rock. 6. Rub the pen over the image, while keeping the paper stable. If it slides around, you'll get a blurry image. Press hard till the image transfers. 7. Make sure you have lots of ventilation when using the pen.
>> References
- Playing With Rocks by villabarnes.com
- Photographs on Stone by jonesaw
- Pallet Crates & Inkjet Image Transfer to Wood by blissful2015
Experiments
Transfer image experiments
1. Wood
2. Surface on wood
3. Flat stone
4. Making smooth flat stone
5. Curve stone
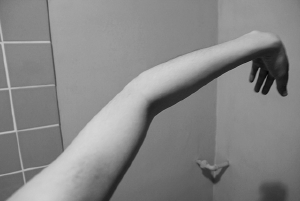
>> test images from last work

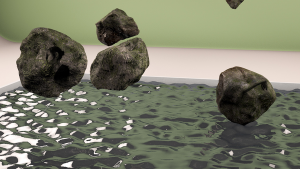
Installation plan
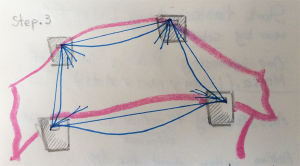
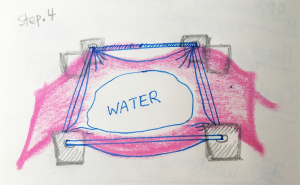
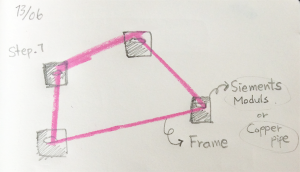
sketches : a plan to install
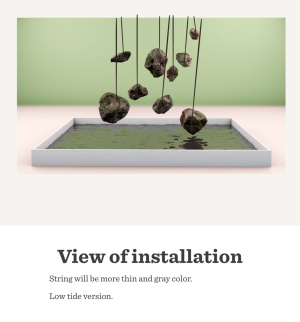
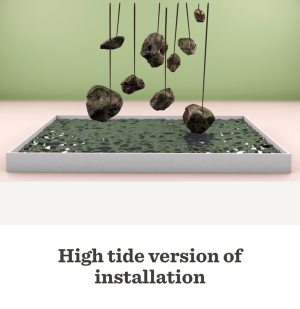
3D renders
The Miller-Urey Experiment
What Was The Miller-Urey Experiment?
<videoflash type=YouTube>NNijmxsKGbc?list=PL75310AD28DB37A33</videoflash> Made by Stated Clearly http://statedclearly.com/
The Miller-Urey experiment was the first attempt to scientifically explore ideas about the origin of life. Stanley Miller simulated conditions thought be common on the ancient Earth. The purpose was to test the idea that the complex molecules of life (in this case, amino acids) could have arisen on our young planet through simple, natural chemical reactions.
The idea was to simulate hypothetical conditions thought to be present on the early Earth (Hadean or early Archaean). It was a test of the chemical origins of life. Specifically, the experiment tested Alexander Oparin's and J.B.S. Haldane's hypothesis that conditions on the primitive Earth favored chemical reactions that synthesized organic compounds from inorganic precursors. Considered to be the classic experiment on the origin of life, it was conducted in 1952 and published in 1953 by Stanley Miller and Harold Urey at the University of Chicago.
After Miller's death in 2007, scientists examined sealed vials preserved from the original experiments. They were able to show that there were well over 20 different amino acids produced in Miller's original experiments. That is considerably more than those Miller originally reported, and more than the 20 that naturally occur in life.
source from https://simple.wikipedia.org/wiki/Miller%E2%80%93Urey
Die Antwort vom Fachchemiker
Zu Punkt 3 muss ich recht unverschämt und auch unhöflich zurück fragen:
was haben Sie als Studentin für eine Ausbildung ?
Bio oder Bioart ist was anderes als chemische Experimente, noch dazu mit potentiell gefährlichen Substanzen.
ich gehe davon aus, dass das erst mal nicht bei Dir daheim stattfinden soll
- davon muss ich massiv und  entschieden abraten !!!
hat die Bauhaus Uni überhaupt irgendwelche chemische Labors ??
nochmals: Bio und Bioart haben NICHTS mit chemischen Experimenten zu tun !!
"sicher" kann man das Experiment nur machen,
wenn fachkundige Leute damit am Werk sind und die die  passenden Labors und Apparaturen
dazu haben grundsätzlich hand habt man hier entweder hochgiftige, korrosive oder potentiell explosive Ausgangssubstanzen
(mit Kohlenmonoxid kann man Lebewesen umbringen)
wenn man das Experiment wirklich hinbekommt, muss die entstandene "Suppe" auch noch analysiert  werden,
dazu braucht es Maschinen und Menschen die das können.
meine persönliche Meinung ist noch: wenn man das Experiment wiederholt und gefahrlos übersteht,
ist die Suppe auf jeden Fall anders zusammen gesetzt
generell würde ich nur abraten davon, andere haben das schon gemacht
und außer Gefahr beim Umgang damit kommt nichts raus,
was gewinnbringend ist; organische Produkte sind möglicherweise ein Ausgangspunkt aber noch kein Leben.
Ich finde, dass man mit Bioart schönere Sachen machen kann.
Entschuldigung wenn es etwas heftig war, entspricht aber der Reaktion in dem 'geplanten' Reaktor.
I would get advice from Korean students of the Faculty of Biology and Pharmacy, Friedrich-Schiller-University Jena.
Cut_layer
References
Karl Bloss Feldt
- Urformen der Kunst, 1928
Goethe
- Metamorphosis of Plants, 1786
- File:Goethe MetamorphosisPlants2009.pdf
- Internet Encyclopedia of Philosophy.pdf
- File:Metamorphosis - body, water, process, life, plants, form, energy, primary, change.pdf
- File:Schilperoord-jarke 2.pdf
Maria Sibylla Merian
- Der Raupen wunderbarer Verwandlung, 1679
- File:Maria Sibylla Merian - Wikipedia, the free encyclopedia.pdf
- File:Maria Sibylla Merian, The Woman Who Made Science Beautiful - The Atlantic.pdf
Royal Horcticultural Society des Blumen büros Hollands
- Bloemen bureau Holland,
- Pantone-System
