STAR DUST

The idea is to build a small pinball machine which works with various sensors and mechanical components. Inspired by classical pinball machines, I'll use buttons, motion sensors, electro magnets, aswell as self created sensors made out of alu foil and wire. Most of the sensors will trigger light (LED's and maybe RGB LED Strips) and sound (via piezo speaker).
Since this is my first DIY electronics project ever, I think the pinball machine is a good test field to combine different sensors in one project. It is always possible to add new features to it or to leave parts out without letting the hole project die. Also, I like the interactive aspect of the project and personally I relate very good family memories with pinball machines which motivated me to create this toy.
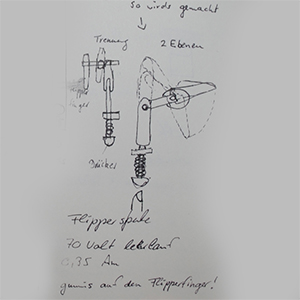
To run this machine it's necessary to build a few mechanical parts such as the pinball fingers and the plunger. --> see below
If you have no idea what a pinball machine is about have a look here --> DEUTSCH or here -->ENGLISH
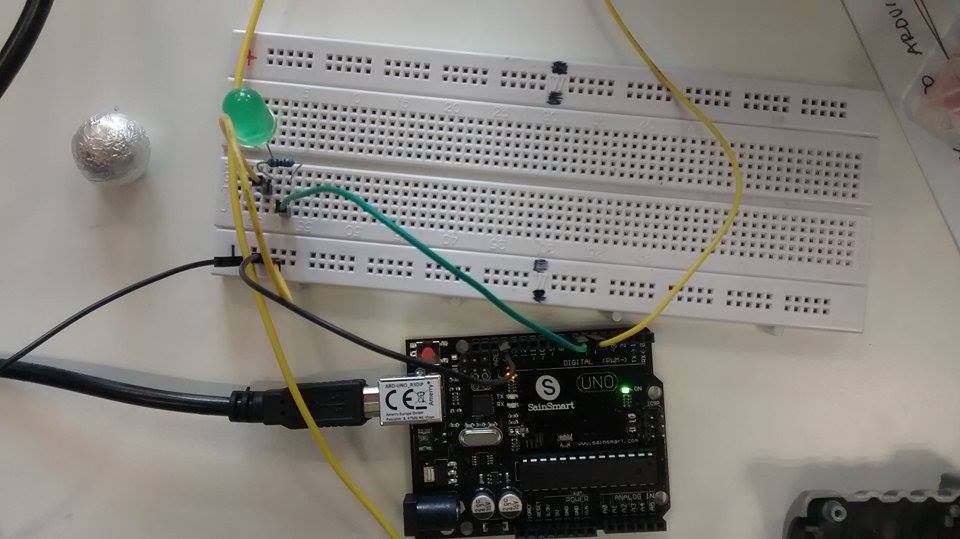
prototypes
- There were several tests/prototypes
- Buttons
- Motion Sensor that plays different sounds depending on the distance to it
- a switch that lighting up a LED
- Buttons to light up a LED strip in different colors
- a switch lighting up a LED strip with fading colors
- a switch that triggers a piezo speaker to play random sound (sounds pretty spacey)
- a switch that triggers a piezo speaker to play a melody
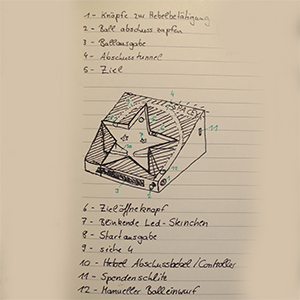
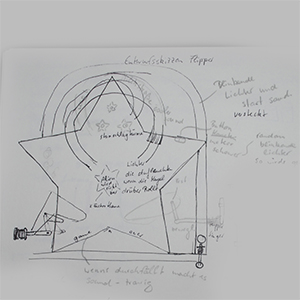
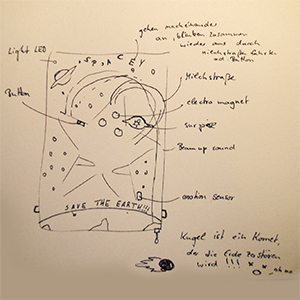
sketches
DESIGN
Theme of the pinball game is Star Dust
The ball is a comet that is going to hit the earth. But you have the chance to save the planet by playing the game and activate the S-P-A-C-E-Y letters. But watch out for some evil aliens who want to extinguish all human beings!
DETAILS
First sketches show how sensors could be used for a pinball machine.
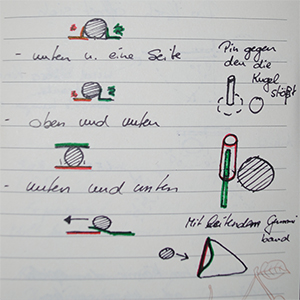
A motion sensor will be used to trigger a game over melody when the ball is lost. Look also at design sketch No.3!
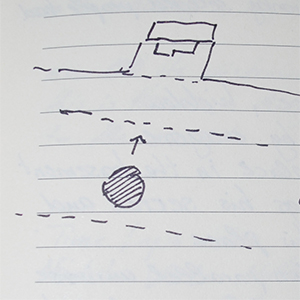
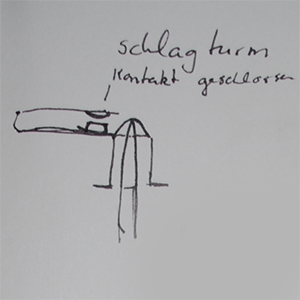
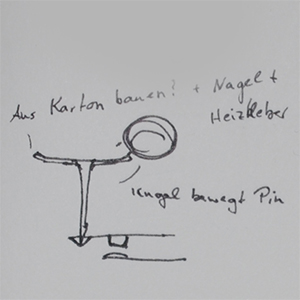
Main project is to build a BUMPER with an electro magnet that will move the tower.
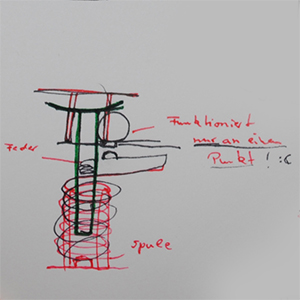
mechanical parts
Some of the most important parts of the pinball machine will be build by myself without electronics.
There will be more pictures and also a list of materials.
FINISH
It really takes a lot of time to build a pinball machine!
Especially the mechanical parts are very complex and cost me a lot of nerves. So think twice before you decide to build one.
But in the end I'm pretty happy with the results, even if a few things didn't work out (e.g. the bumper because I wasn't able to 3Dprint the parts I needed).
If you're wondering, how to get this spacey look of the front walls self-adhesive film with black marble print is the answer.
Building the mechanics:
To use the machine without an arduino I got some Attiny 45 and one 44 (it has more pins) and 9V batteries. Be mind that Attiny only uses max. 5,5V!!!
All circuits are pretty basic and work with LED lights or a piezo.
There is
- a circuit that lights up one LED after another by pressing a button. Following all LED's start to blink and turn off again. See VIDEO*

- !!!motion sensor that play the first notes of the Imperial March (psssst... that from Star Wars) with an piezo speaker when it's triggered. (GAME OVER)
See VIDEO* !!!
- Fading white LED's that light up and go out in different
rhythms (DECORATIVE STARS)See VIDEO* 
- A piezo speaker that plays a random melody when the ball connects two ends of the circuit. See VIDEO*

- And a very simple circuit that lights up two LED's when a button is pressed. (ALIEN ATTACK!!!)

- There is also the circuit that uses an electro magnet and pulls down a plastic part that gives the ball extra speed. I used the magnet from a mechanical Ding Dong bell
and it works pretty good in combination with a 9V battery. Unfortunately the 3D printer doesn't work as I expected it to do. Maybe I can add this circuit later.

* You can find all VIDEOS online on my channel (YT). (YouTube)Username: Alisha Effenberg or search for: six LED's switching on by button and blink with arduino ,
random sound from piezo with arduino,
three fading LED's with arduino
