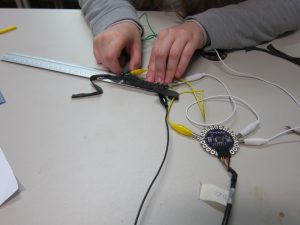
We tried three different stretch sensors made from resistive fabric. One was only the fabric, one was the knitted fabric, and the last was crocheted fabric. Our tests showed that the fabric on its own can be easily overstretched and does not return to its original length afterwards. The knitted sensor seemed to be working most accurately.
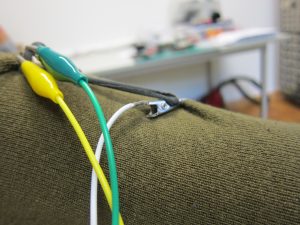
Here you see the knitted sensor applied to the arm:
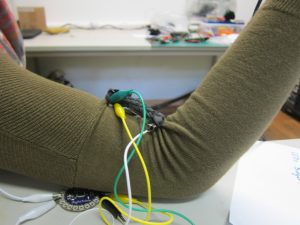
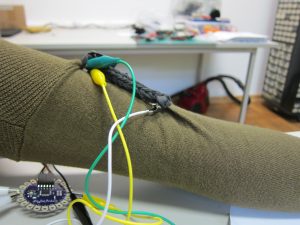
And here is the Lilypad Graph:
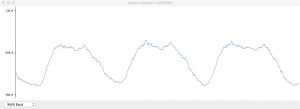
the peaks show the arm being relaxed
here is the crocheted sensor:
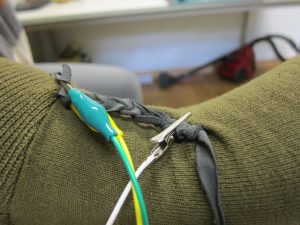
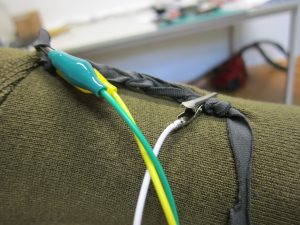
and its graph:
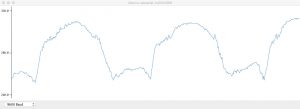
the peaks show the arm being stretched
and here is the piece of fabric:
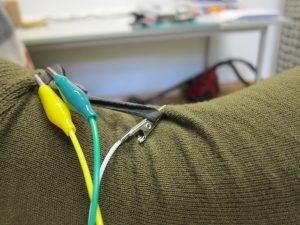
and the graph:
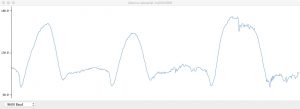
the peaks correspond to the arm being stretched.
The crocheted and the simple fabric increase resistance when stretched, whereas the knitted sensor decreases in resistance when being stretched, this is most probably due to the different grain (fadenlauf) in the fabric.
And here is a data table for different stretch lengths and their Lilypad values:
| 3cm | 5cm | 6cm | 7cm | 10cm | 14cm | |
|---|---|---|---|---|---|---|
| Knitted | 300 | 570 | 600 | 632 | 520 | |
| Crocheted | 100 | 270 | 325 | 340 | 390 | |
| Simple | 90 | 140 | 185 |
and here are the values in Ohm, so the calculated resistance:
| 3cm | 5cm | 6cm | 7cm | 10cm | 14cm | |
|---|---|---|---|---|---|---|
| Knitted | 4150 | 122500 | 14200 | 16200 | 10300 | |
| Crocheted | 1090 | 3600 | 4650 | 5000 | 6200 | |
| Simple | 1590 | 2200 |
The code used was the Arduino example sketch for Analog read (AnalogReadSerial). It looks like this:
void setup() {
// initialize serial communication at 9600 bits per second:
Serial.begin(9600);
}
// the loop routine runs over and over again forever:
void loop() {
// read the input on analog pin 0:
int sensorValue = analogRead(A0);
// print out the value you read:
Serial.println(sensorValue);
delay(1); // delay in between reads for stability
}
The formula used to turn the numbers gained with the AnalogRead into the resistance is this one:
U = 5 * AnalogNumber/1023;
R = 10000 * U/(5-U);

One Reply to “Stretch Sensor”
Comments are closed.