Category Archives: Nemo by WISEHA
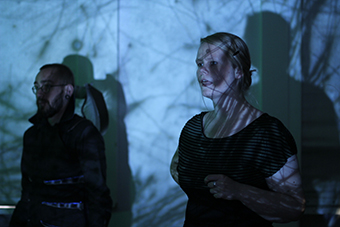
The NEMO costume re-tested.
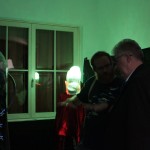
On 15 August the Rafael Ecker came to HCI lab and Tested the costume once again.
Final Exhibition – Summaery – Open Lab Night
Dear All,
we present to you: our final exhibition!
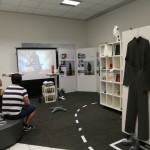
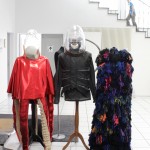
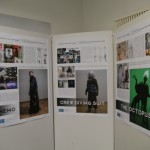
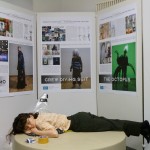
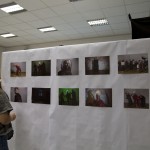
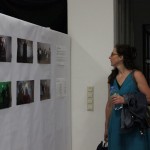
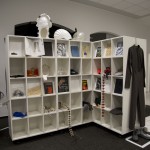
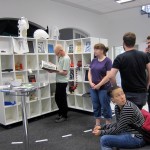
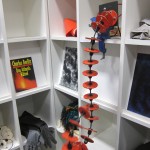
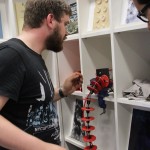
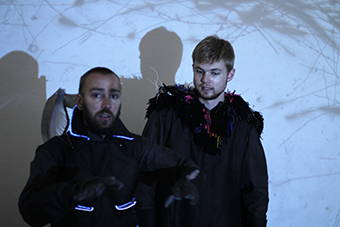
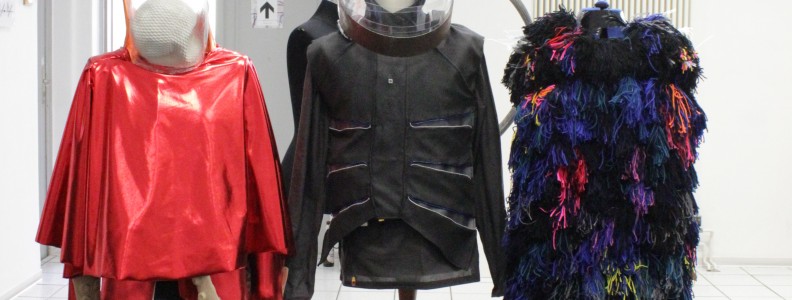
The designers always come up with these crazy ideas that are a lot of effort. I guess in the end it was worth it. We presented the project – costumes, mock- ups, prototypes, pictures and movie in the entrance hall of Bauhausstraße 11. We tried to make it an overall experience so that the visitor understands the project´s goal. The visitor had to pass shelves filled with prototypes and inspirational material. The video that was shot during the design acting weekend gave a perfect introduction to our project´s idea and storyline.
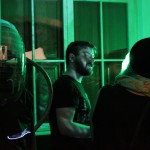
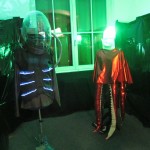
We created a small dark nook to present the costumes with their interactive properties. The visitor really had to enter a “different” world – the Nautilus perhaps?
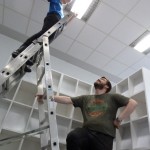
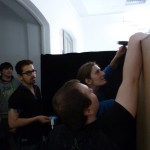
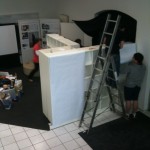
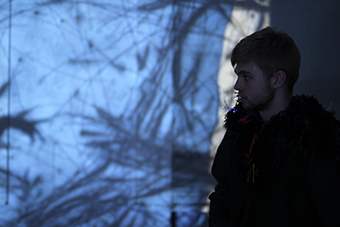
See here some impressions of set up and opening of our successful exhibition!
Design Acting Workshop
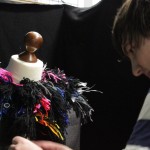
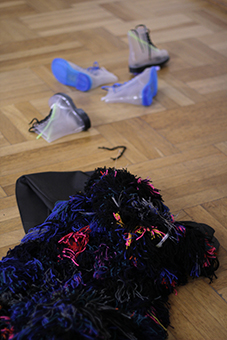
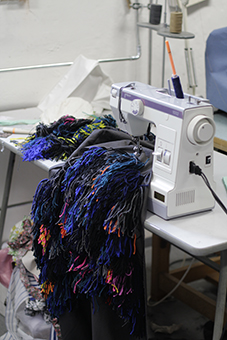
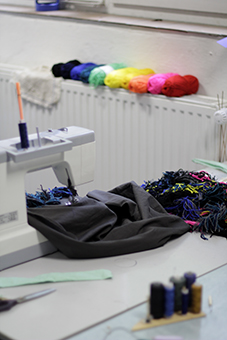
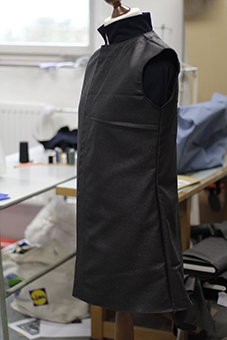
sew the costume (additional pics)
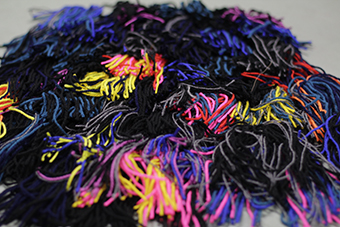
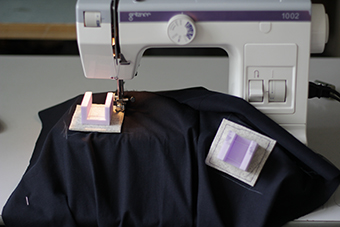
sewing the outside of the cape (wool + cotton textile)
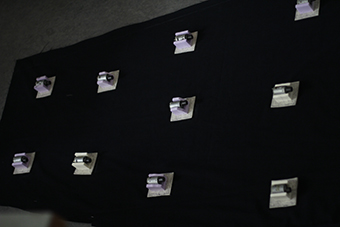
fixation of the motors (2nd layer of the cape): little boxes made of a type of styrofoam, the motors stick into this boxes, finally they’re fixed with cable straps
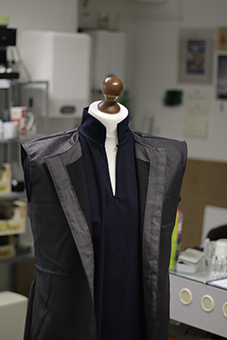
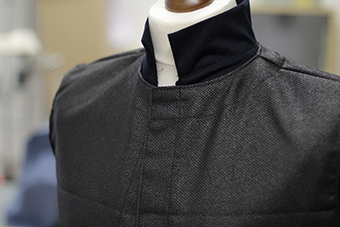
the west (synthetic textile weaving with poly urethan fixation) without the final shoulder part (wool)
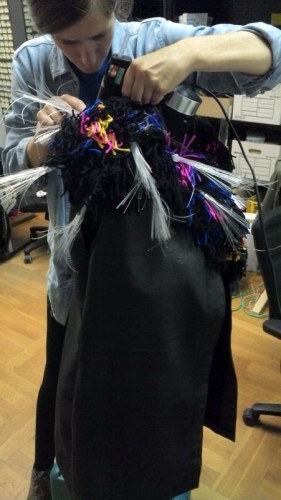
Lightning / Install in costume
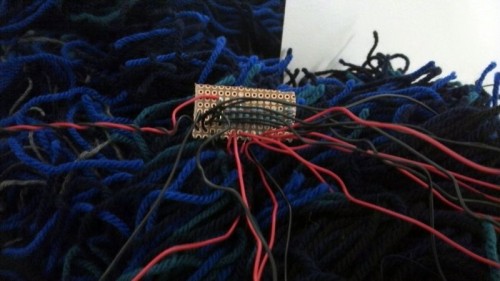
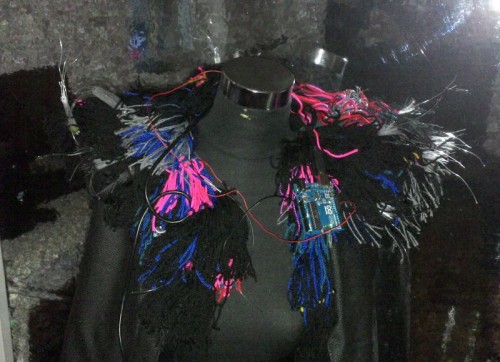
After the two boards with the resistors and connections was soldered to the LEDs (see post), now these two are sewn on both shoulders. The LEDs have a different cable length and were able to different shoulder, back and front areas. the two boards are wired to each other and need for the Arduino Uno only one PWM-pin and ground.
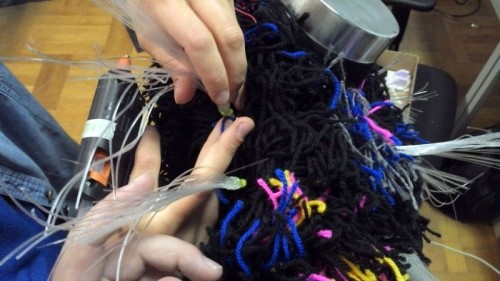
To scatter the light glow of the LEDs, we use fiber optic light cable and glue them on top of the LEDs. Then the length of the fiber optic cable has been adjusted on the costume.
To illustrate, here’s a video:
Lightning / Soldering
First I tested my circuit and improves the code.
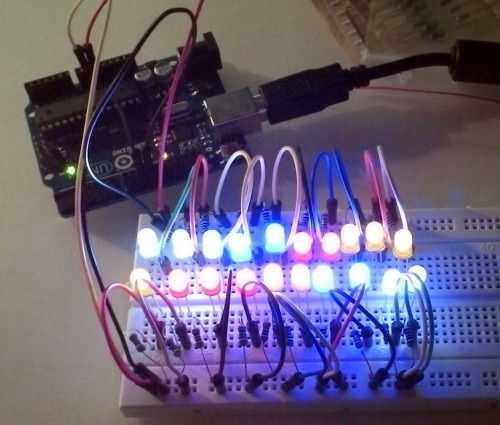
After that I soldered together this structure as a solid variant. We build two boards a 10x LED in different colors. The circuit board is further cut to the appropriate size and the cables are bundled together.
To be honest, my first major soldering action. 😉
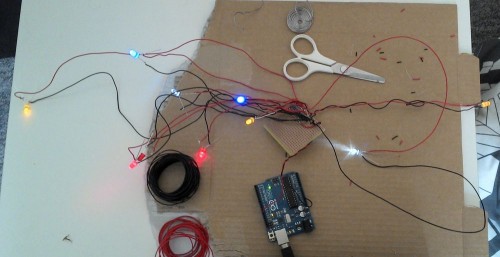
This is a small video of the viewpoint.
It’s getting serious. 🙂
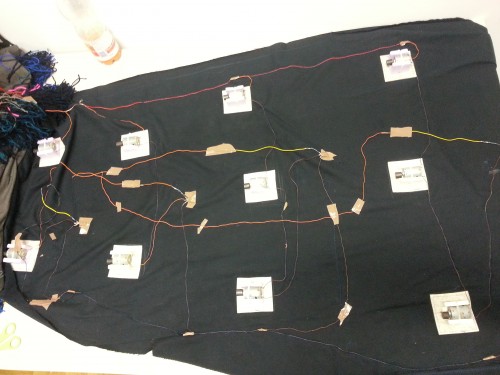
Basic Costume Cabling done
Costume Tested
Today All the interaction of the costume got tested. 🙂
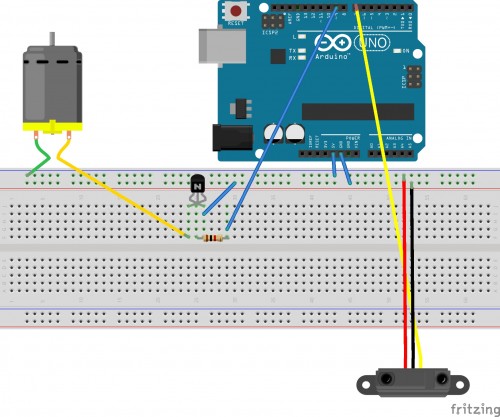
1: Distance Sensor
2: Touch Sensor
3: Motors ( attached parallel)
This works as shown in video.

