Final Visualization
t.b.d.
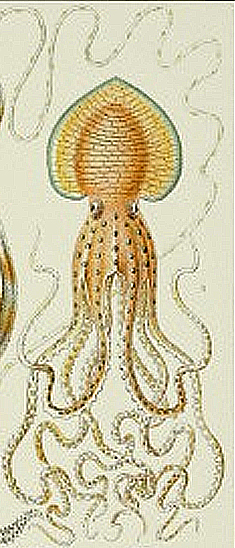
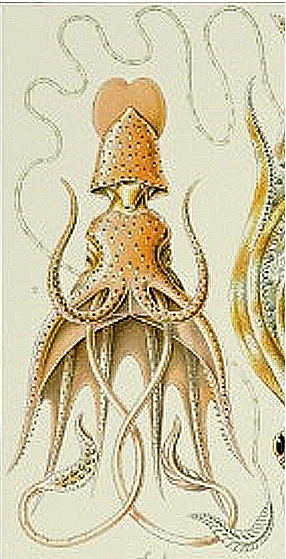
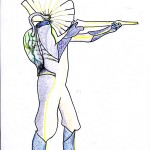
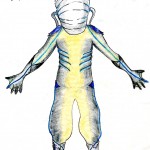
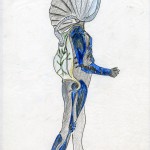
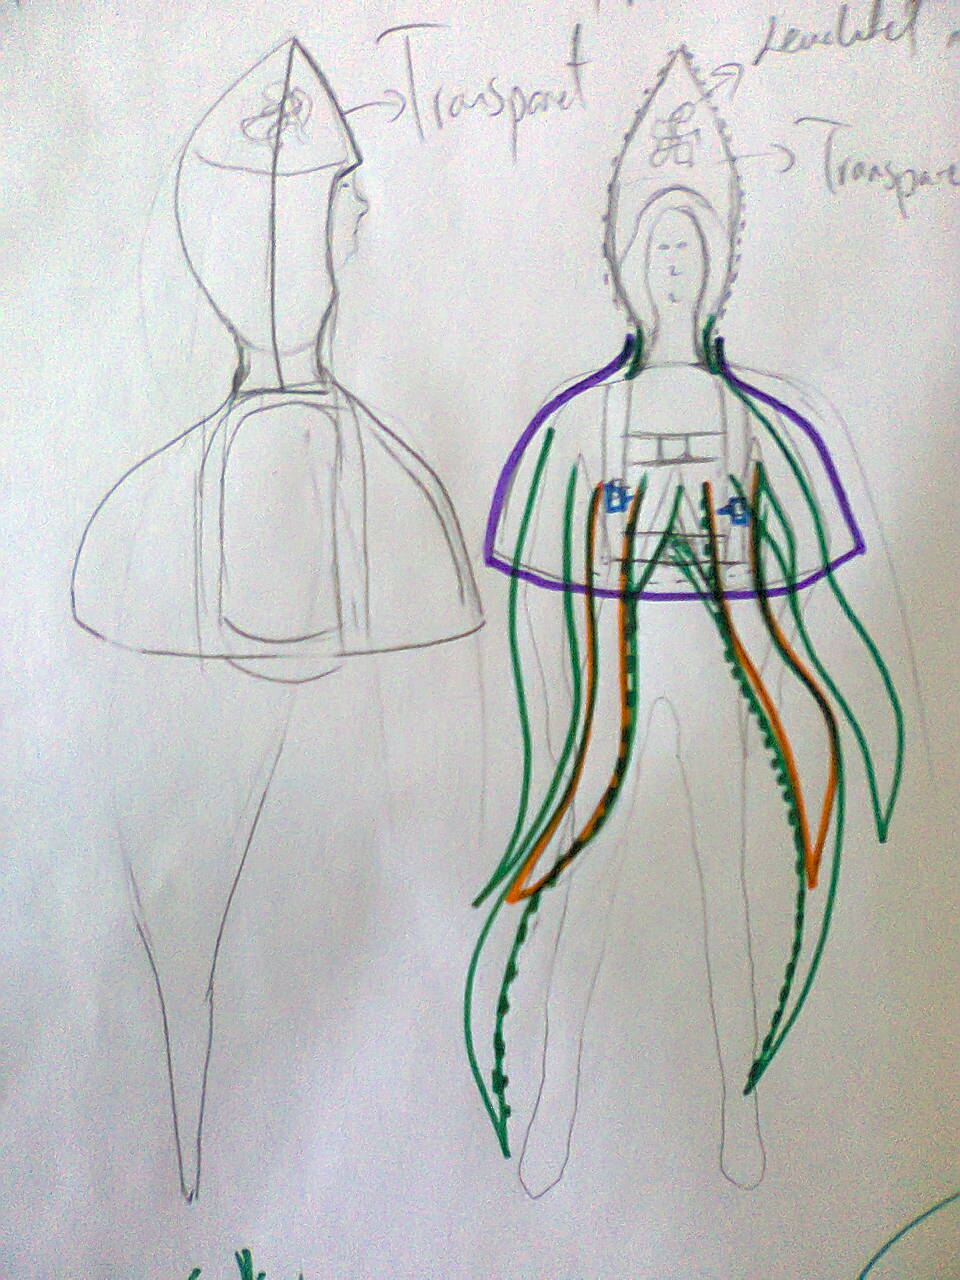
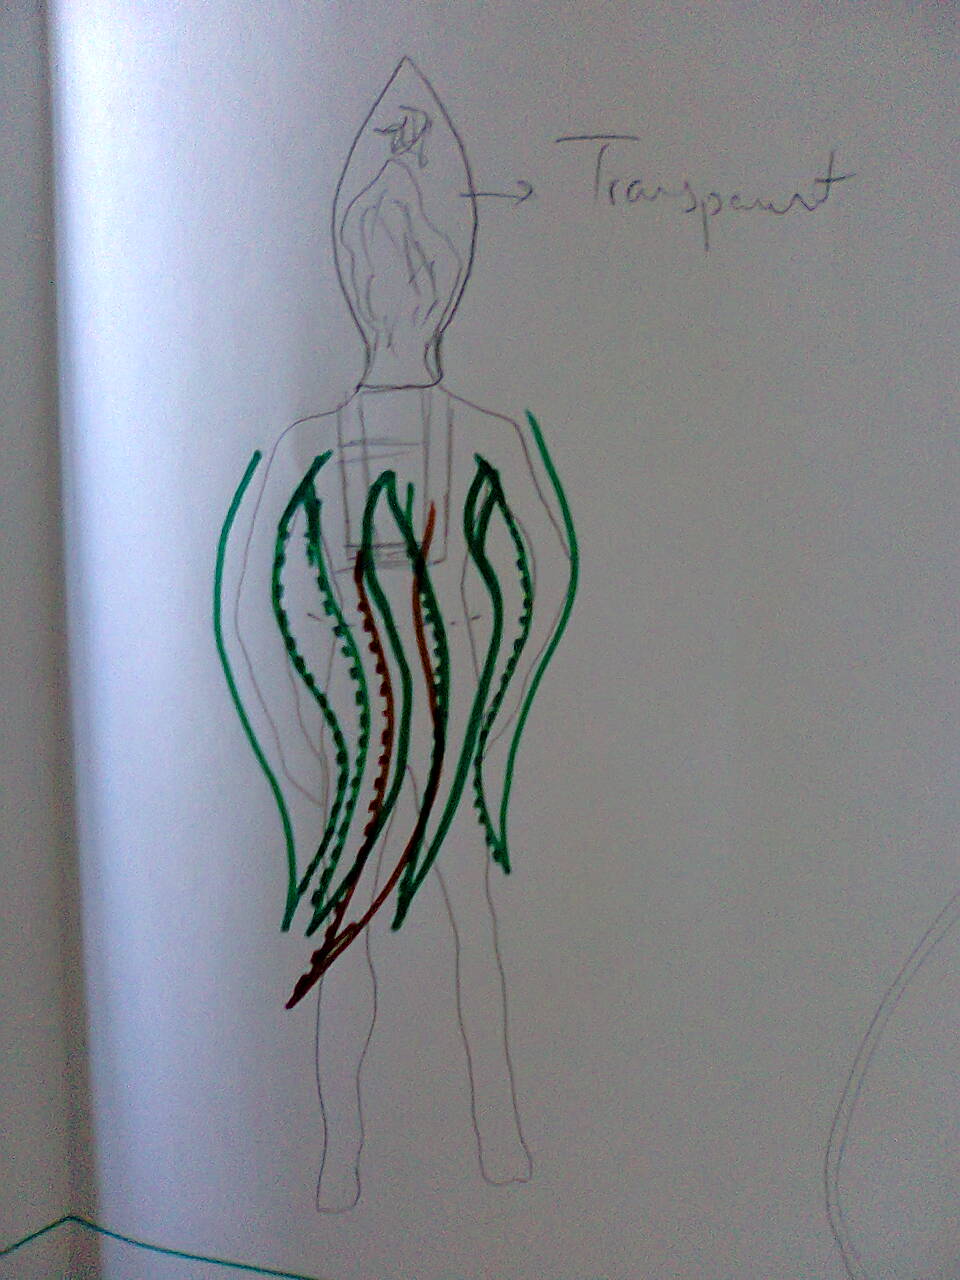
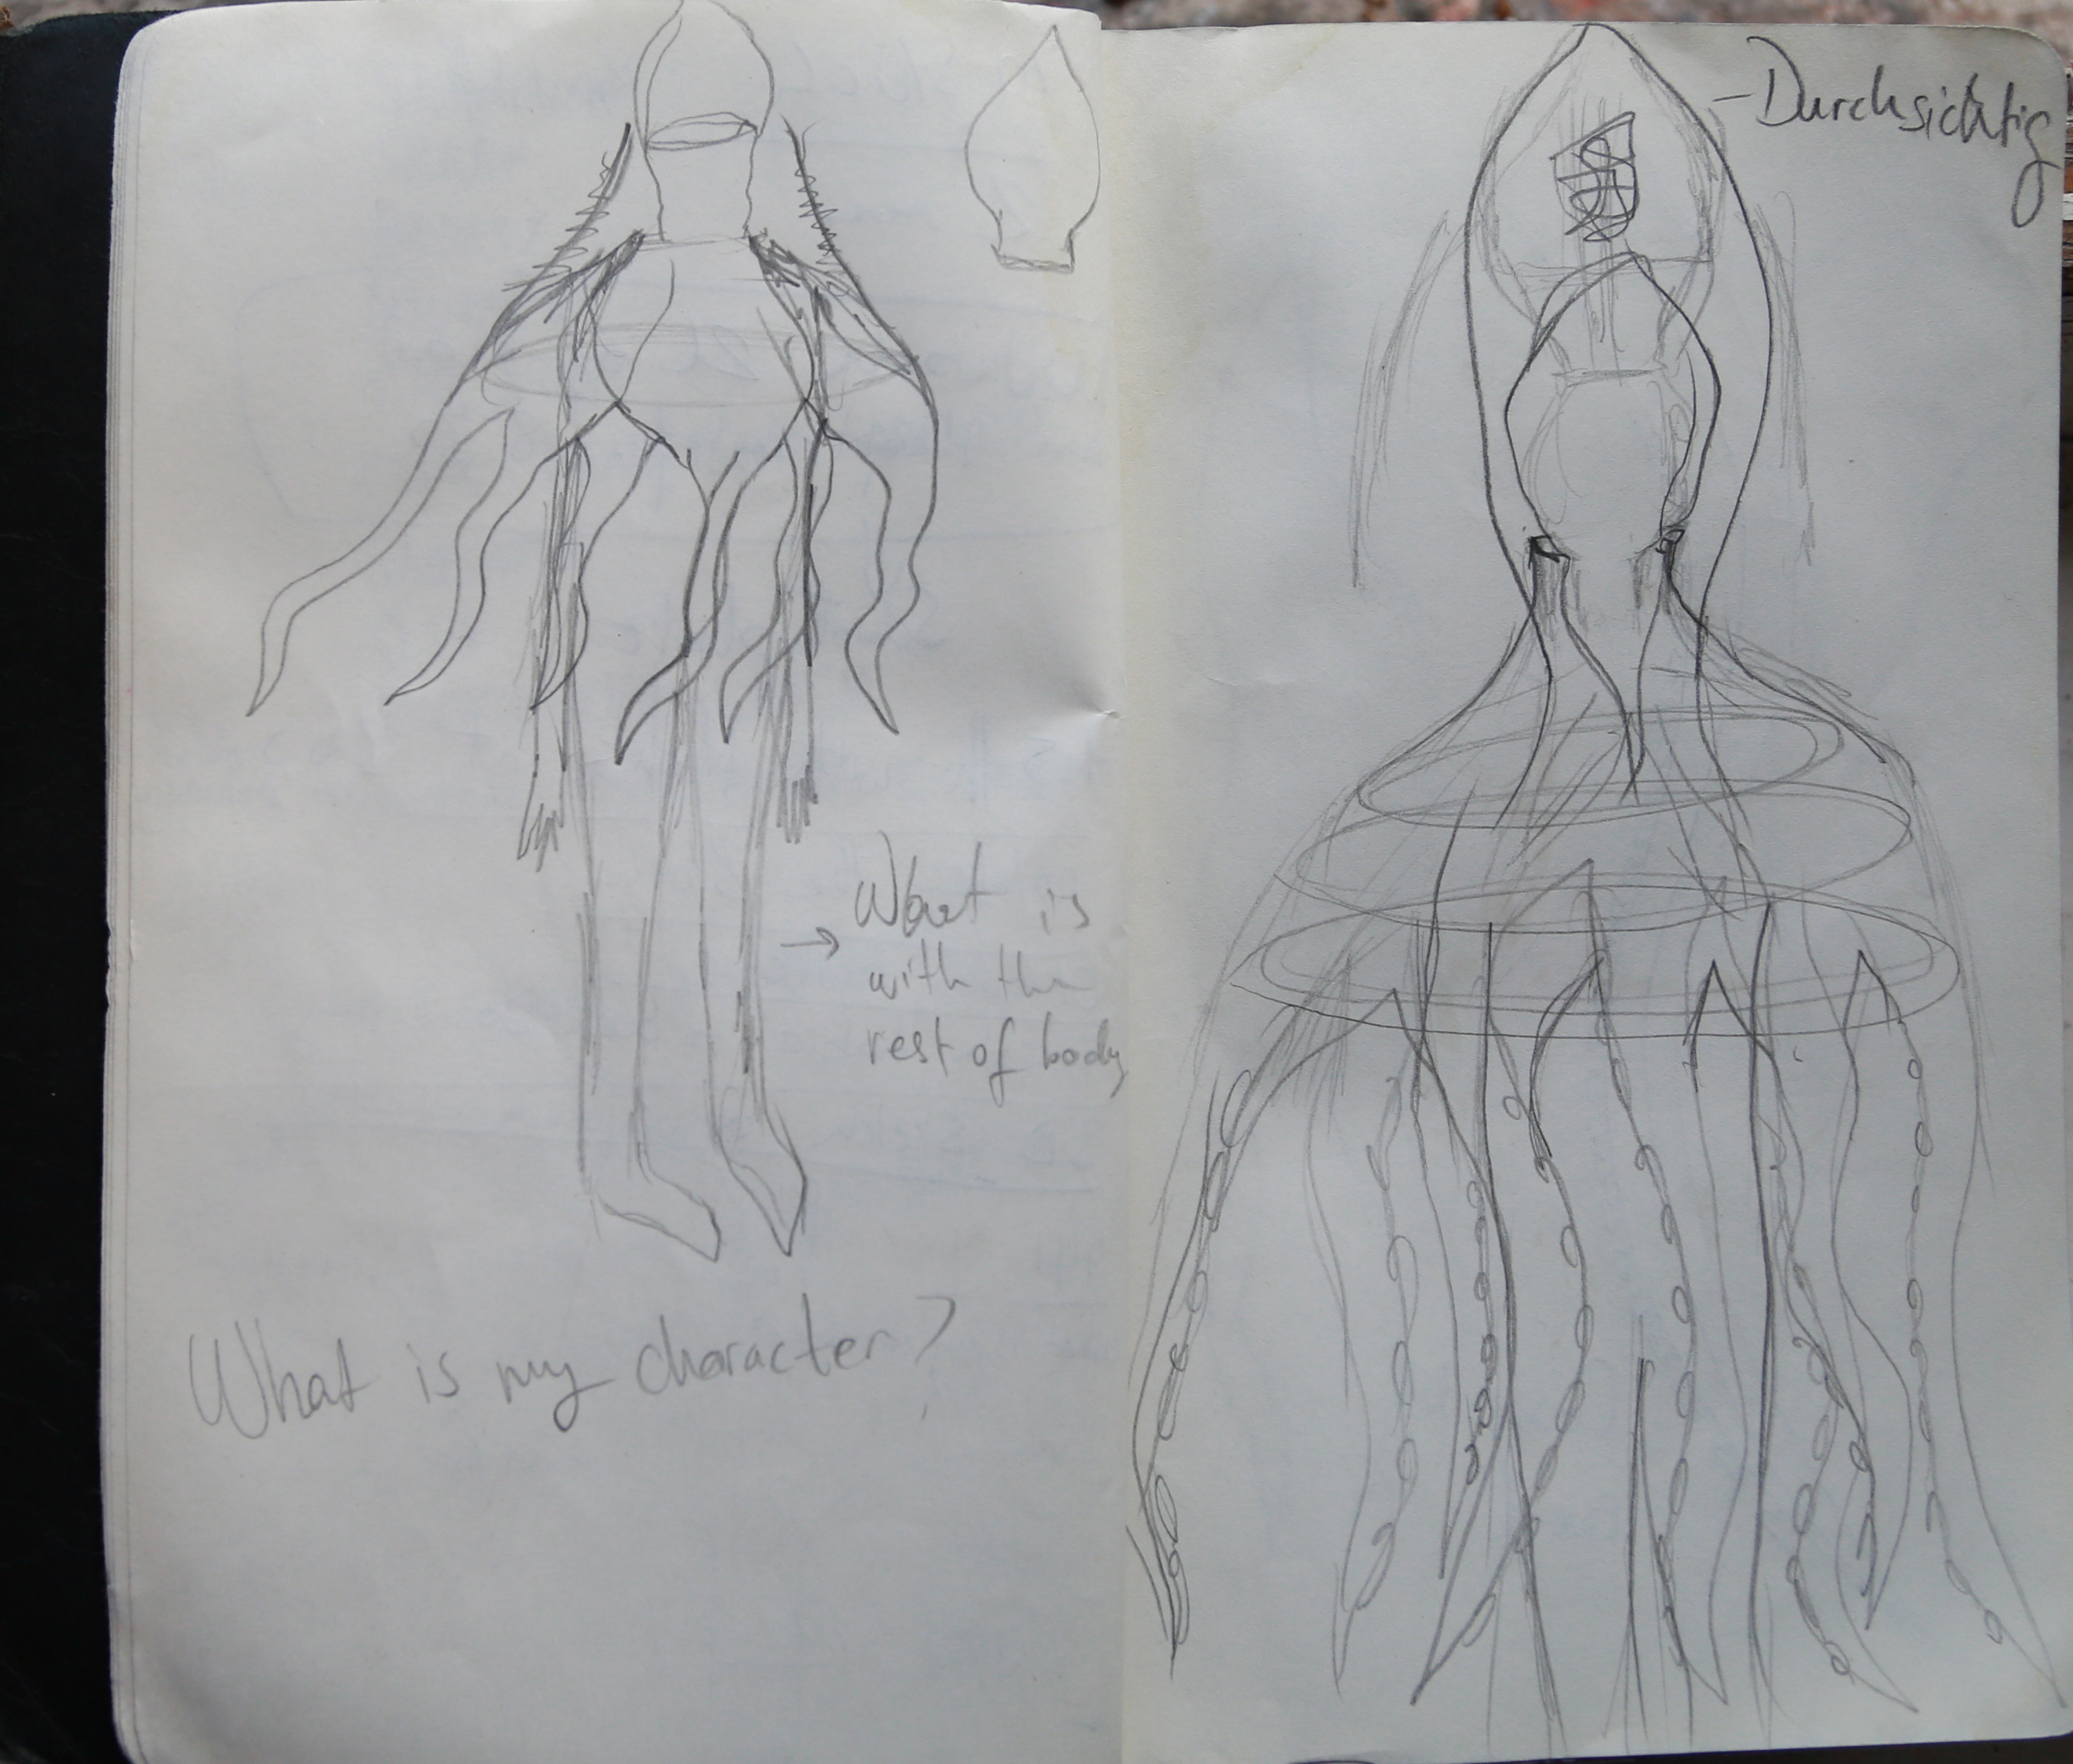
Last Sketches

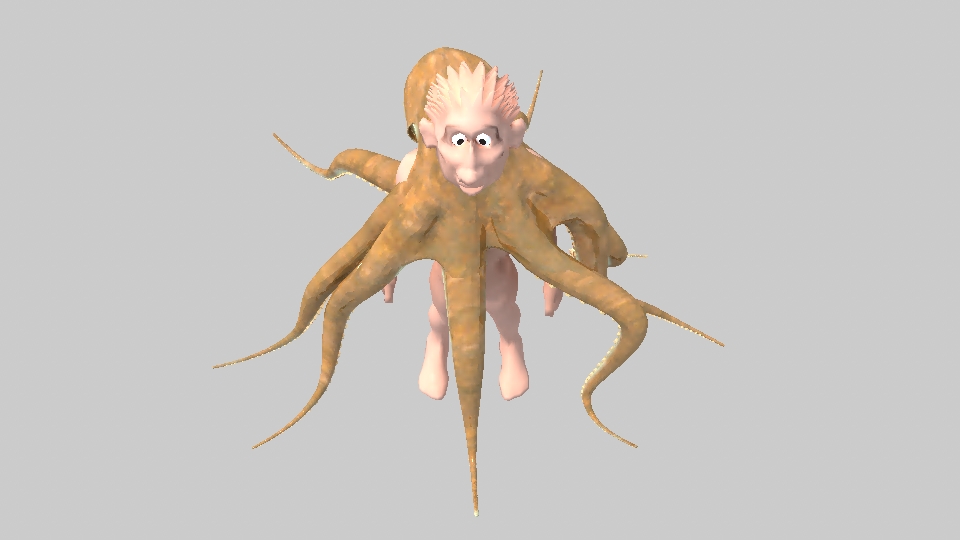
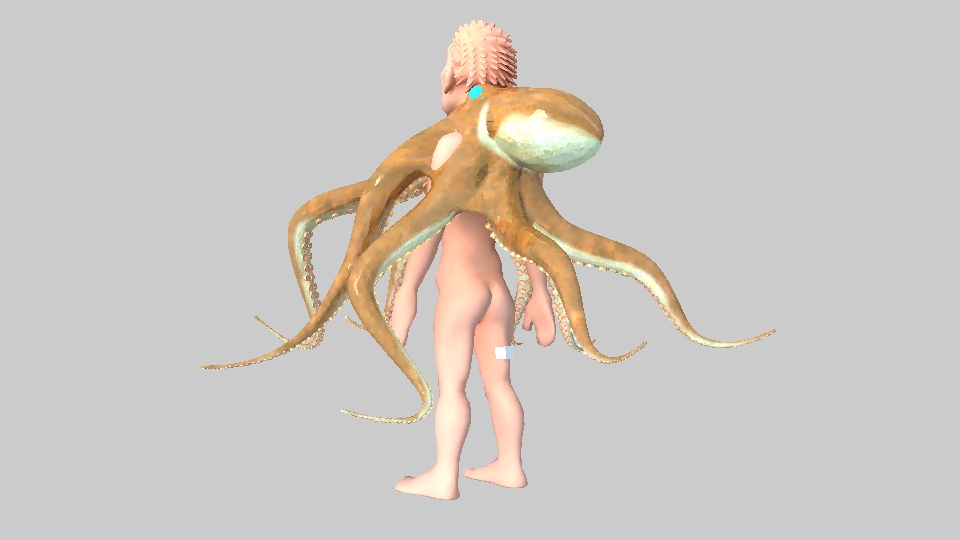
3D Model
First Skech

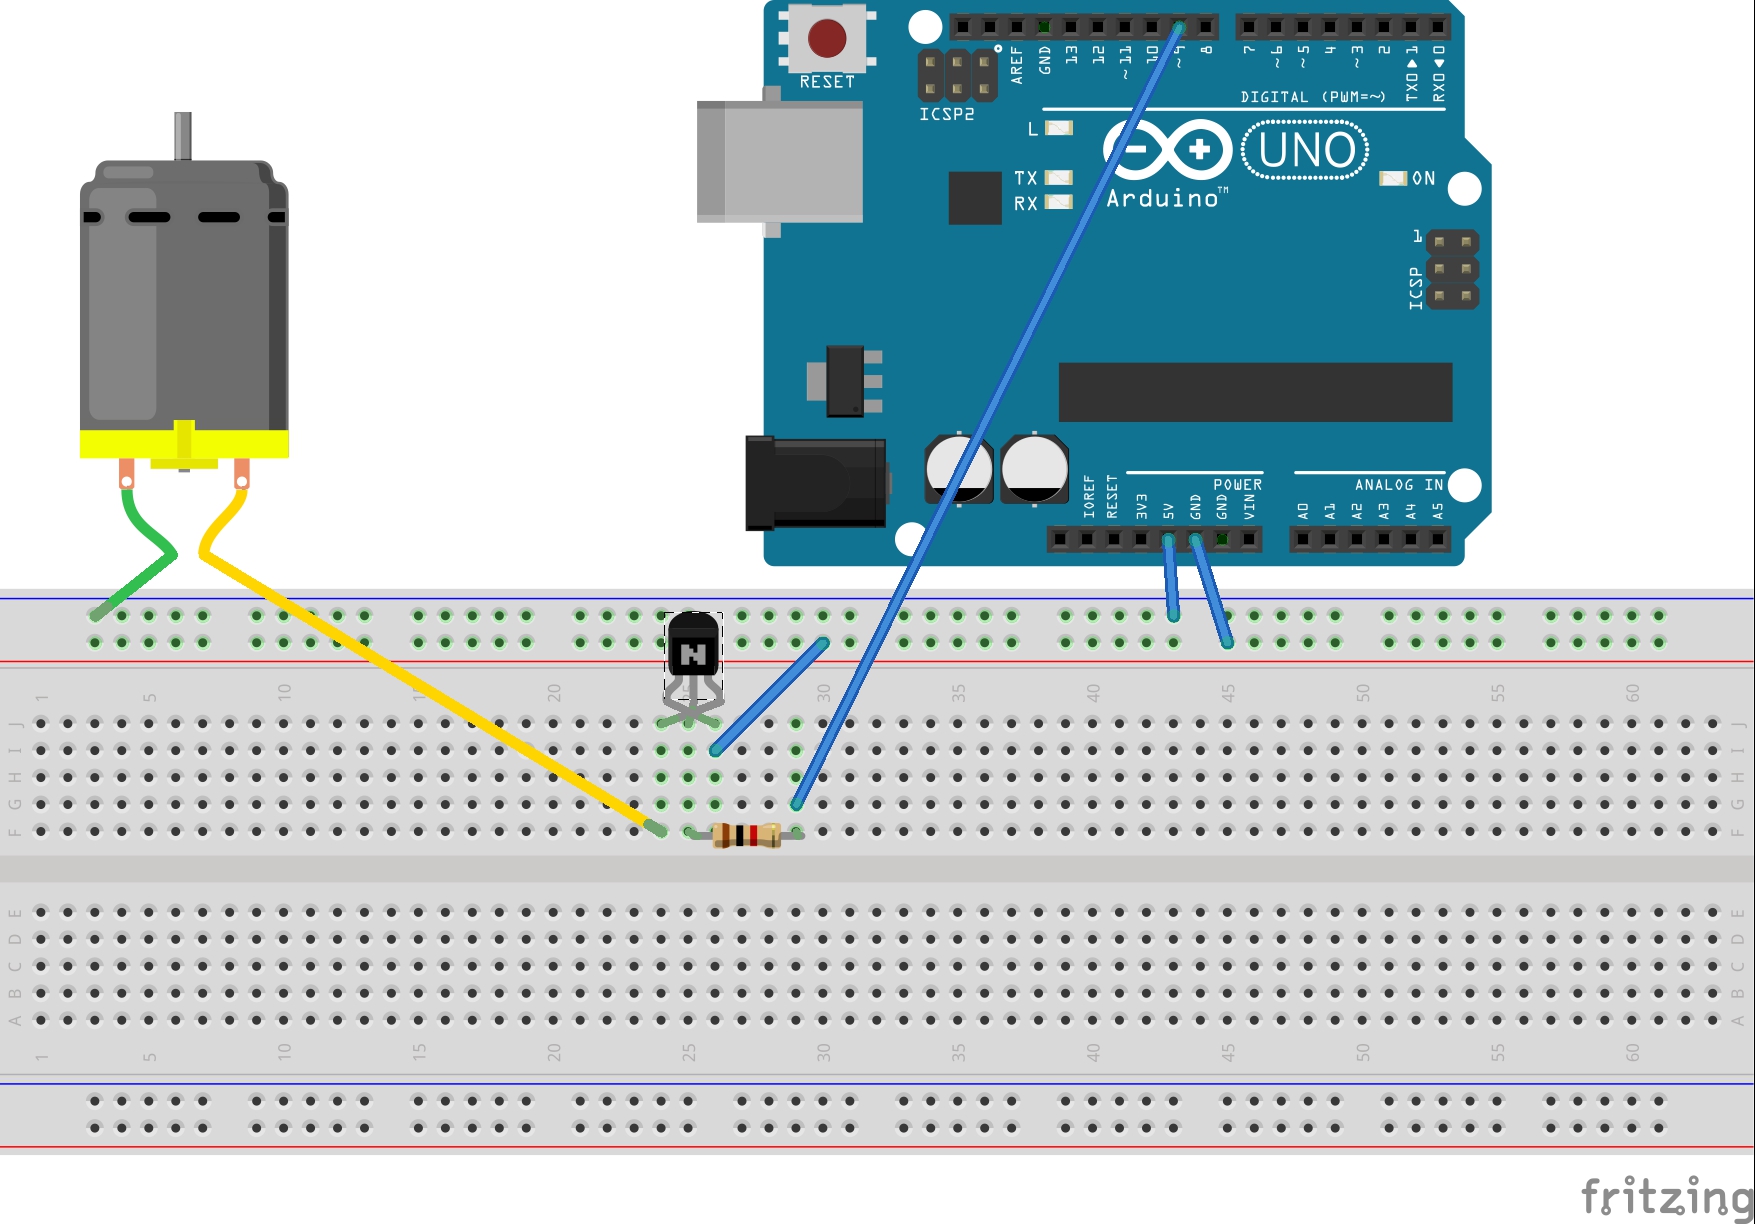
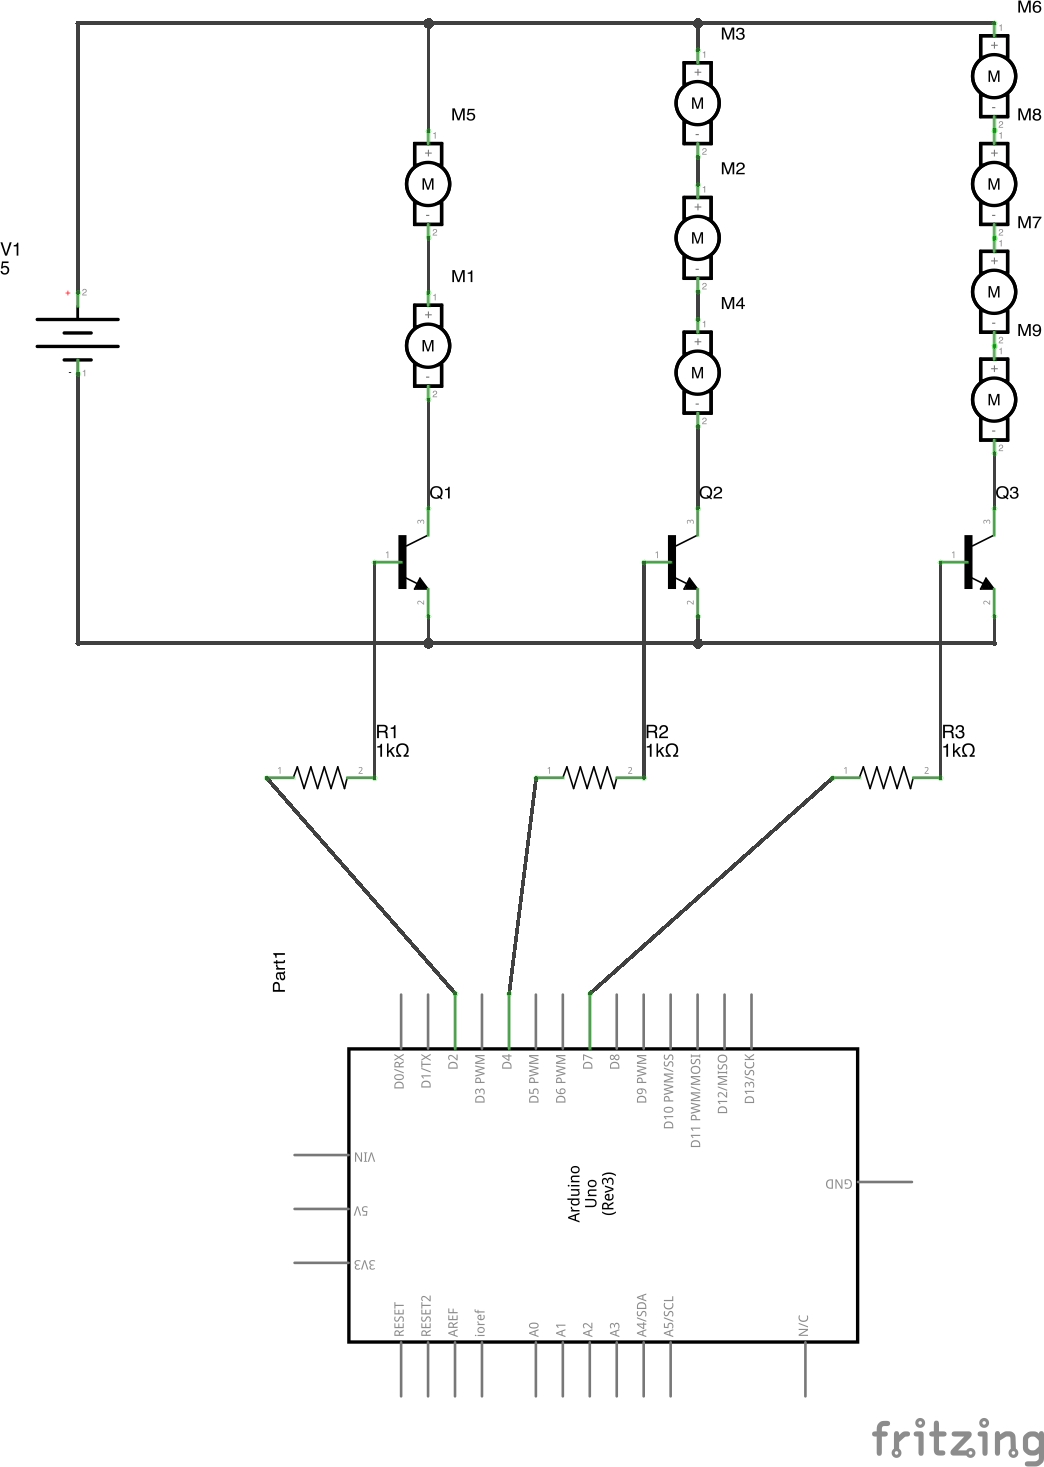
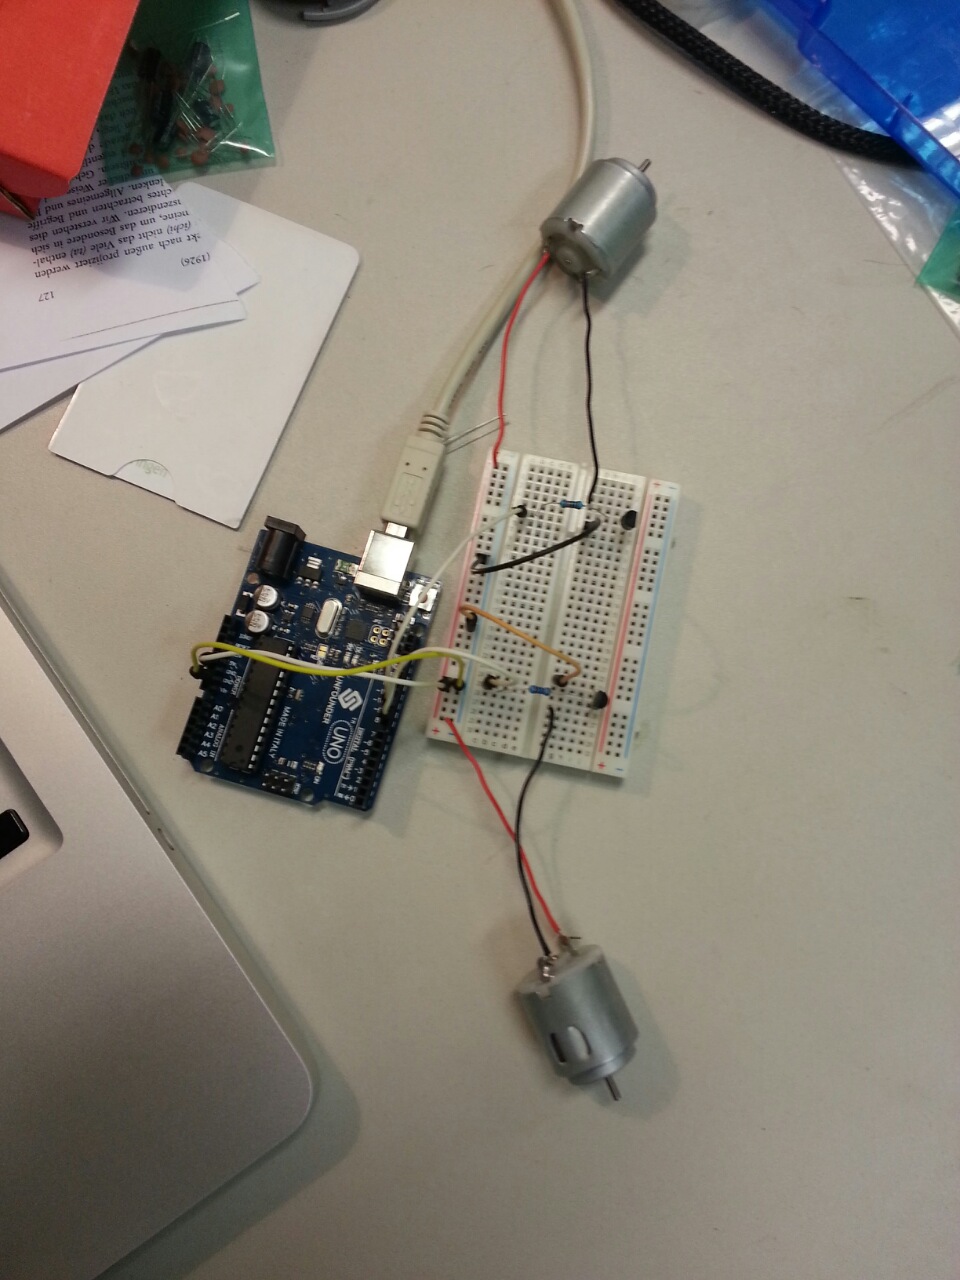
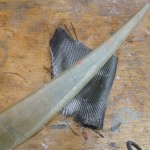
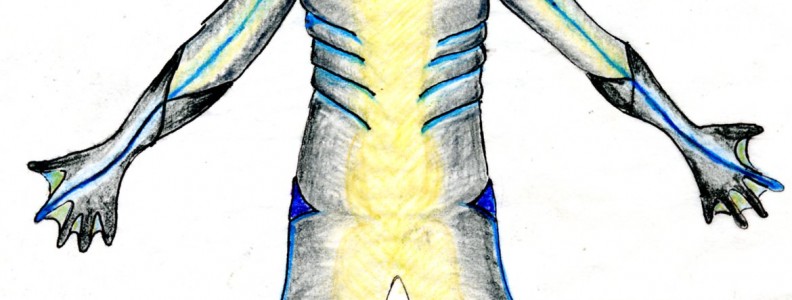
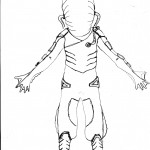
The octopus should have eight tentacles. The plan is to have four long tentacles at the back of the costume like a train. They won’t move. Another two hopefully will be move by motors (see The Octopus – Technical Design). But the actor will only control if they are on or off, because a controlled movement would be challenging the actor to much.
The actors arms will form the last two tentacles. They can be seen as “main” tentacles, since they will interacting with other actors/props etc.
Design of the Head
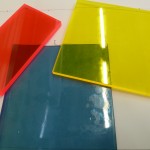
- the transparent head made of thin plexiglass
- this is heated with a machine and formed over a mold
- the form will be molded from clay
- this is then halved, because does not fit the entire form in the machine
- then two half-molds are shaped
- trimmed and glued together
- then we have a transparent hat
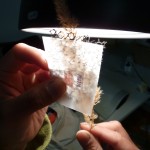
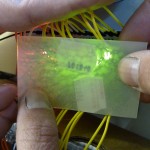
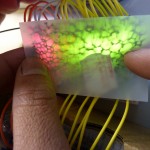
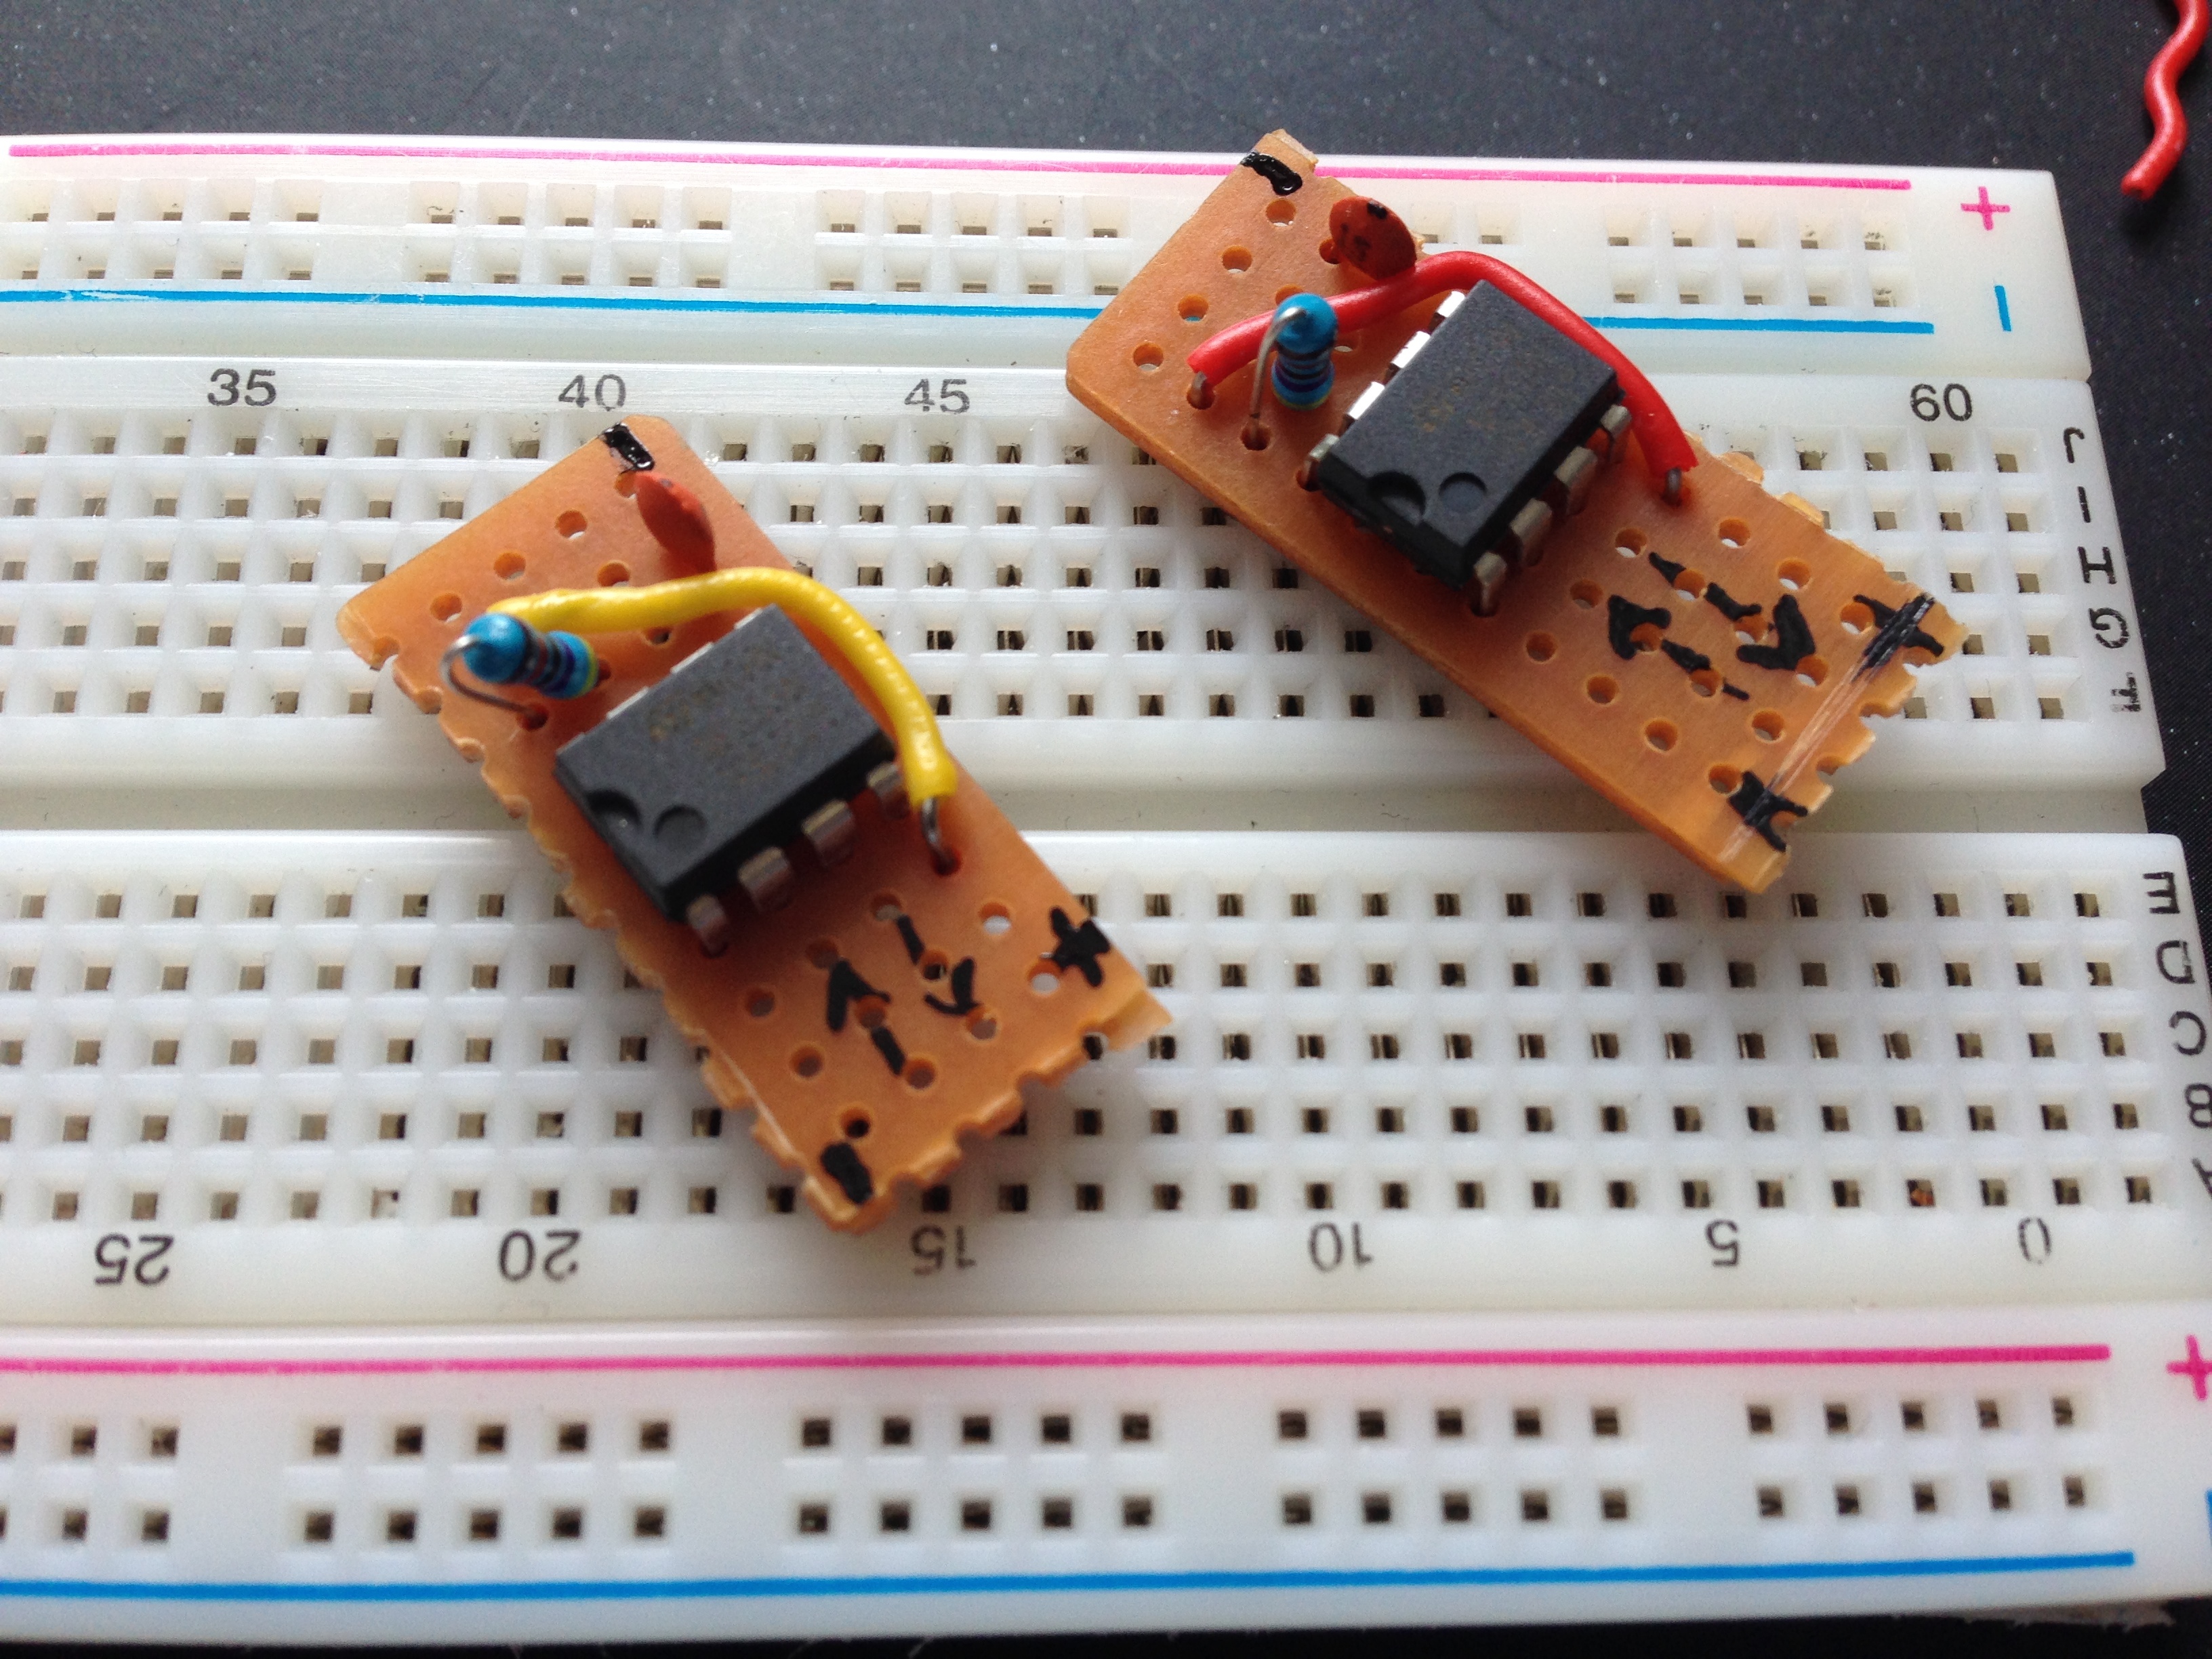
Brain Form
In our design the brain indicates the mood of the octopus because it can not speak. We are planning to have a semi-transparent head with a colored, pulsating glow inside. Depending on the color and the pulse frequency the octopus is either calm (a slow pulse in green maybe) or excited (a fast pulse with red).
Because we must have a transparent head now, the brain also have a right brain structure. This is from a tube formed in these then come LEDs. With very high probability, an LED stripe will come down the tube. However, is still being tested if it is the perfect solution, because everything has to be right (the number of light duration, energy supply etc.).
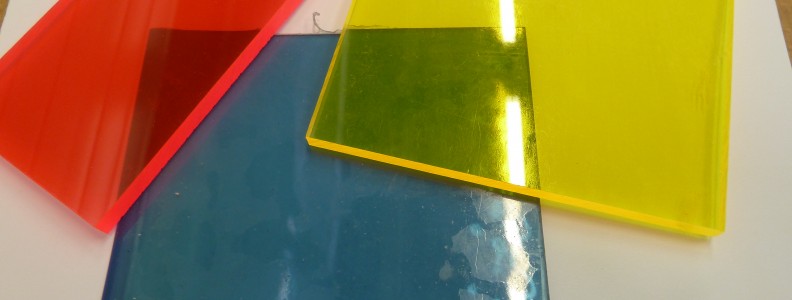
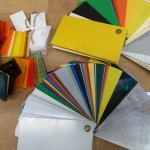
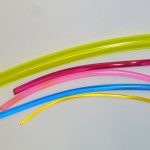
Color Scheme
- different shades of red, orange and some yellow
- keep it dark and threatening
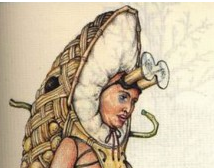
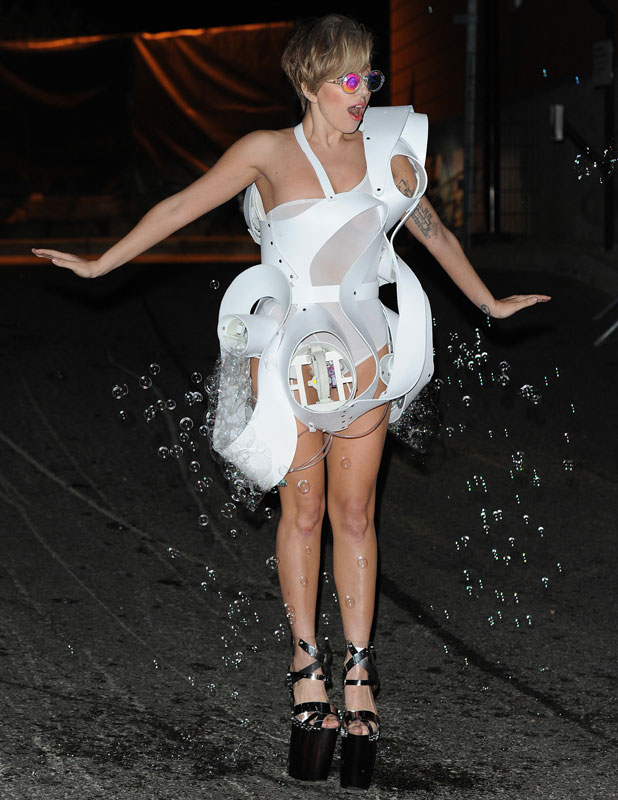
First Inspiration