This gallery contains 1 photo →

This gallery contains 1 photo →
This gallery contains 3 photos →
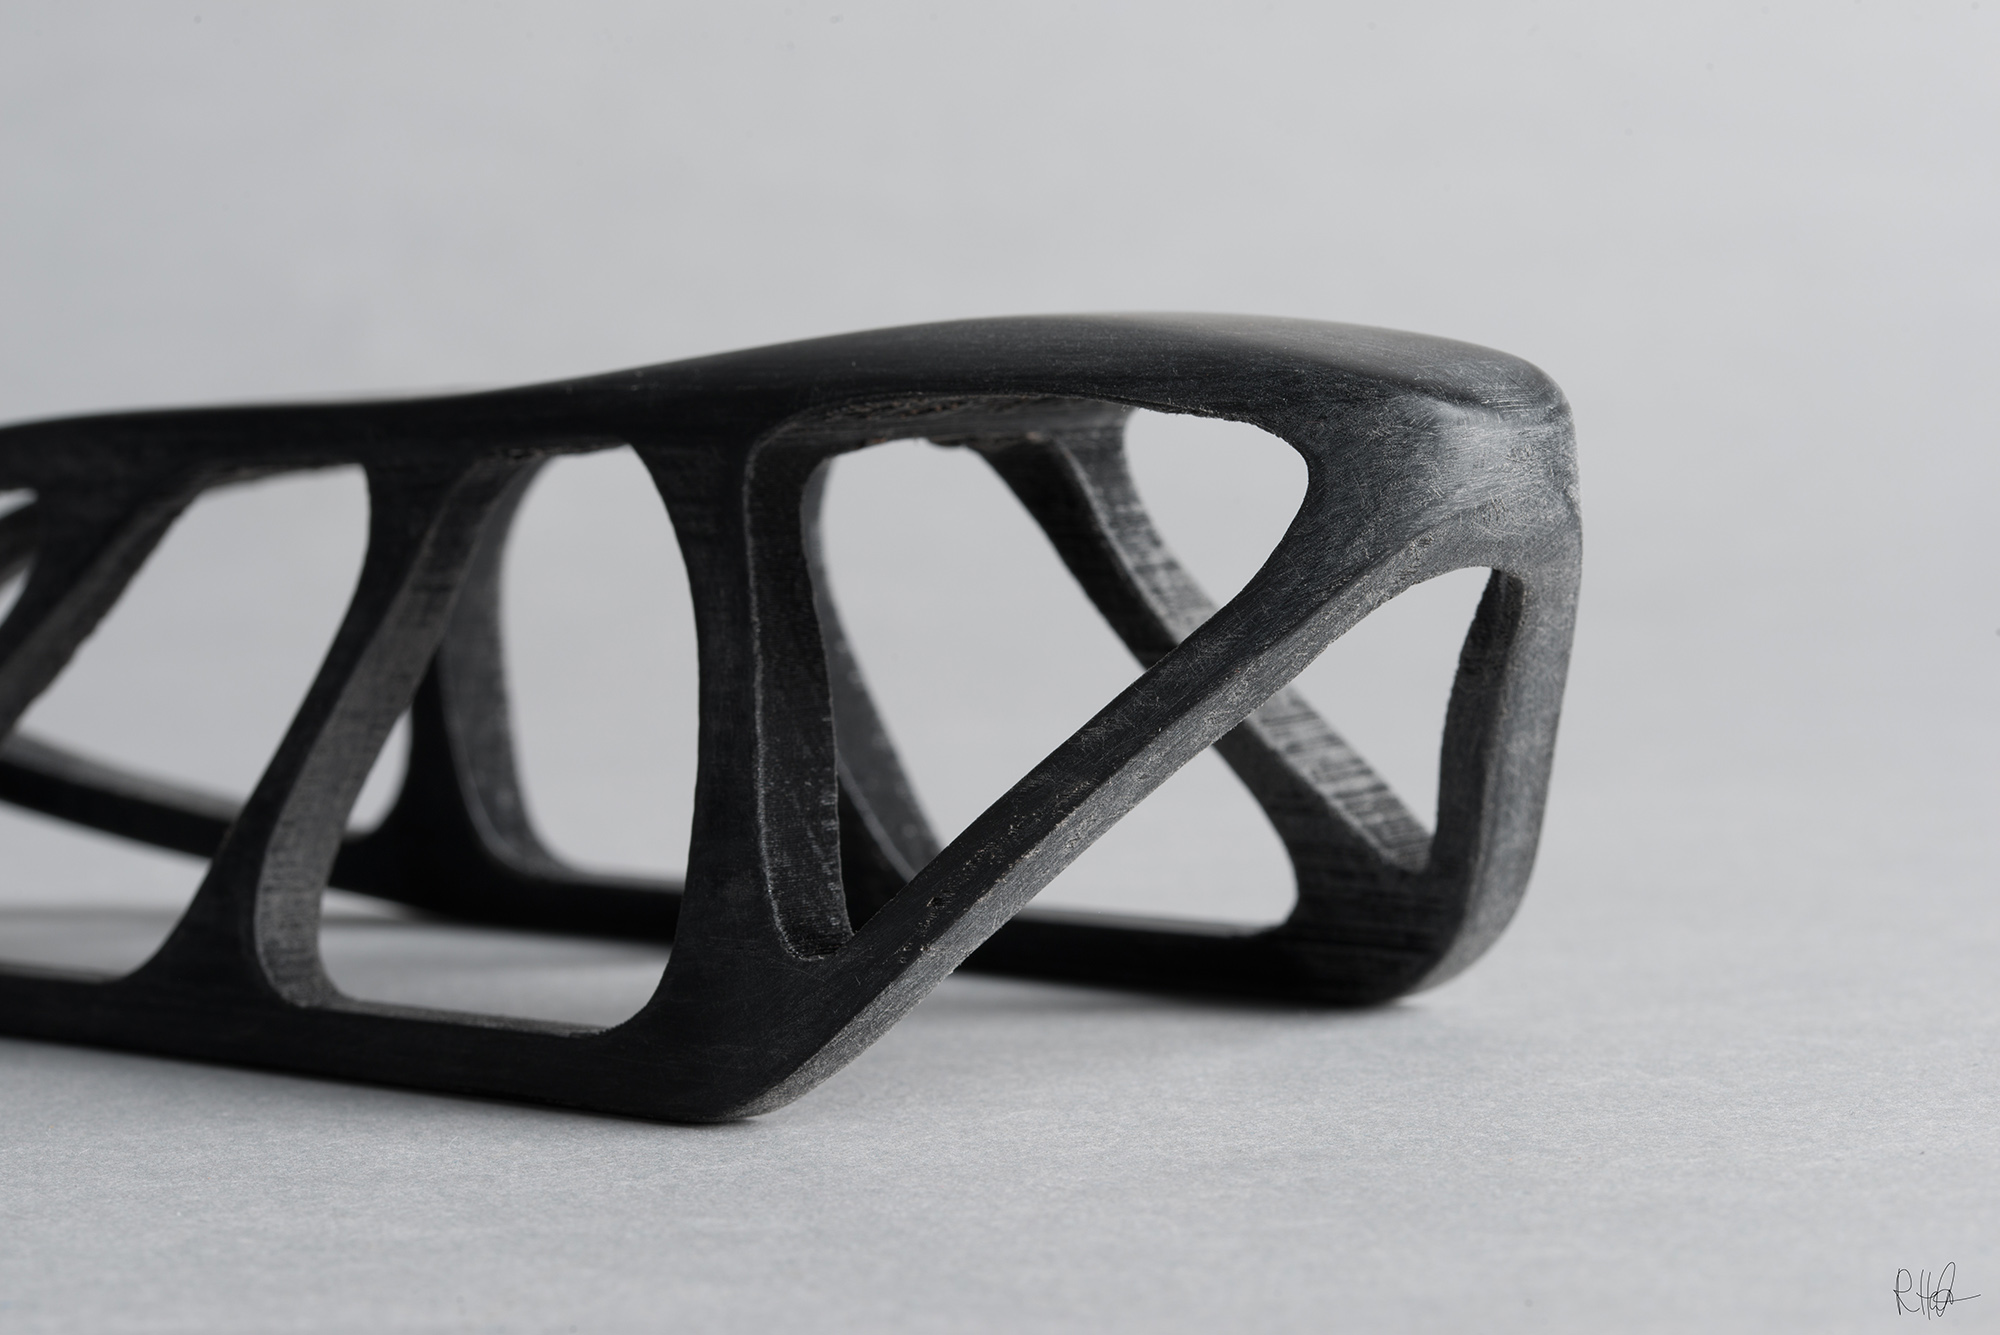
This gallery contains 16 photos →
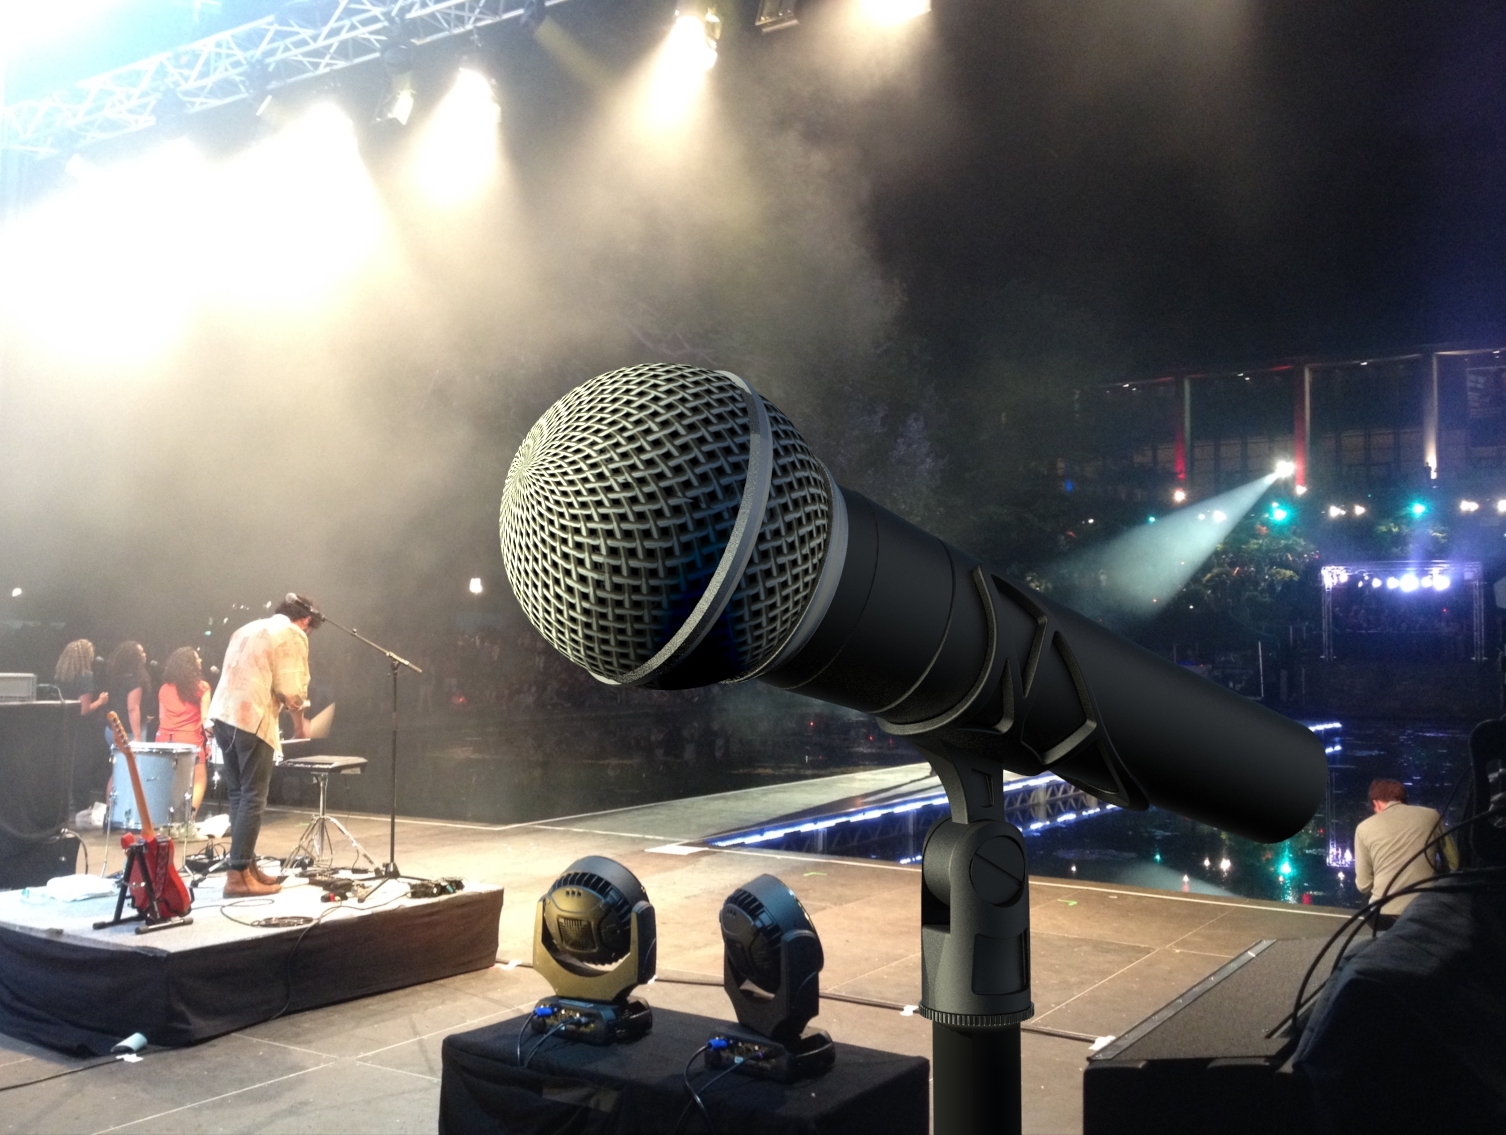
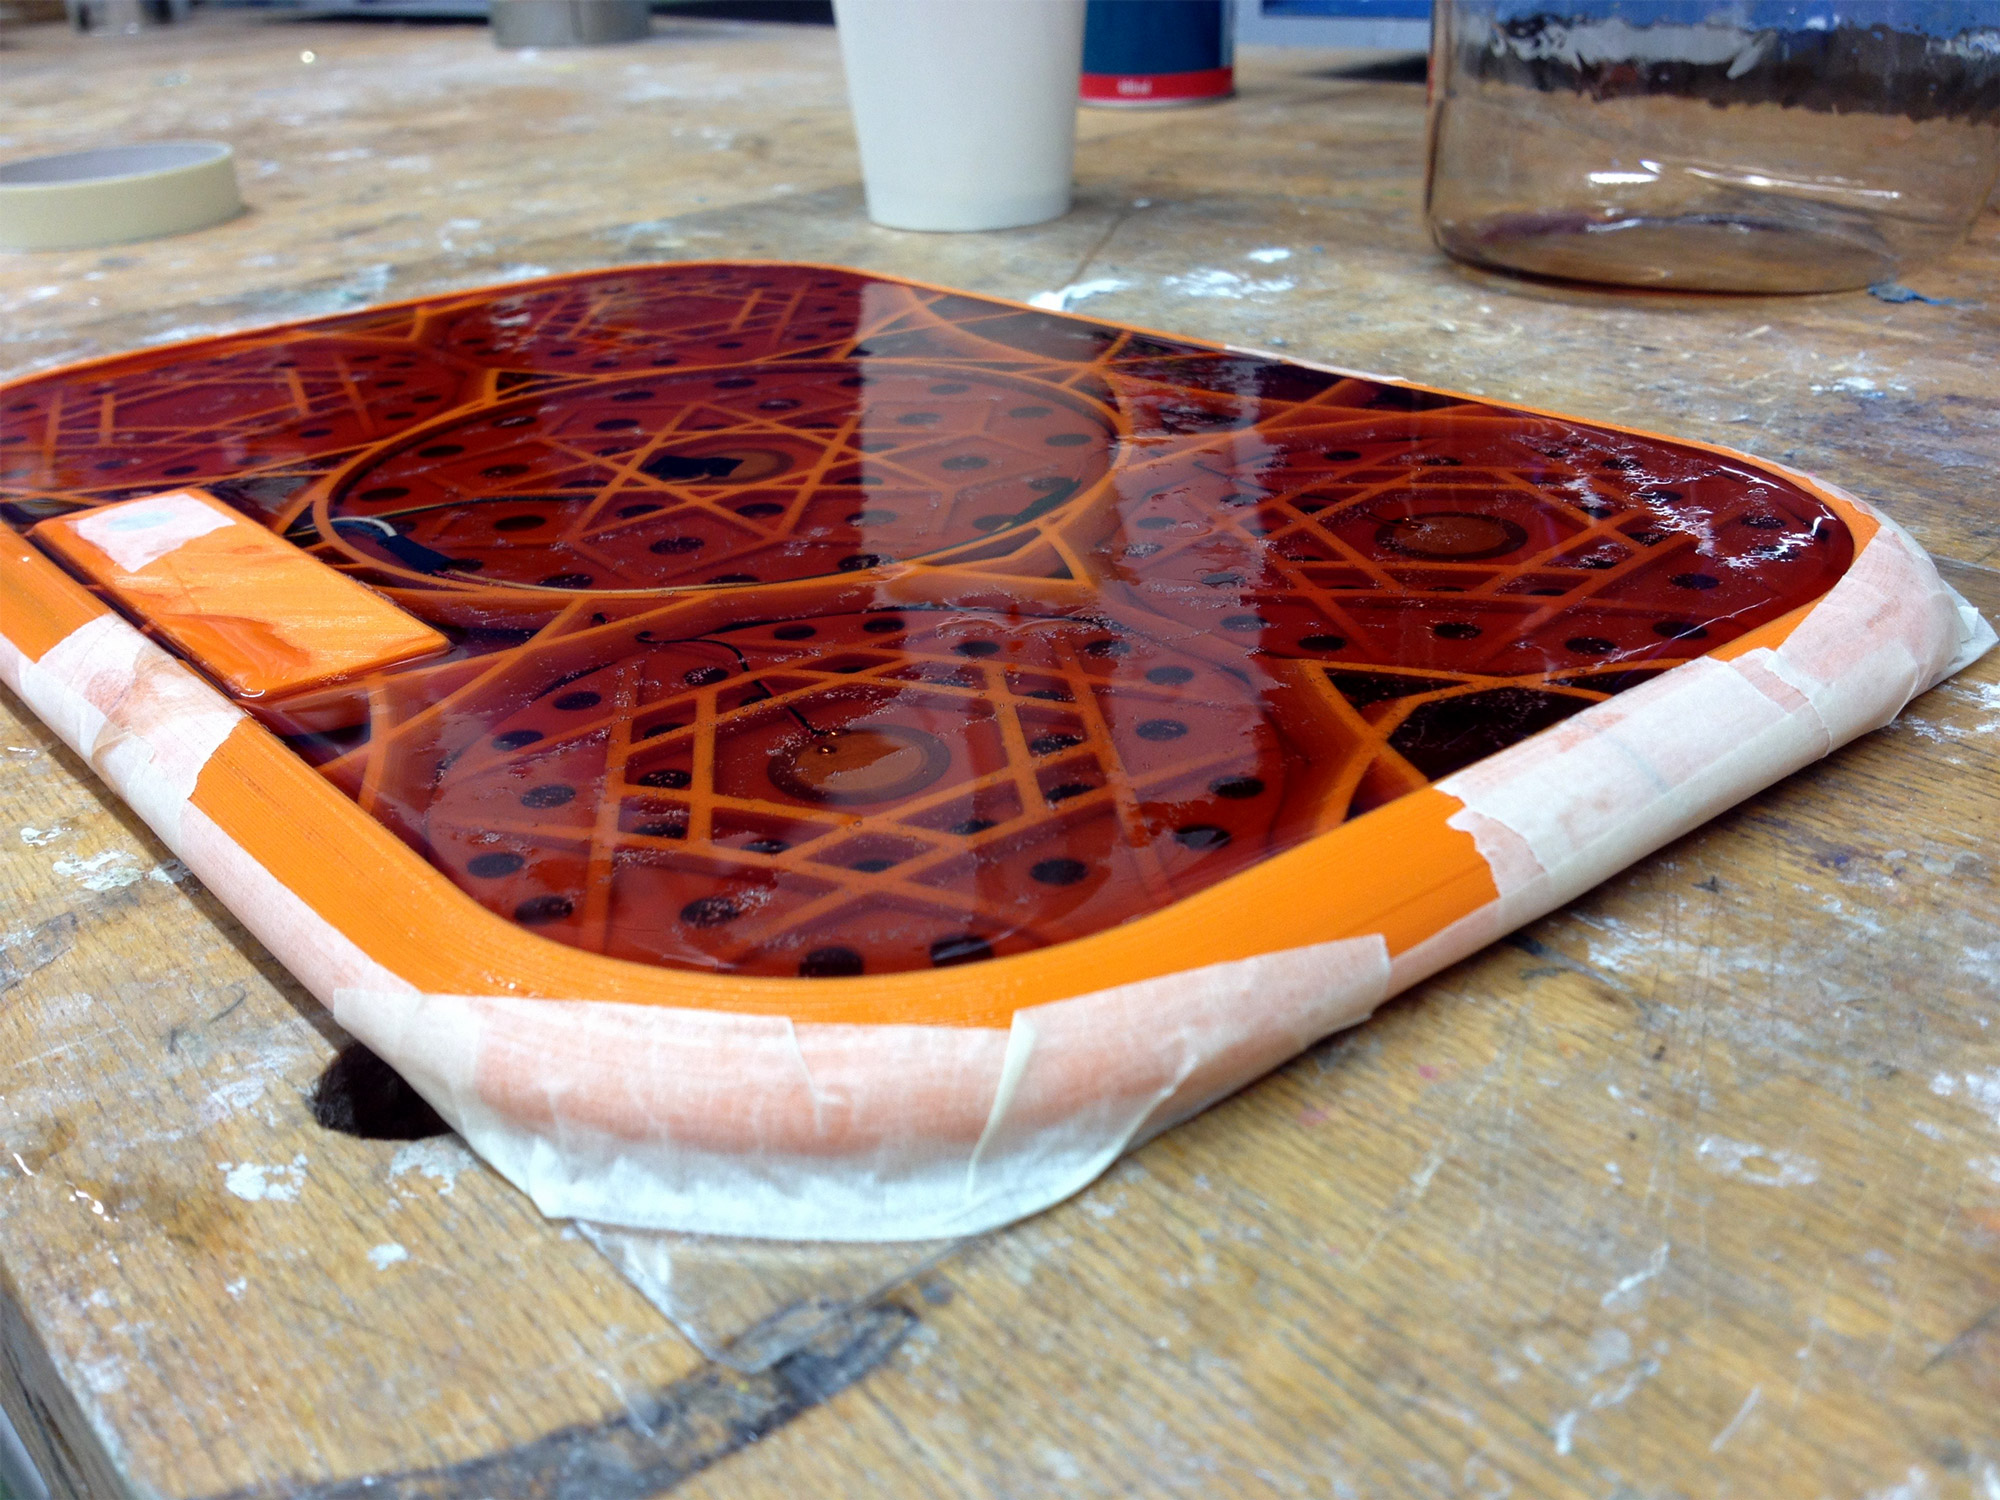
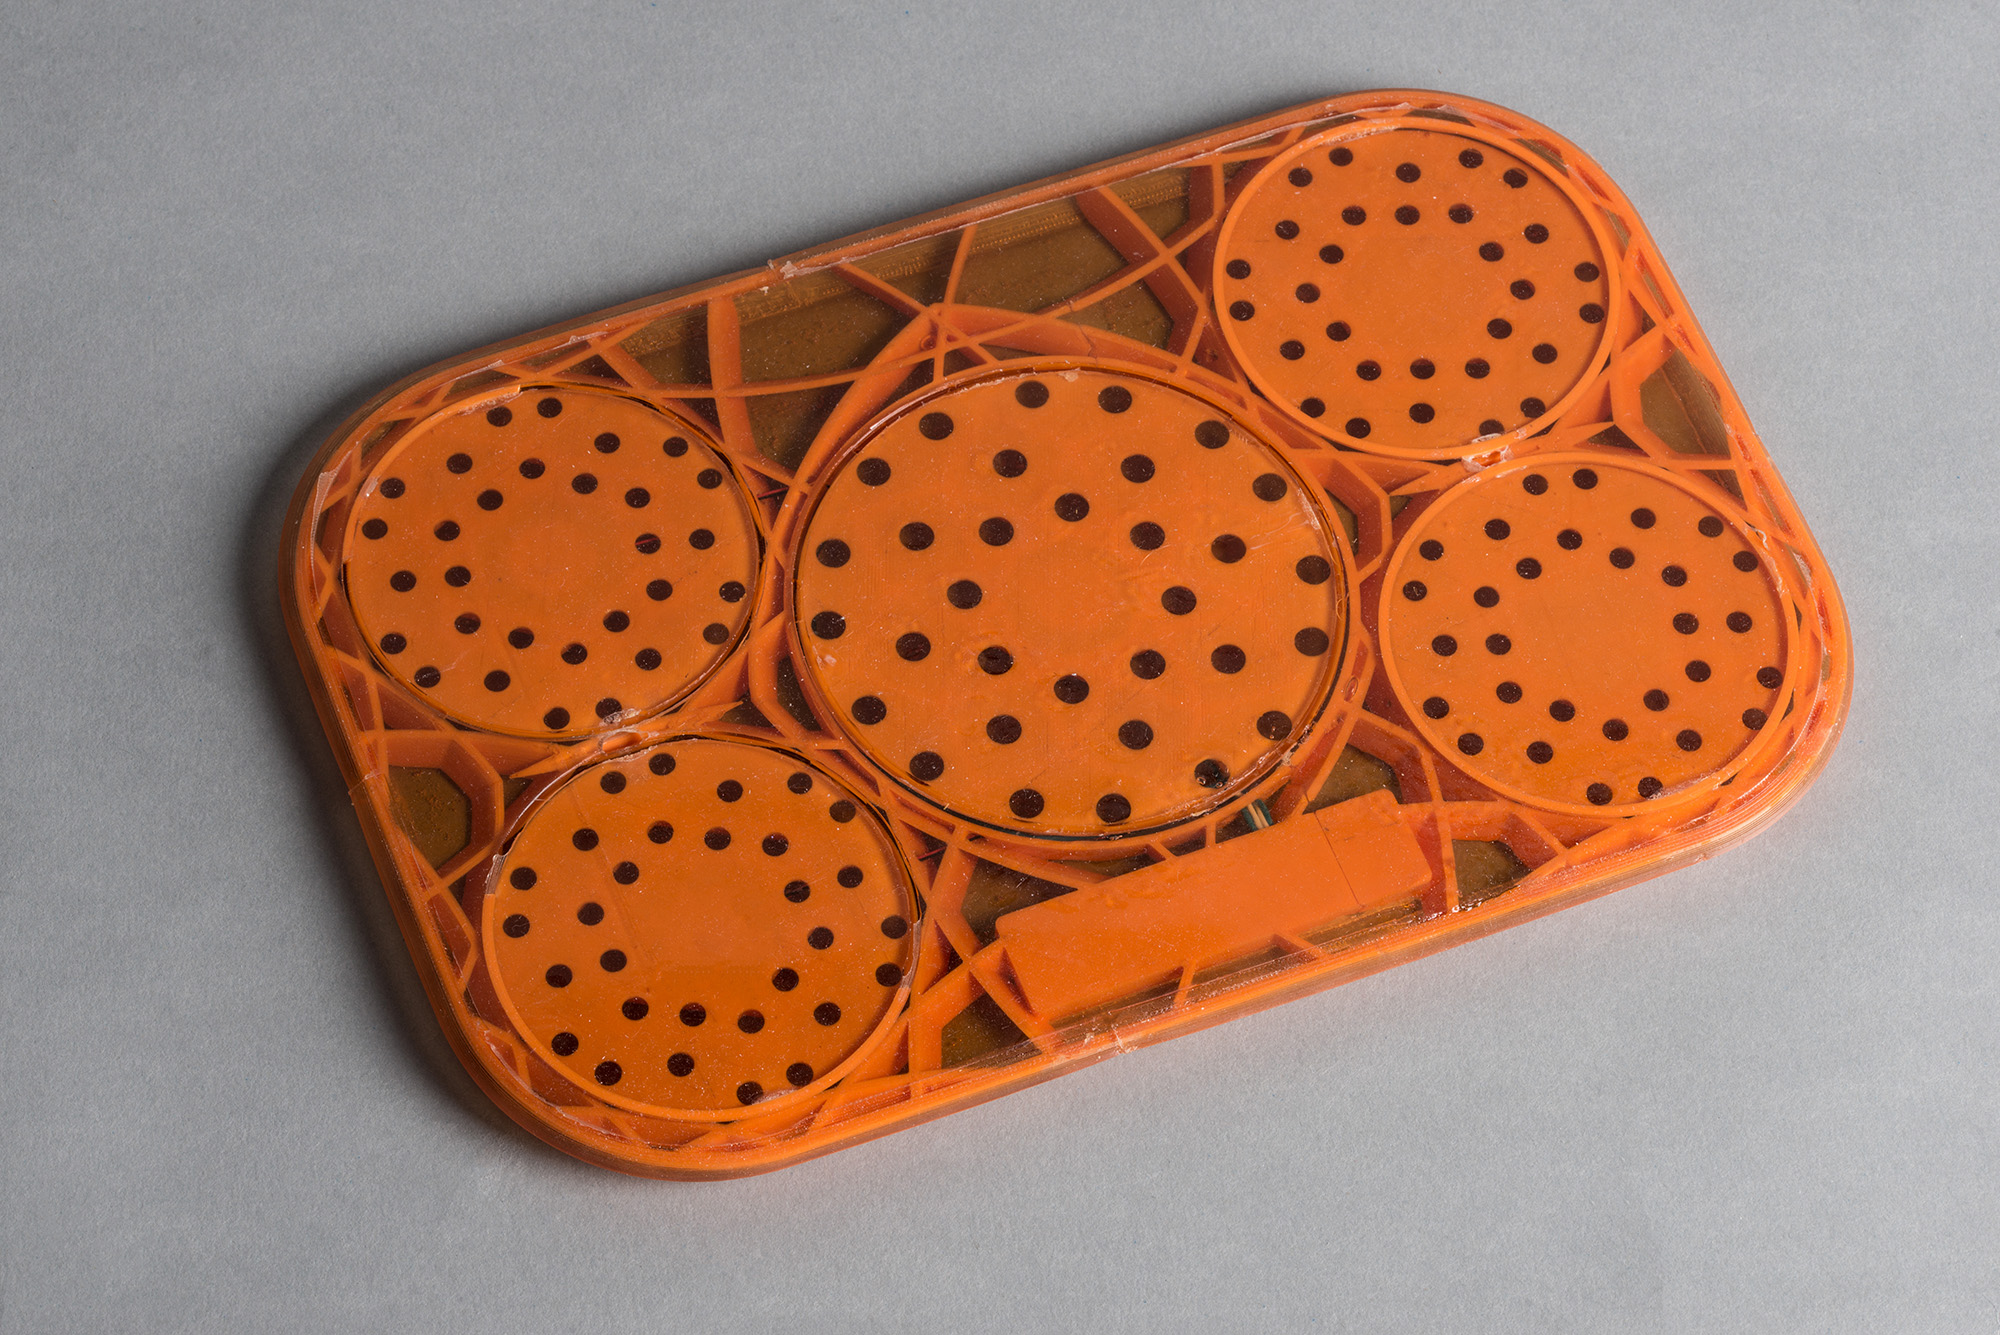
In the process of developing the structure for the drumpad, I decided to experiment with a carrier inside the cover. I wanted to calibrate the inner sensors and find a sturdy structure with the help of a first model. My aim was to test out the calculated solution and integrate this structure into the form…
Der Entschluss, eine Software zur Topologieoptimierung zu benutzen, soll an dieser Stelle bereits als Designentscheidung verstanden werden. So kann vorurteilsfrei auf einem funktional unterfütterten Grundgedanken aufgebaut werden. Die Wahl des Bauraumes und die damit verbundenen Positionierung und Dimensionierung von Lasten bzw. Fixierungen haben einen großen Gestaltungsspielraum. Es ist dem Benutzer freigestellt, wie grob oder fein…
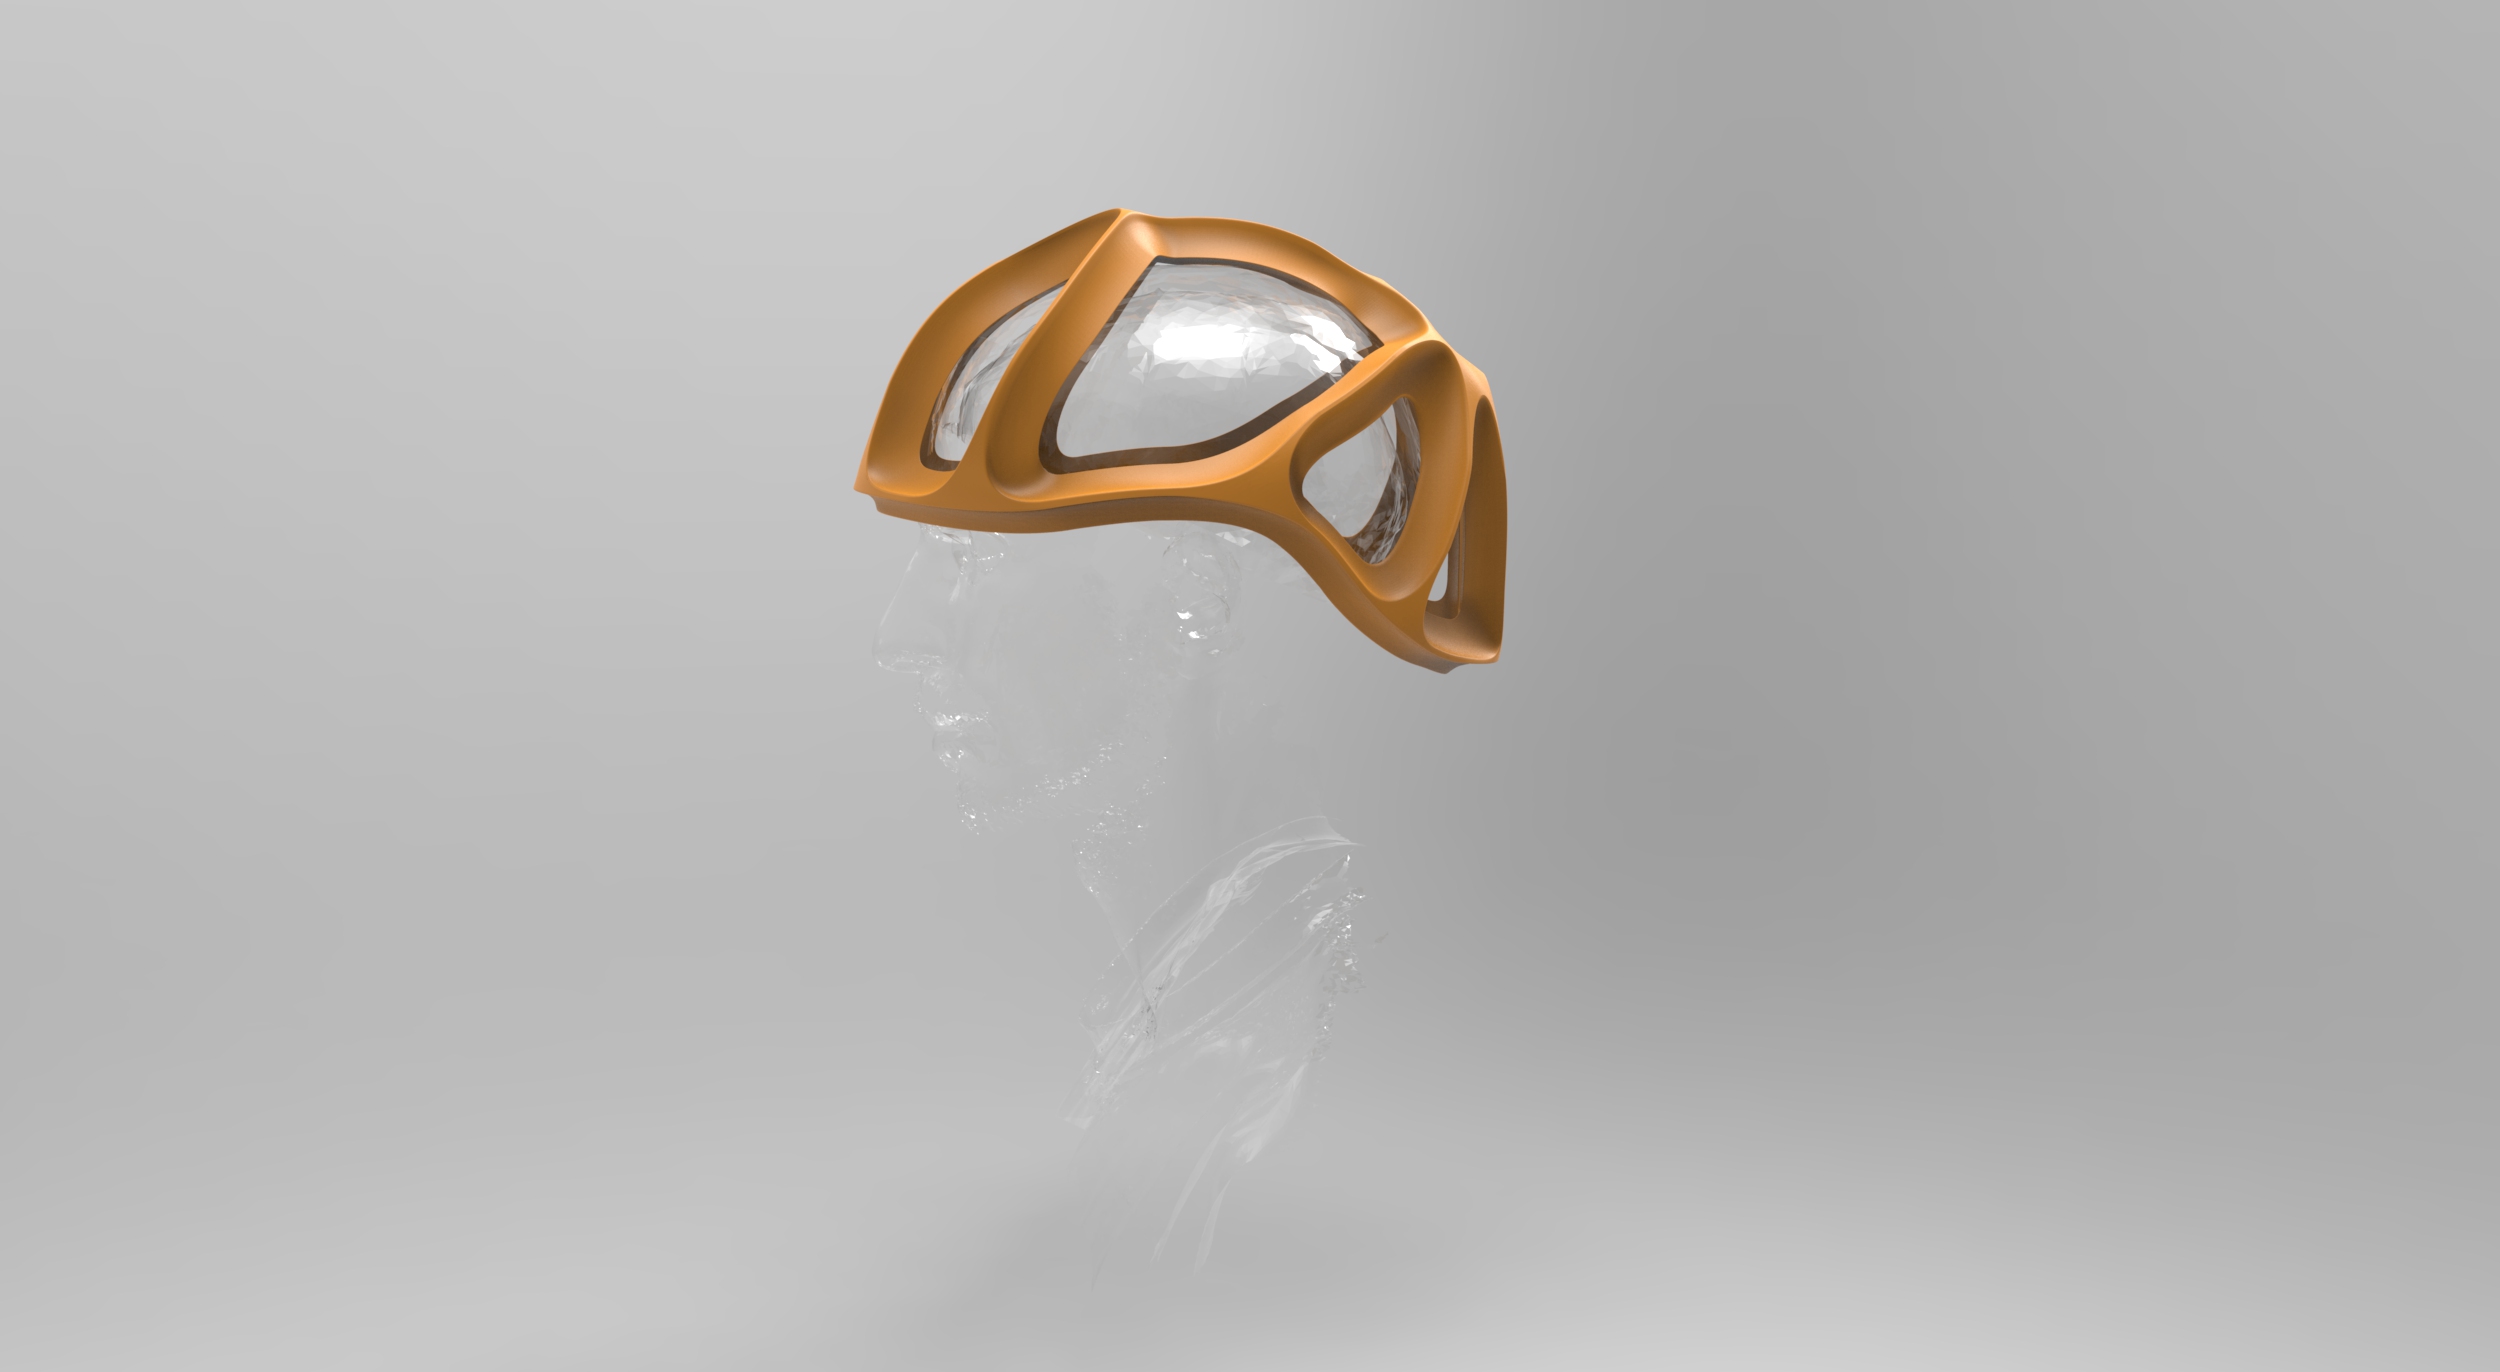
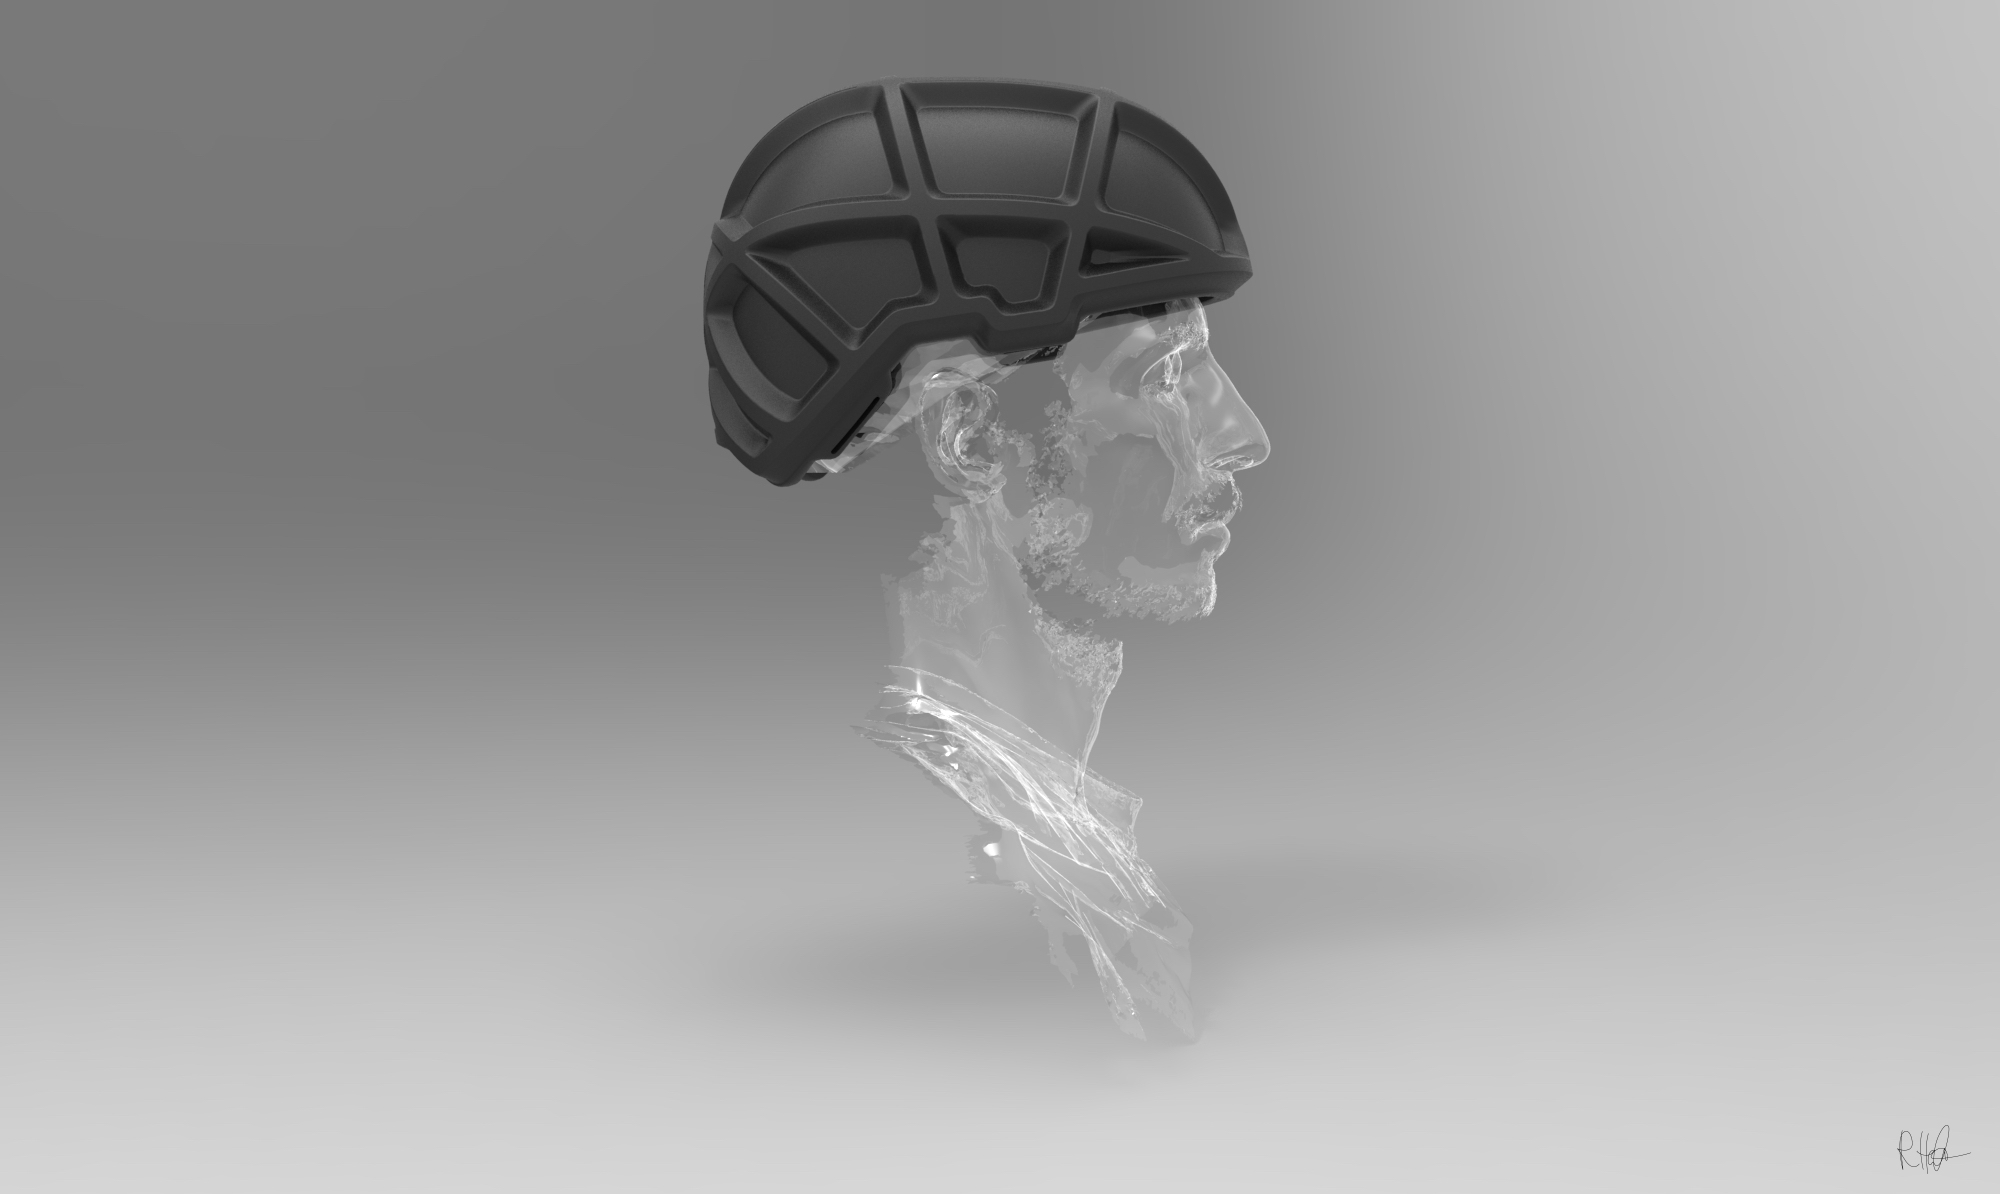
After spending the last week with SKO-calculations and generating results, in the second week we tried to interpret the results in CAD and designing several helmets.
Main-Scenarios for this helmet are impacts from the front, rear and side. For example, in street skating there is no protection of the upper region of the head needed, because the maximum height of the fall prevents skaters from falling on top of their heads. To prevent damage to the skull in general, the energy of the impact is spread to a bigger area.
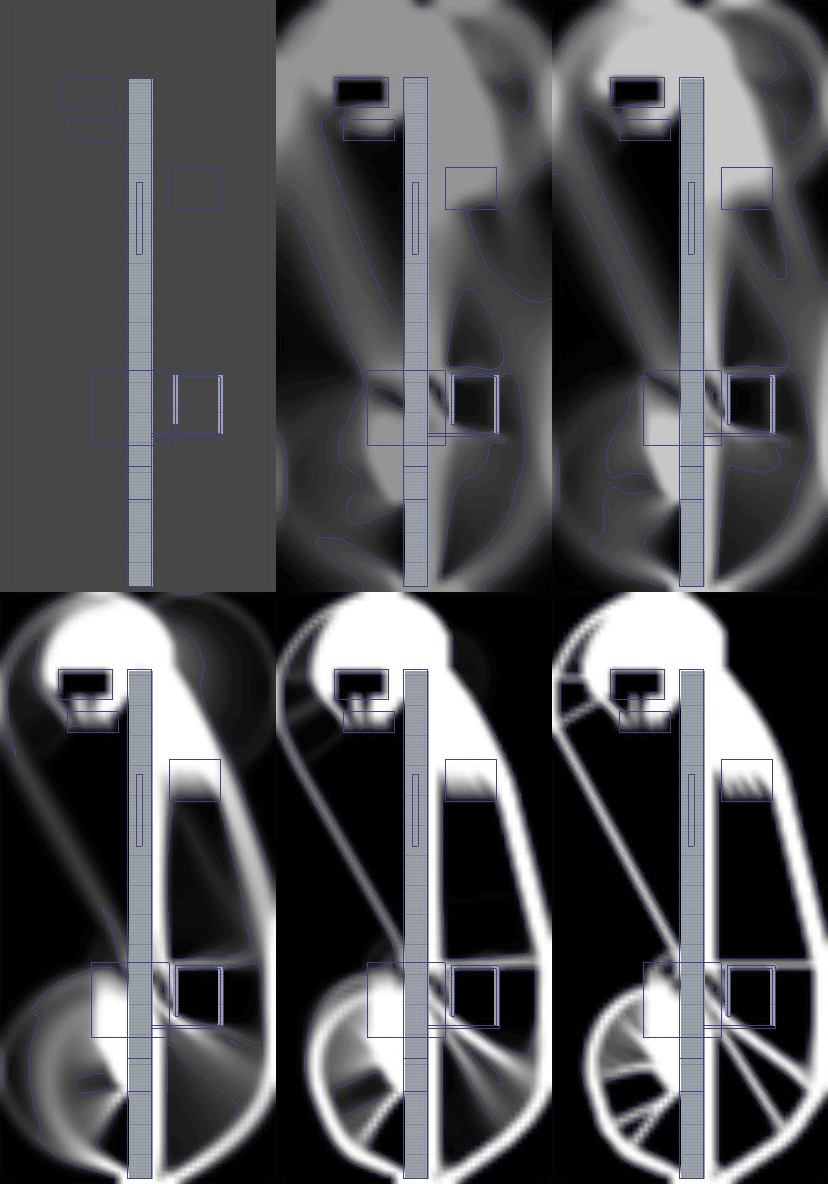
For illustration, the results of the first 3D-calculations show a helmet and a human skull. Furthermore there are shown several 2D-patterns.
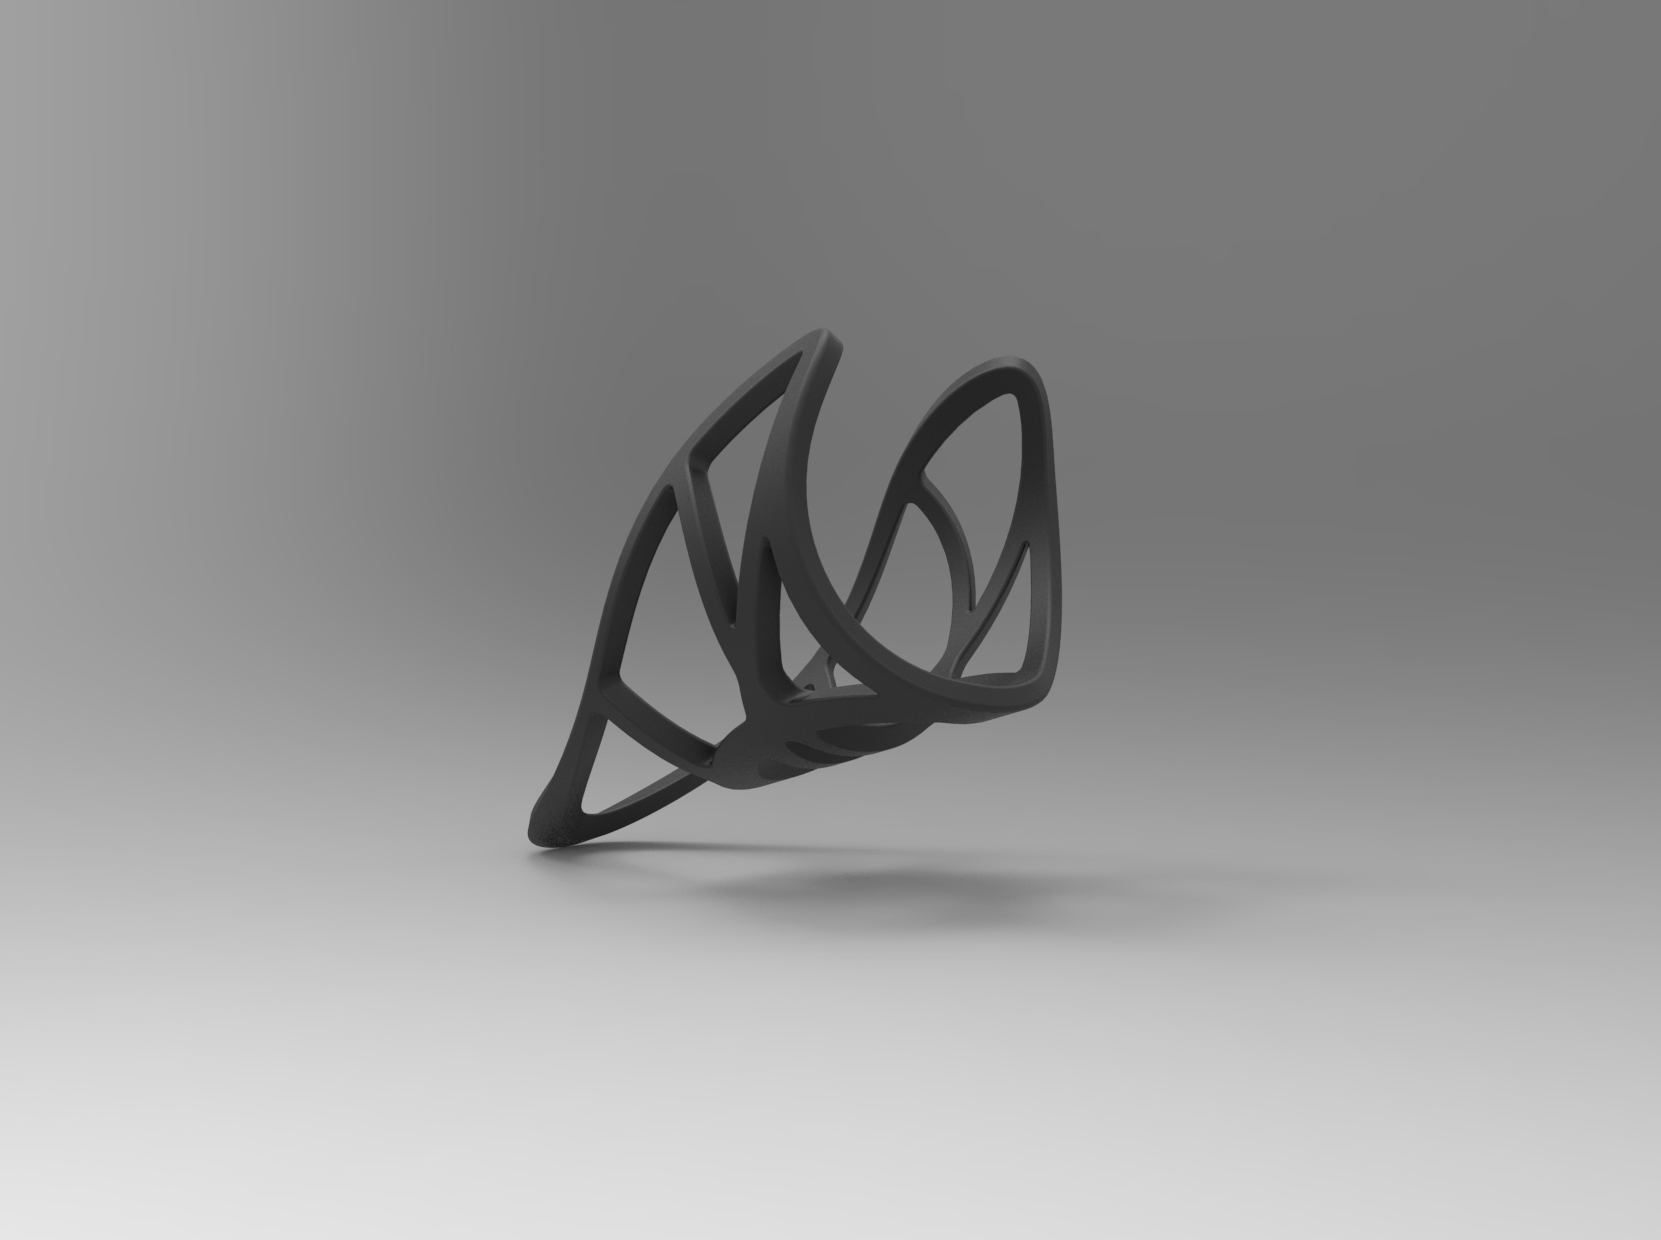
Different ways of interpreting the results of the topology optimisation led to two versions of the clamp. For the first clamp I got inspired by the results of the calculation itself. The second design is generated by an algorithm I wrote. The 3D-printed tree-structure is relatively stable compared to the dimensions of its limbs.
I decided to experiment with an algorithm which follows the tracks o the SKO-result to create a tree-structure. The Grasshopper-Plugin Cocoon helps to visualise the structure.
To get started with shaping the clamp, I experimented with several setups for fixation points. The first 3D-calculations deal with the whole body as fixation and will get more detailed with the next steps. The drawings below are inspired by the 2D-calculations.
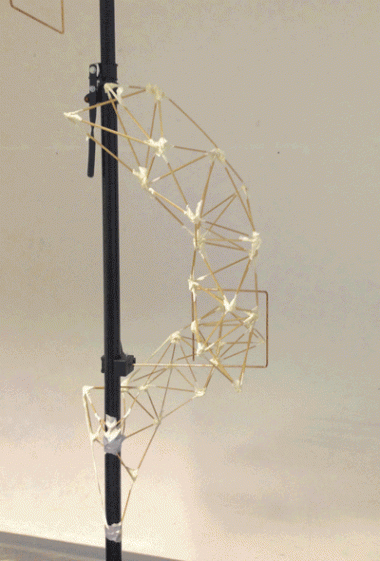
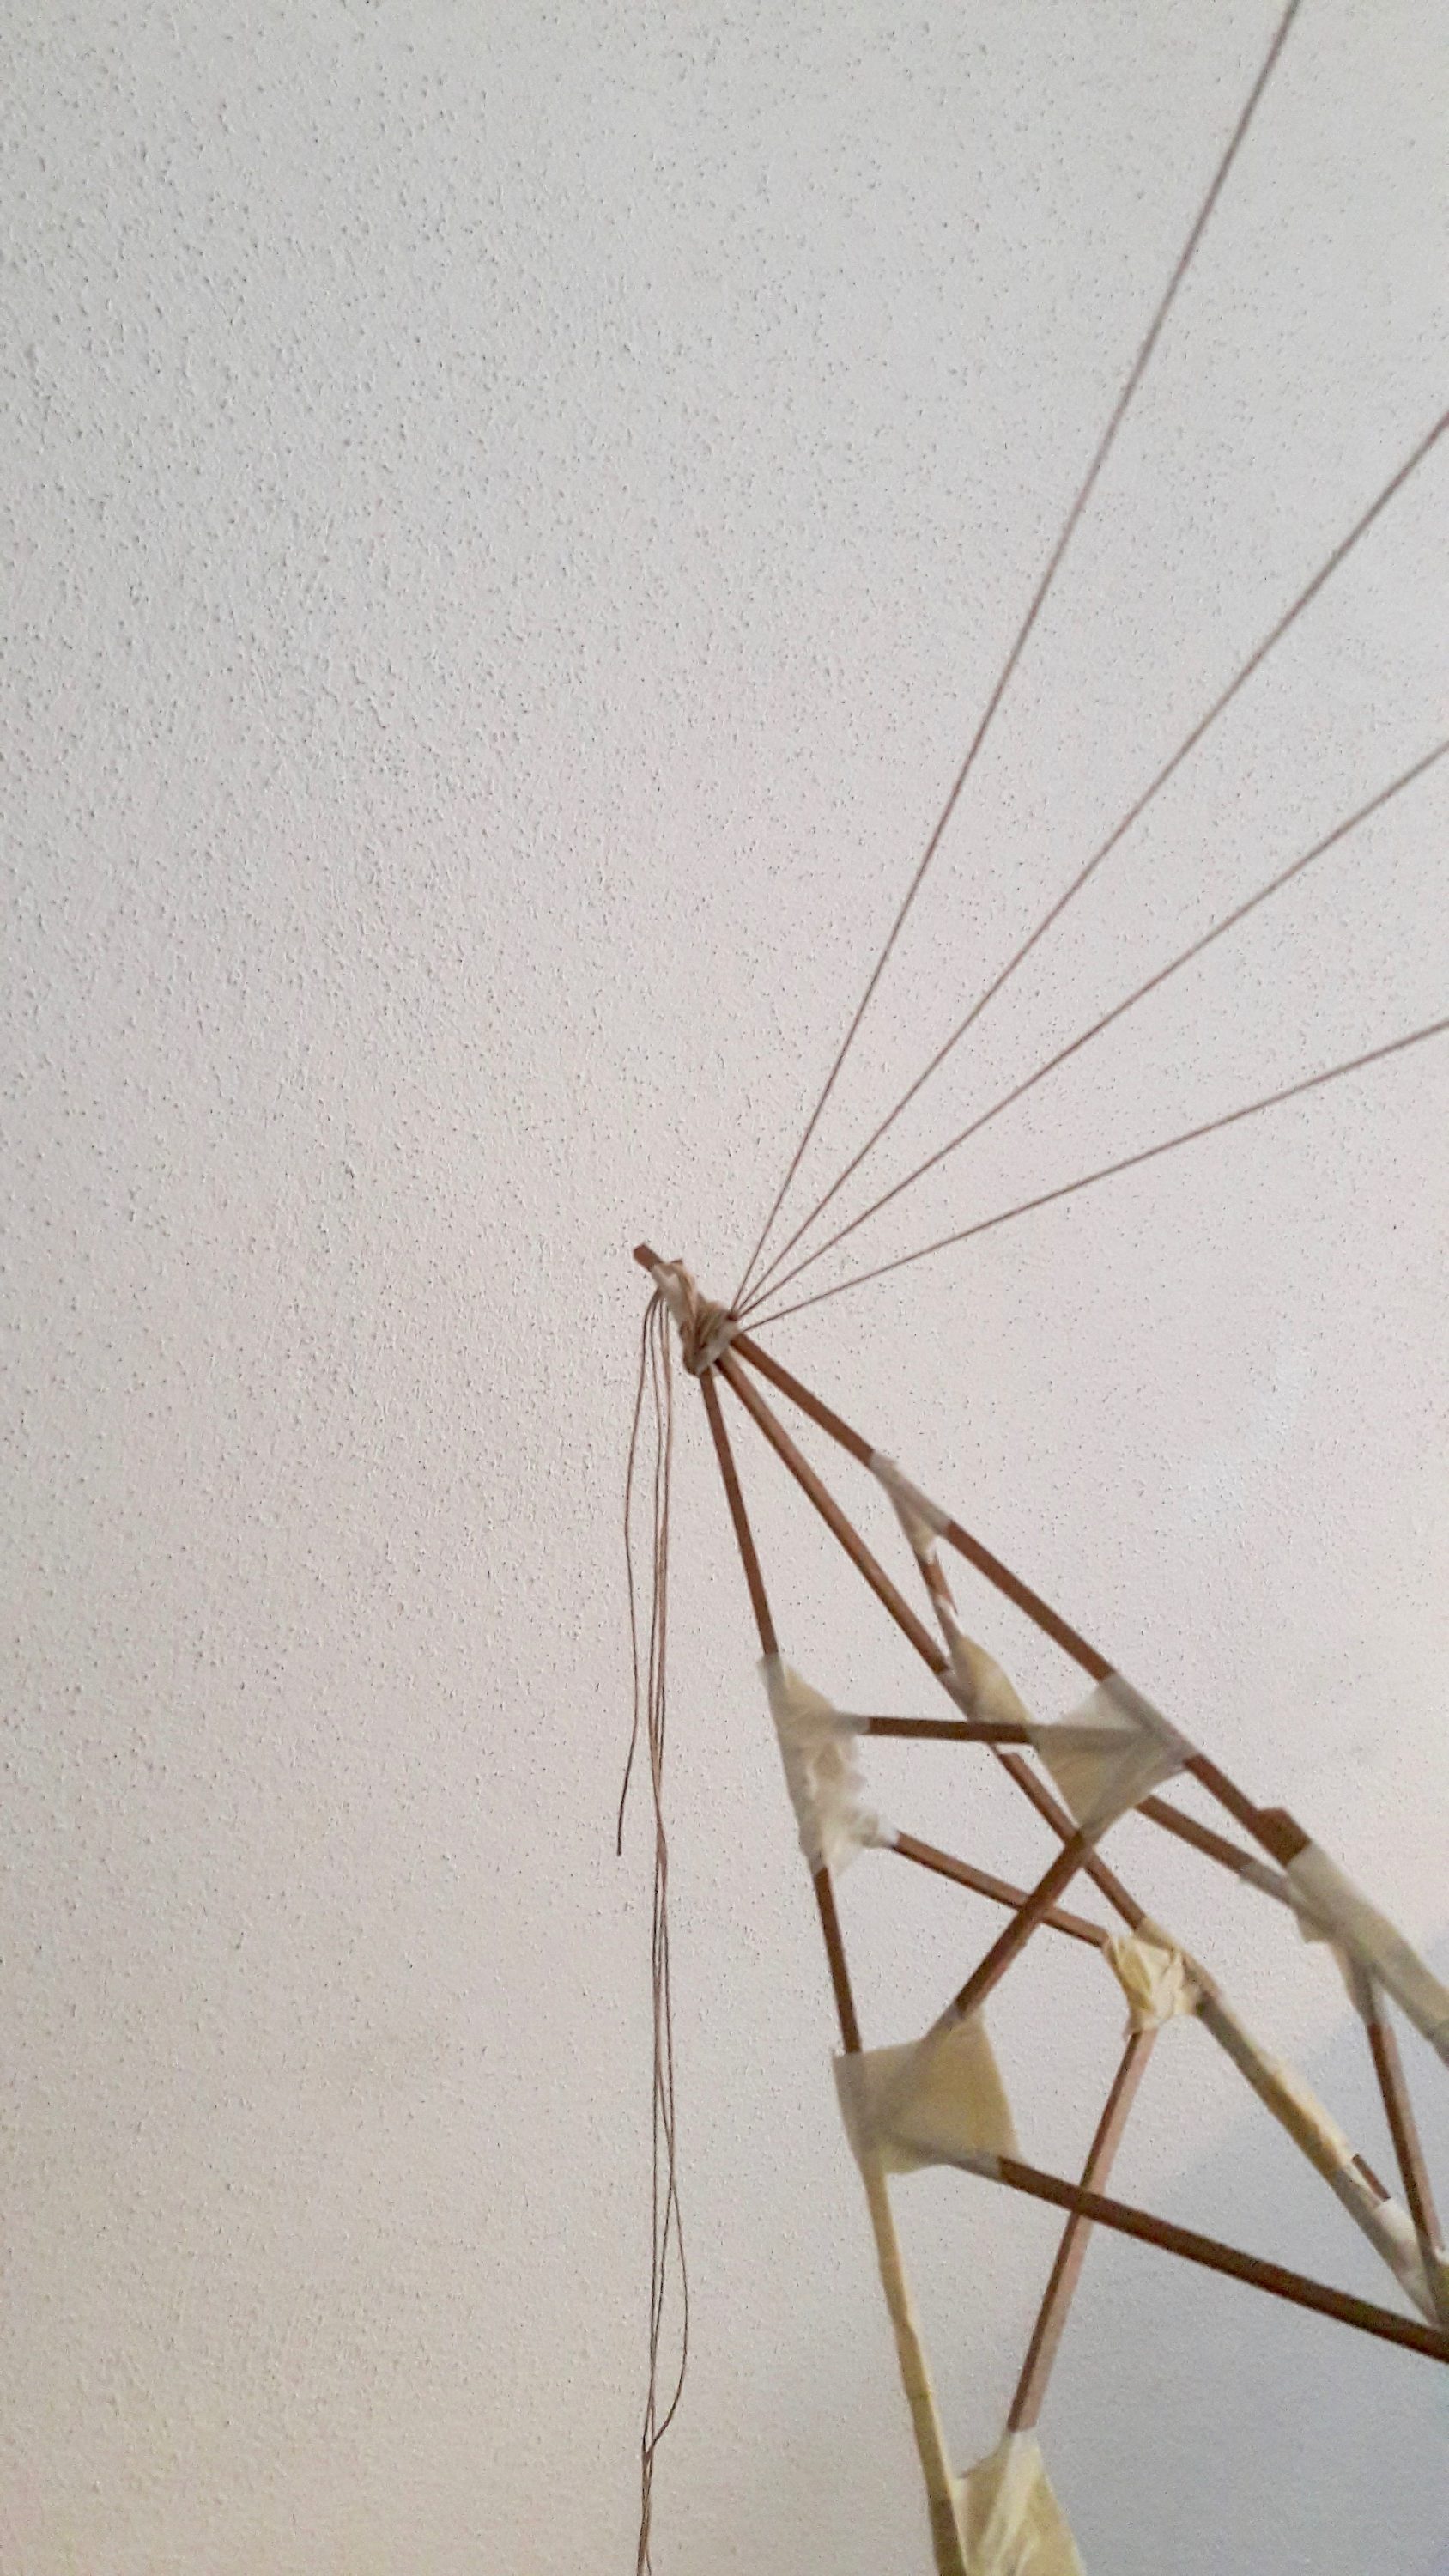
We ended up building three different structures in total, the third being kind of a mix between the diamond-shape first and the organically grown second one. While our first attempt was more like a hands-on-solution, we tried to use the results of our SKO-calculations in a second attempt. The (more or less) final structure could be seen as a result of our findings from the previous experiments and also meets our self-set standards of not using a second fixation and still managing the torsional forces over long distance.
Today we’ve tried a more detailed 3D-calculation in addition to the one made in 2D. Now we get a better impression for the construction which was suggested by the SKO-solver. Compared to the organic look from the first calculation, it’s now possible to see more detailed braces of the connections.
