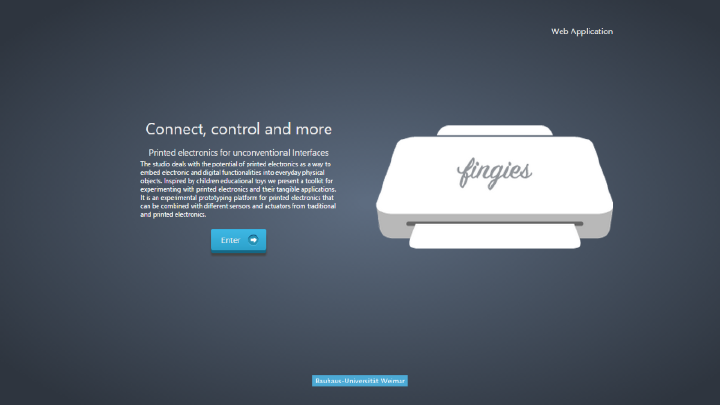
In the course Administrating Data, we started off with making our own landing page design for the Fingies platform and then implementing the same using HTML.
Here is what my Landing Page design looked like:
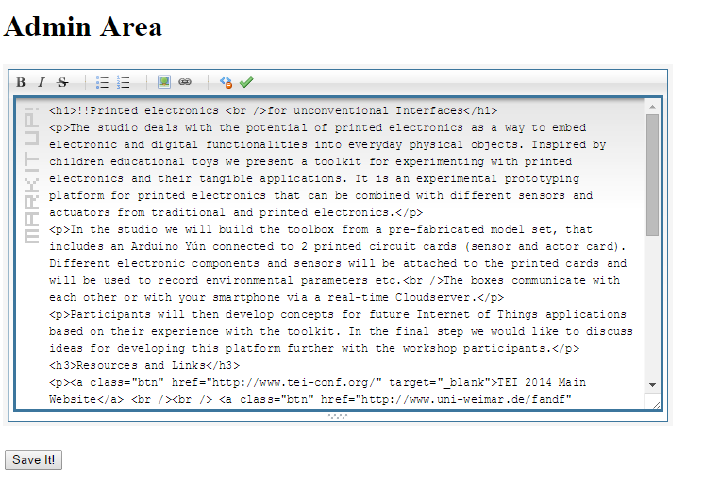
Our next step in the course was to start understanding Content Management Systems and we went about this by actually building one ourselves. We used PHP to update the static data on our website and each of us were given separate online text editor plugins to experiment with. The one I got was markItUp and this is the link to it.
Here is a screenshot of the Admin page that I implemented using the plugin:
Next we went on to enlist and compare all popular content management systems and how each one of them had their own positives and negatives. After a thorough brainstorming session, we finally banked upon Typo3 (http://typo3.org/) and started making a custom back-end for the website using the same.
Initially much time was spent in installing and setting up Typo3 in each of our systems, but later it was decided that it would be best if all of us were editing and accessing the same admin panel. However, it was a learning experience to setup Typo3 and the entire website on a local server by importing the entire database and folder structure.
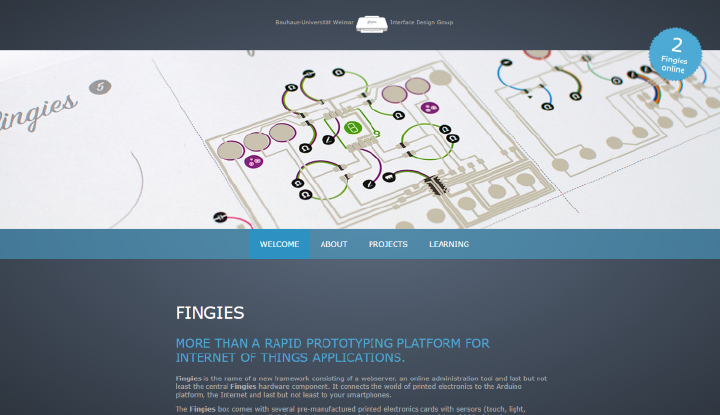
An implied motive of the course was to build the front-end website for Fingies. So the website work was divided into separate sections so that each of us could work on them and get the website up sooner. I was responsible for building the header and footer of the website which also included listing the "Number of Fingies Online" in upper right corner. The banner on each page should be dynamic and should change according to the page, the welcome page should have a video, other pages should have a respective picture, and if the page does not have a banner, then a default banner is used.
Here is a screenshot of the banner:
After this the course moved on to a more in depth knowledge in Angular.js, and we wrote small snippets of code to manipulate data or add data to a table. Then we also experimented with existing websites like MixCloud and using the Fingies WebApp as a remote control. Since the front end of the Fingies platform also makes use of Angular.js, it is used to fetch the box number of a virtual Fingies box and then trigger a function on the page when data is received from this box.
We also experimented with Data Visualisation plugins like Highcharts (http://www.highcharts.com/). We used these charts to show the number of Fingies online and how the number changes with time. Screenshot:
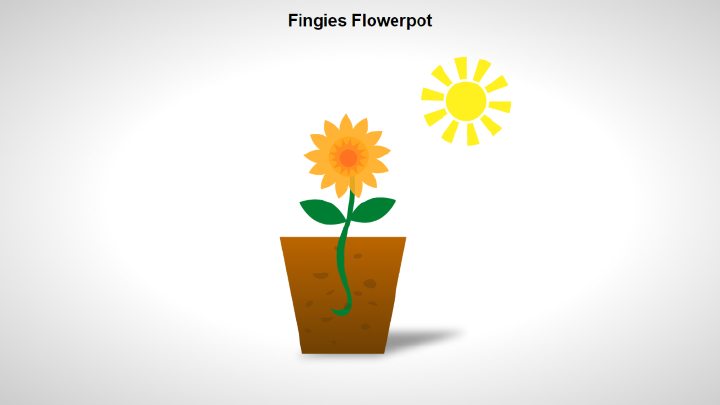
Through the course we tried to find alternative uses of the Virtual Fingies Interface. As mentioned before one was to use it as a remote control for online media players. In another scenario, it was to be is to be used as an interactive interface to control an SVG. The SVG would have a polygon whose height or width can be controlled by inputs from the Fingies platform.
Here is the example that was explained to us where blue water of the pot can be controlled by the input of an online Fingies box:
Our final project had to make use of this concept and come up with an idea which would control graphics or an SVG or even a 3D model.
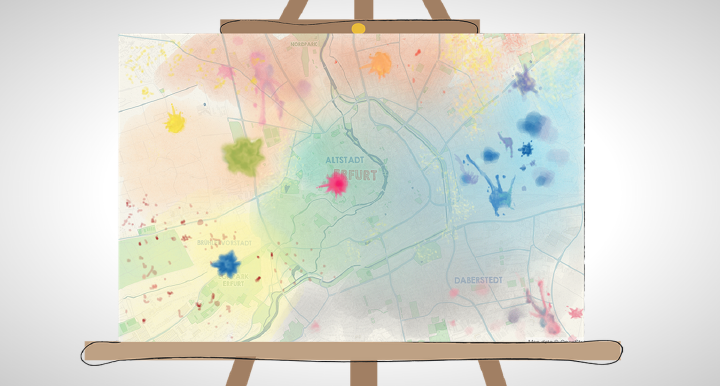
For my final project I used this interface to implement an illustration of my Interface Design project. My project was Paint Breeze which is a multi user collaborative painting. So my motive was to build a page which would generate paint like forms by multiple users on a canvas. Now a challenge which had I had to overcome was getting multiple inputs simultaneously because the Fingies platform was necessarily a one to one connection. However with a small fix, this was solved. Though it was not a very dynamic solution, it served the purpose for my project.
Below is a screenshot of the interface:
And also a video illustrating the same: <videoflash type=vimeo>100450538|720|400</videoflash>